
Last updated October 10, 2026
Free roof inspection with deck photos before we talk money - GAF and Owens Corning certified installation
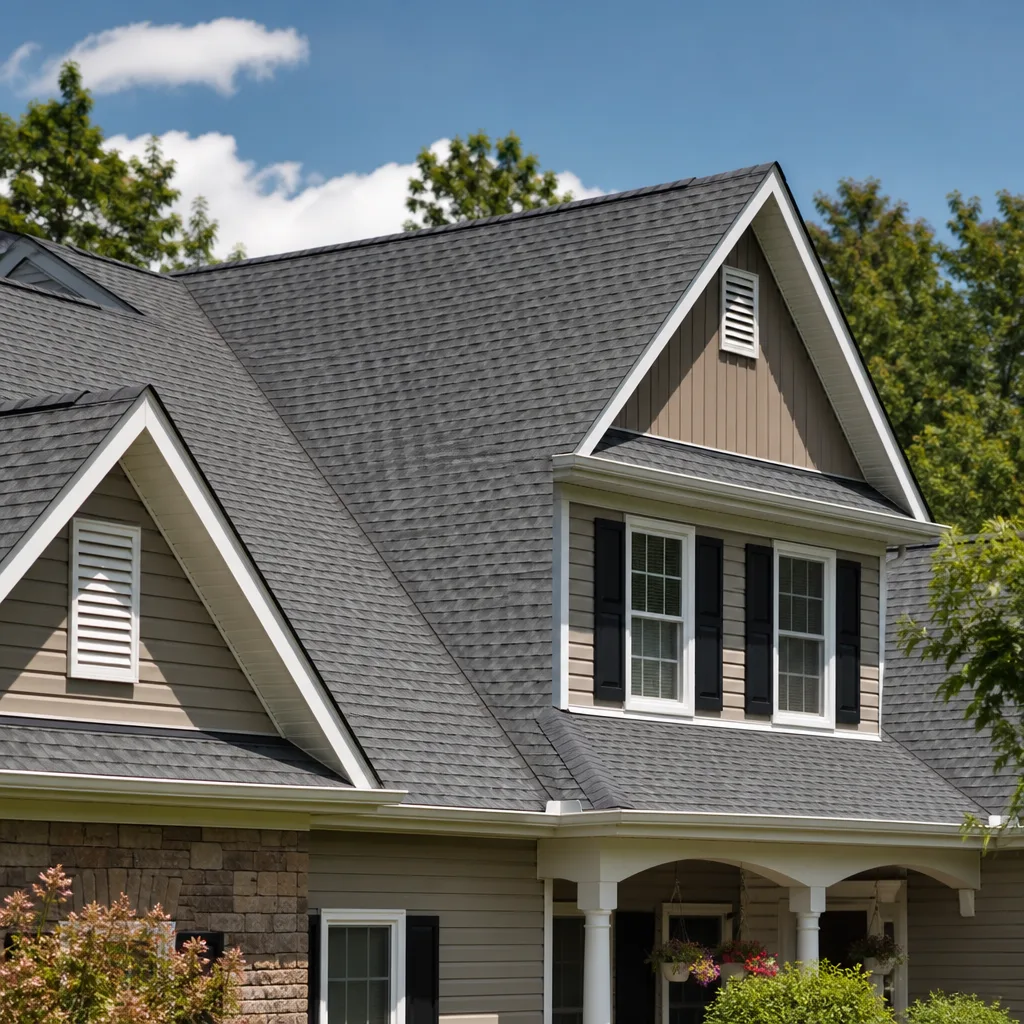
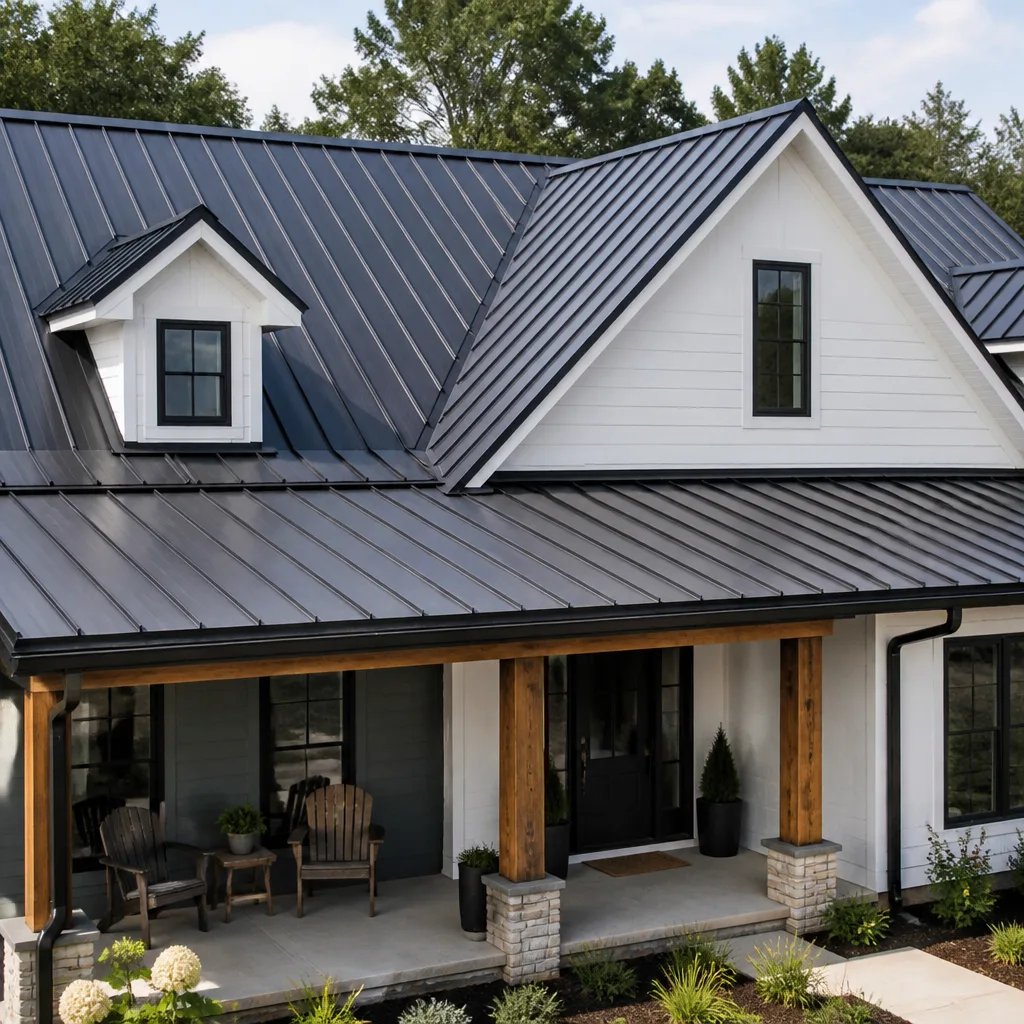
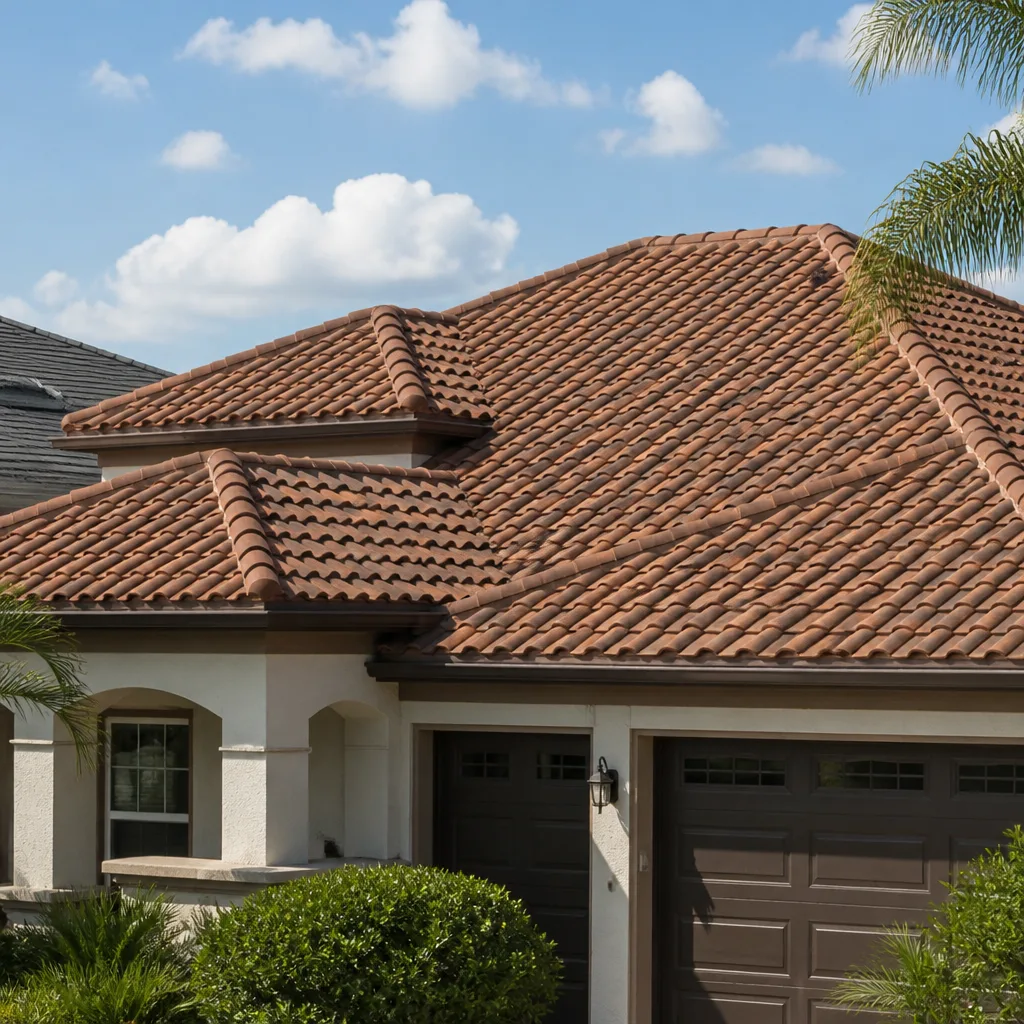
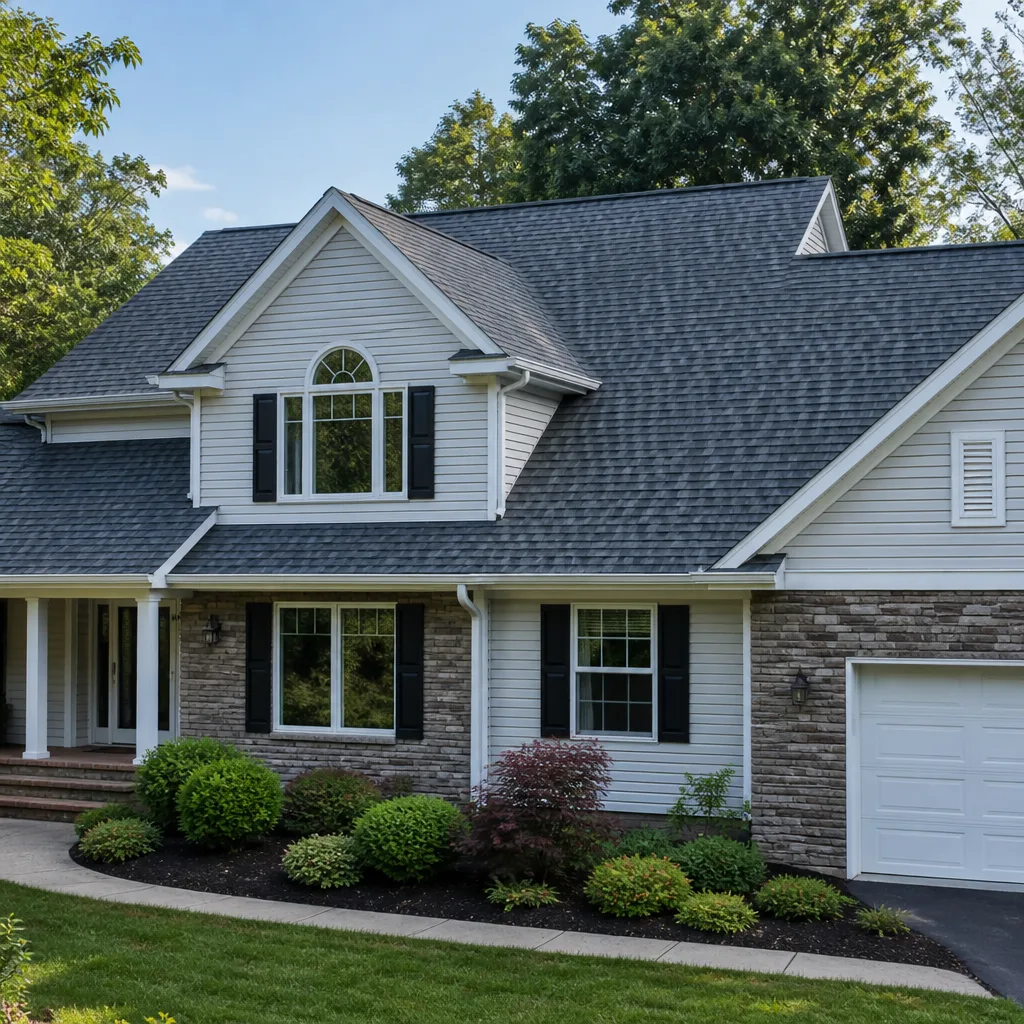
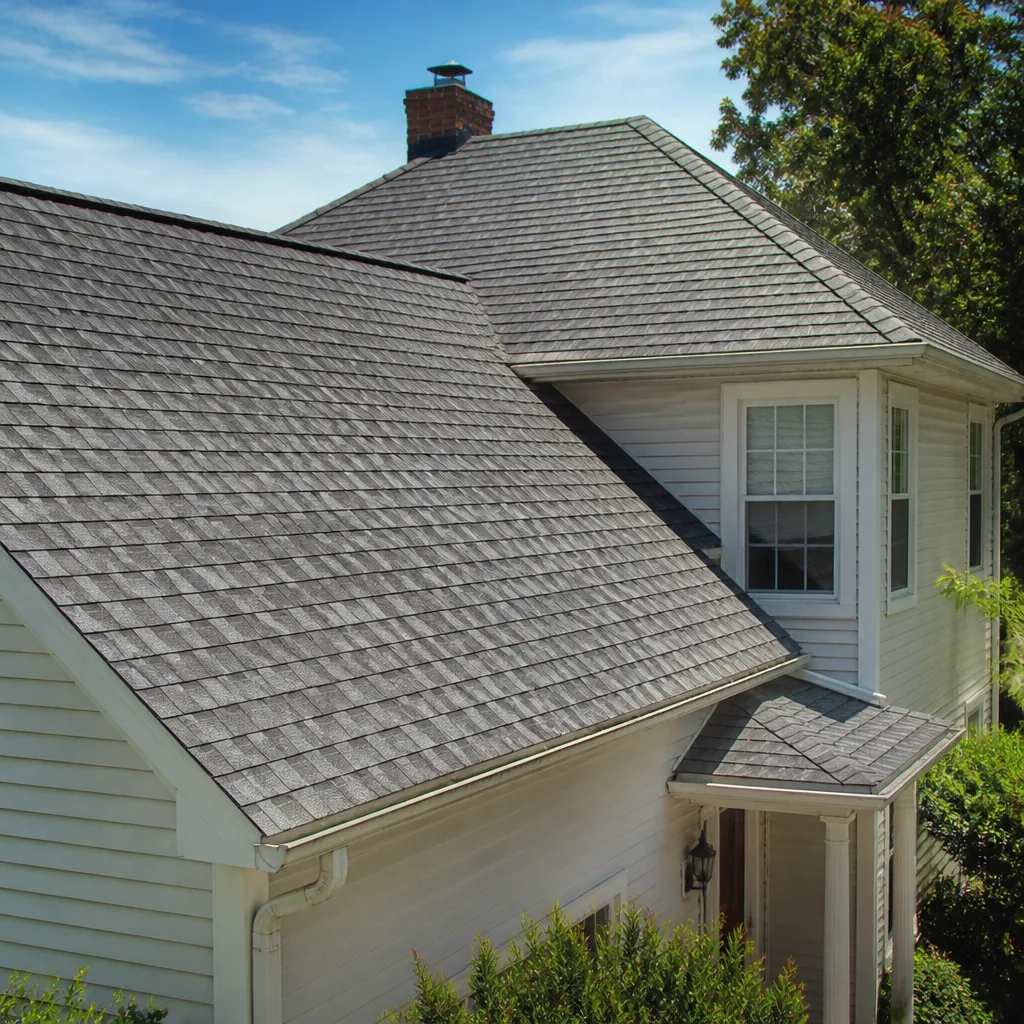
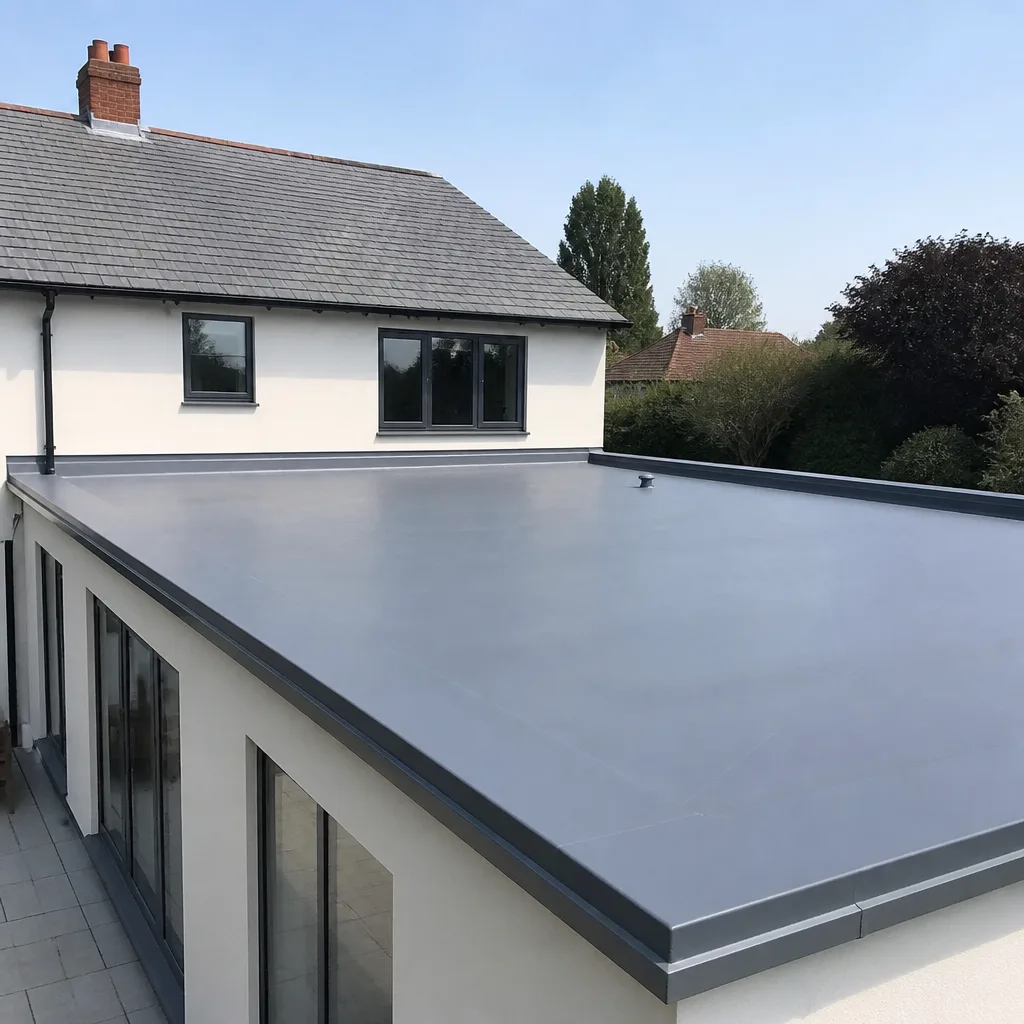
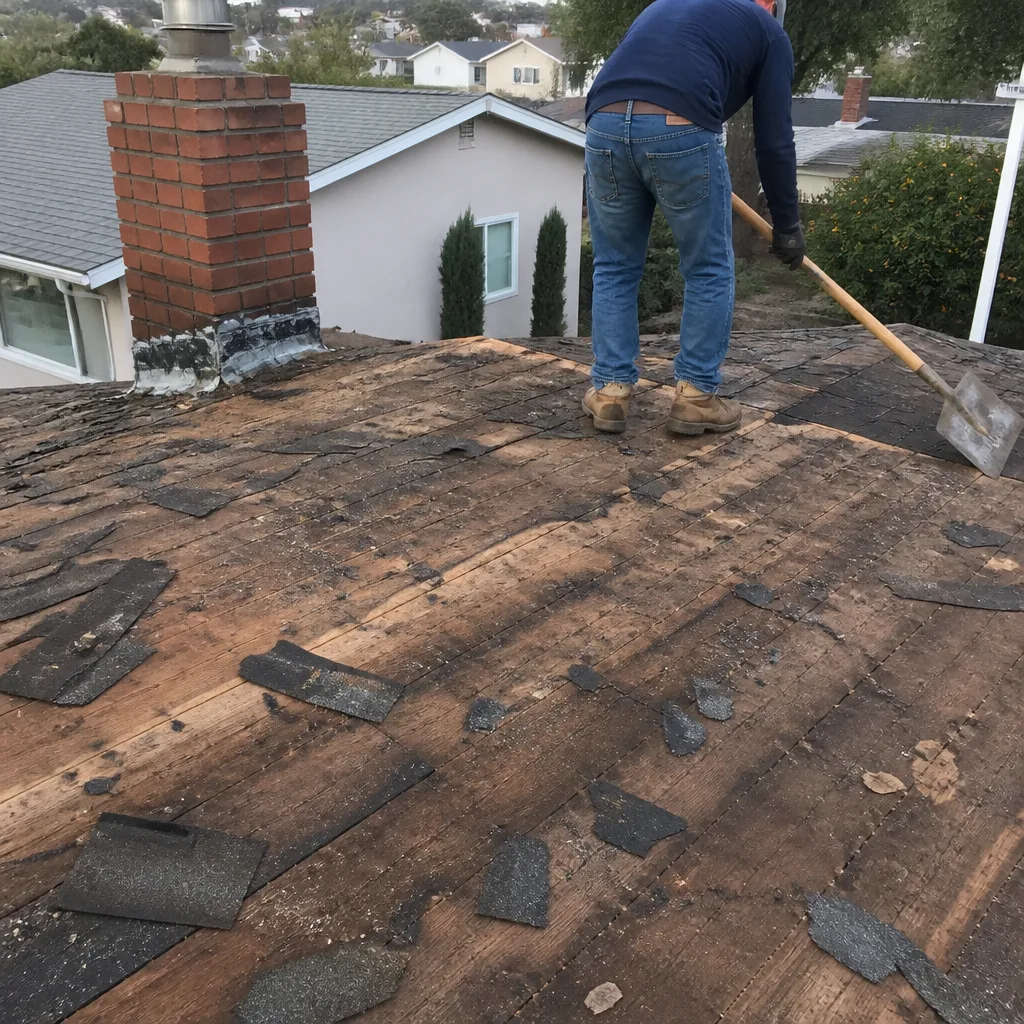 Before
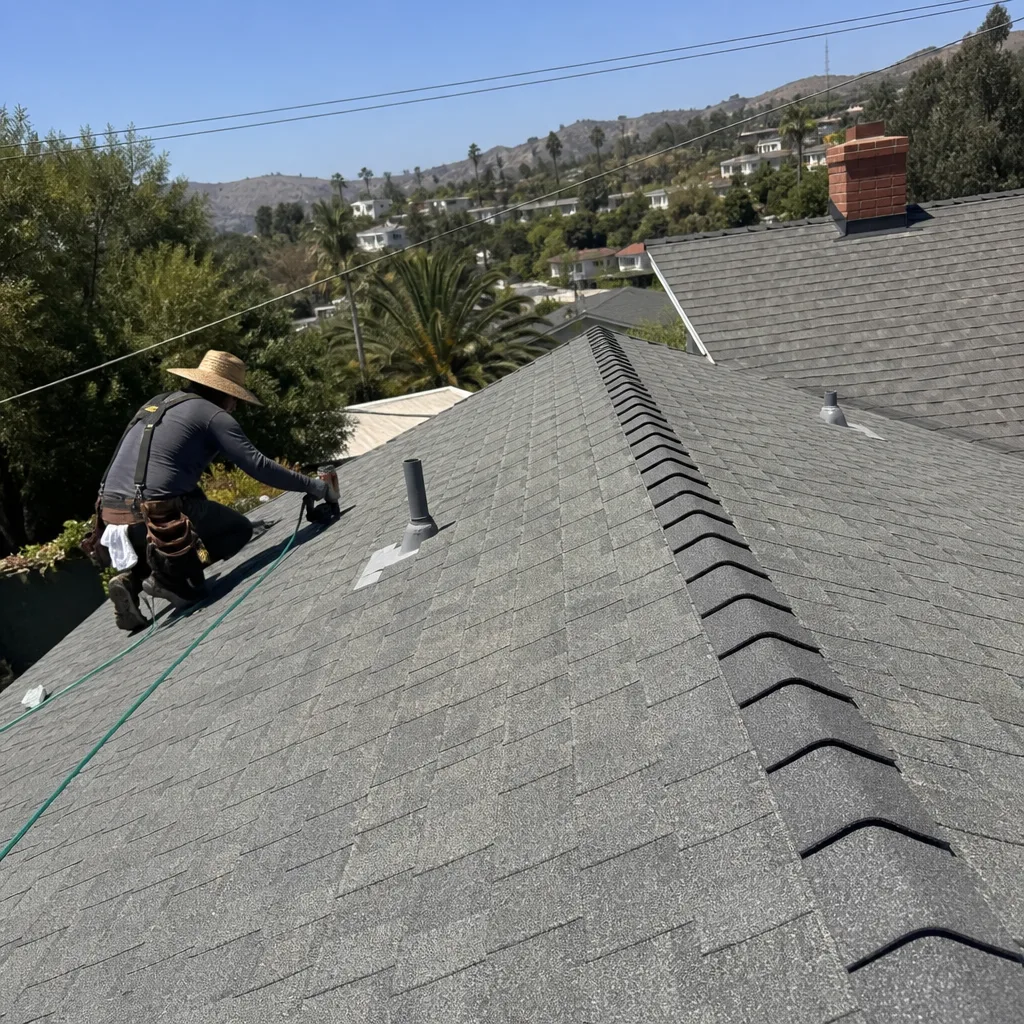 After
After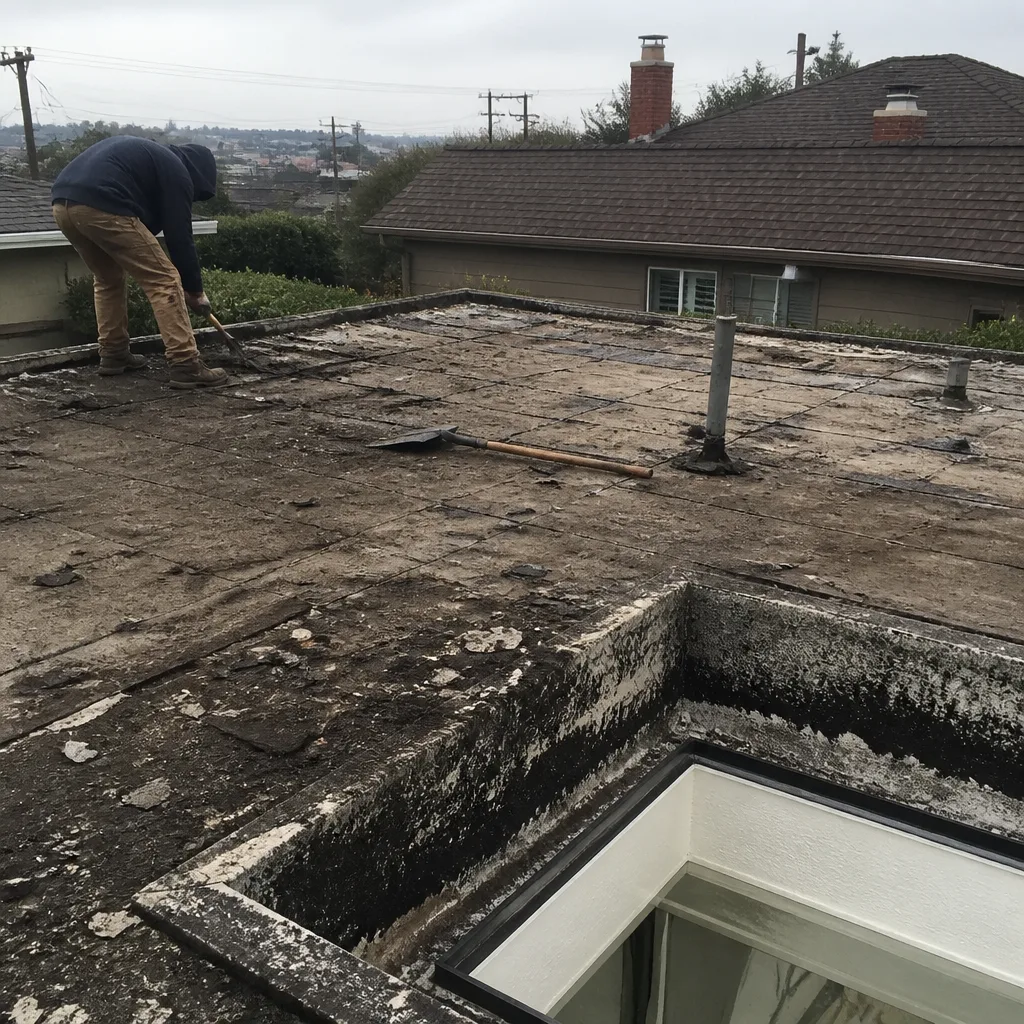 Before
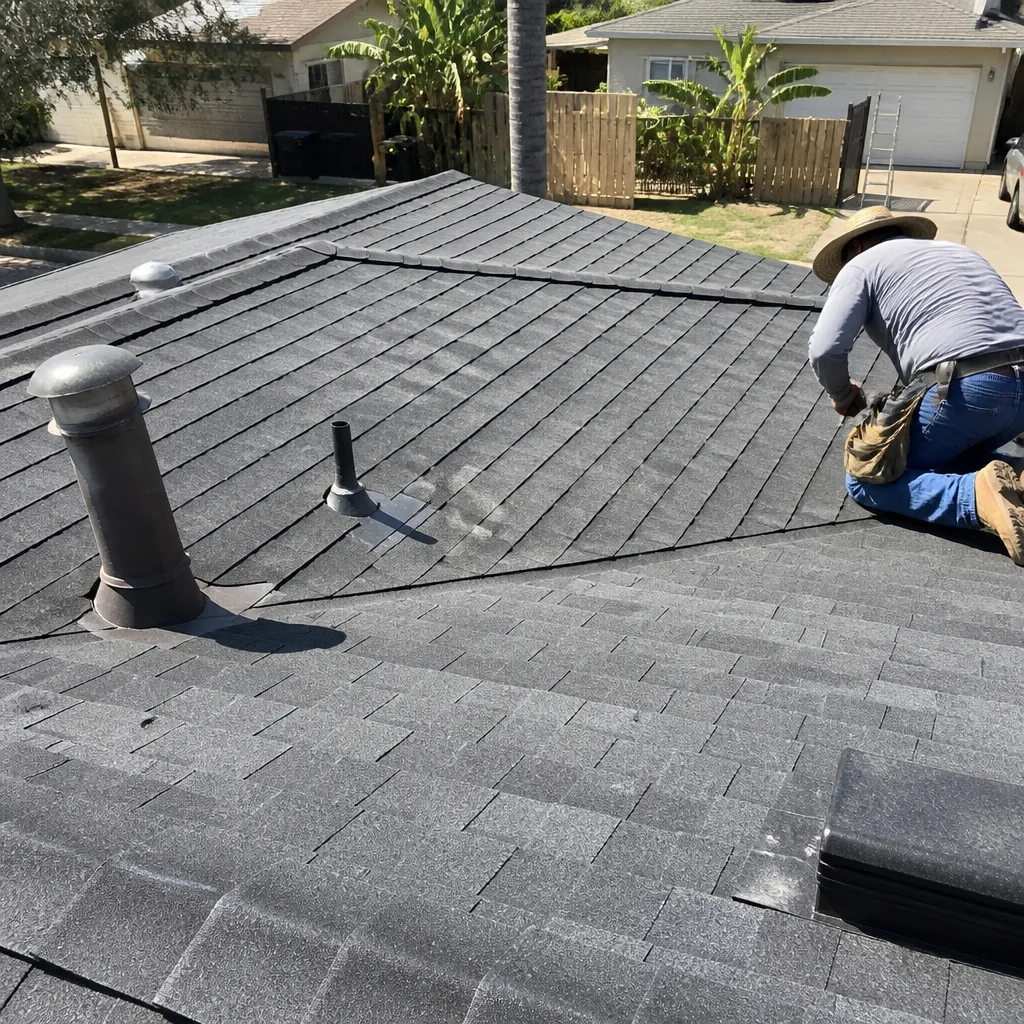 After
After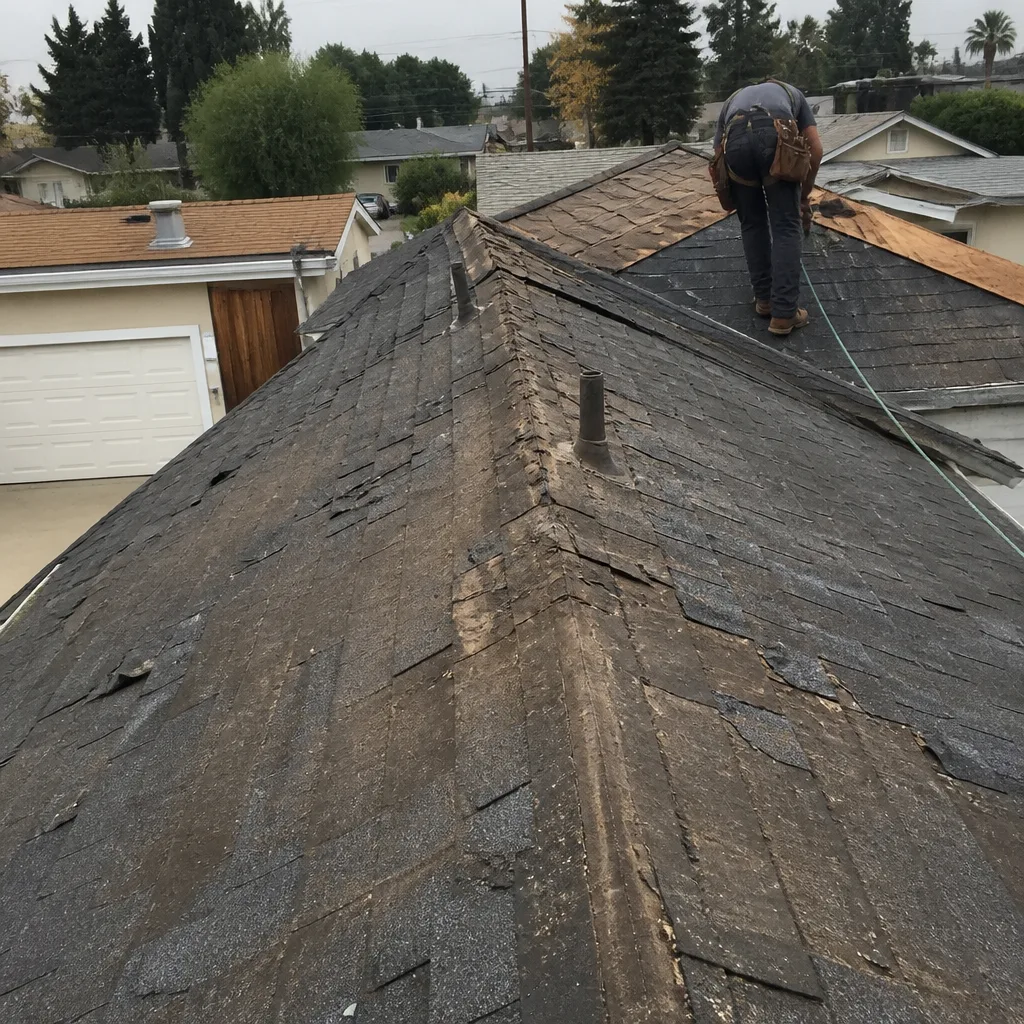 Before
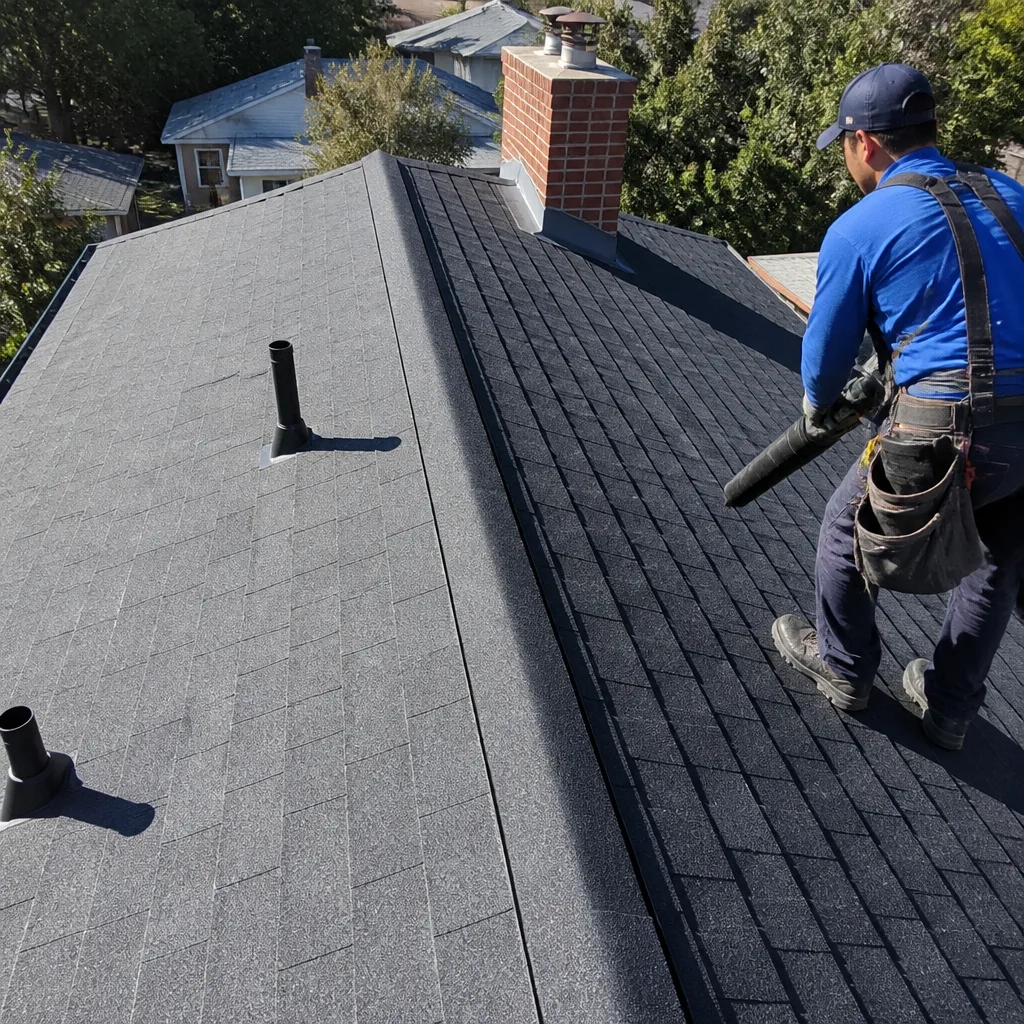 After
AfterRoof Repair Troubleshooting: Common Problems and How to Fix Them
Here’s a number that stops homeowners cold: the water stain on your ceiling is almost never directly below where your roof is actually leaking. In twenty-five years of tracking leaks across Los Angeles, from Pasadena craftsman bungalows to Venice Beach stucco boxes, we’ve seen water travel eight feet along rafters before it finds a seam in drywall to drip through. That gap between symptom and source is why so many Roof Repair services fail – a roofer patches the wrong spot, the homeowner pays twice, and the stain comes back. This guide teaches you to read water’s path backward, spot the five problems most often misdiagnosed, and know when a temporary patch buys time versus when it hides damage that’s getting worse.
Quick Answer
Most roof leaks in Los Angeles homes are caused by five problems: failed flashing around roof penetrations, cracked or missing shingles from thermal cycling, clogged or damaged gutters forcing water backward, deteriorated pipe boot seals on plumbing vents, and condensation from HVAC ducts or poor attic ventilation mimicking a roof leak. To troubleshoot, trace the water path from your ceiling stain through the attic using a flashlight and garden hose, identify the actual penetration point, then match the repair to the real source – not the symptom.
Table of Contents
- Water Path Mapping: How to Trace a Leak to Its Real Source
- The Five Most Commonly Misdiagnosed Roof Problems
- Roof Leak, Plumbing Stack, or Condensation? Telling Them Apart
- When Temporary Patching Helps – and When It Hurts
- The Before-and-After Photo Protocol Every Homeowner Should Use
- What Roof Repair Costs in Los Angeles
- Common Mistakes to Avoid
- When to Call a Professional
- Frequently Asked Questions
Water Path Mapping: How to Trace a Leak to Its Real Source
Water is lazy. It follows the path of least resistance, and in a Los Angeles roof assembly – typically built with minimal slope and often without adequate ventilation – that path can be surprisingly long. Here’s how to reverse-engineer the leak.
What you’ll need: a bright flashlight, a garden hose with a spray nozzle, a helper inside, and a phone to take photos. Wait for a dry day. Working on a wet roof is dangerous, and you need to control the water source.
- Start in the attic, not on the roof. Find the wet insulation, water stains on sheathing, or active dripping. Mark this spot with chalk or tape. This is your symptom point – not necessarily your source.
- Look uphill and upslope. Water runs down. Trace upward from the stain at a slight angle toward the roof peak. In our experience on Los Angeles homes with low-slope additions common in the 1960s and 70s, water often travels laterally along horizontal rafter ties before dropping.
- Identify the penetration zone. Look for nails that have backed out, cracked pipe boots, gaps in flashing, or shingles with lifted tabs. The actual entry point is usually within a 3-foot radius of where the water path meets the roof deck, but can be farther on flat or nearly flat sections.
- Verify with controlled water. Have your helper watch the attic while you spray the suspected area with a garden hose, starting low and working up in 2-foot sections. Wait two minutes between sections. When water appears in the attic, you’ve found your source.
- Document everything. Photo the symptom point, the water path, the suspected source, and the confirmation spray. These photos are your baseline for verifying the repair later.
In neighborhoods like Silver Lake and Echo Park, we regularly see water travel from a failed chimney saddle – the peaked flashing behind a chimney – all the way to a ceiling light fixture fifteen feet away. The homeowner sees a leak near the light, calls for an electrician, and the real problem keeps chewing through rafters.
One more Los Angeles-specific note: our long dry summers bake roofing cement and caulking until it’s brittle. The first fall rain doesn’t just find existing weaknesses – it exploits them rapidly. If you’re mapping a leak in October or November, check every penetration within six feet of the stain – our guide to Roof Repair Warning Signs Every Homeowner Should Know can help you spot trouble early. Multiple minor failures often reveal themselves at once after five months of UV exposure.
The Five Most Commonly Misdiagnosed Roof Problems
These five problems account for roughly 70% of the callbacks we see from other repairs in Los Angeles. Each one mimics a different, more obvious problem.
1. Flashing Failure That Looks Like Shingle Damage
Step flashing – the L-shaped metal pieces woven into shingle courses where a roof meets a wall – corrodes at the bend first. Water enters at the wall joint and runs under shingles, making it look like the shingles themselves are the problem. We’ve replaced perfectly good GAF Timberline shingles because a previous roofer missed corroded step flashing in a Hollywood Hills canyon home. The fix: remove shingles two courses above and below the wall intersection, replace the step flashing, and reinstall with new shingles. Not a shingle job at all.
2. Clogged Valley Acting Like a Structural Leak
Los Angeles valleys – the internal angles where two roof planes meet – collect debris from Santa Ana winds and rarely get cleaned. A clogged valley backs water up under shingles, causing leaks that appear in the middle of a roof field. Homeowners assume the sheathing is failing or the shingles are defective. Often, it’s just three years of leaf accumulation and a missing piece of valley metal. The symptom is catastrophic; the fix is sometimes just thorough cleaning and resealing.
3. Plumbing Stack Boot Deterioration Mimicking a Major Roof Failure
That rubber collar around your plumbing vent? It cracks in about 8-12 years in Los Angeles sun. A $15 part causes a leak that shows up as a spreading stain across a bedroom ceiling. Because the stain is large and diffuse, homeowners fear extensive damage. In our experience, this is the single most over-repaired leak we encounter – full roof sections stripped when only the boot needed replacement.
4. HVAC Condensation Presenting as a Roof Leak
Los Angeles has more attic-mounted HVAC systems than most climates, and the temperature differential between a 55-degree supply duct and 120-degree attic air produces serious condensation. Water drips from ductwork onto insulation, migrates to drywall, and creates stains identical to roof leaks. We’ve arrived for “roof leaks” in Encino and Tarzana that turned out to be disconnected duct insulation. The key differentiator: these stains often grow during hot summer days when the AC runs hardest, not during rain.
5. Wind-Driven Rain Through Soffit Vents
Our winter storms come sideways. Water can penetrate soffit vents, travel along the underside of roof sheathing, and enter the house at the wall-to-ceiling junction. This looks like a roof edge failure or fascia rot. The actual roof may be fine; the soffit vent design just can’t handle wind-driven rain from the southwest. Baffled vents or simple weatherstripping solves it – no roofing work required.
Roof Leak, Plumbing Stack, or Condensation? Telling Them Apart
Three different systems, identical ceiling stains. Here’s how to distinguish them before you call anyone.
| Indicator | Roof Leak | Plumbing Stack Issue | Condensation |
|---|---|---|---|
| When it appears | During or within 24 hours of rain | Constant or worsening with bathroom use | Hot days with AC running; disappears in cool weather |
| Stain location | Any ceiling area, often near exterior walls | Directly below vent stack (check attic) | Near ductwork or diffusers |
| Attic evidence | Wet sheathing, water path visible | Wet insulation concentrated at pipe boot | Frost or droplets on ductwork, dry sheathing above |
| Smell | Musty, earthy | Sewer gas if wax ring also failed | None, or slight metallic HVAC odor |
| Stain shape | Irregular, spreading from point | Circular or ring-shaped | Diffuse, following duct line |
The condensation problem is particularly common in Los Angeles because our building code didn’t require duct insulation in attics until the 2008 energy standards, and millions of homes predate that. If your house was built before 2010 and you’re seeing summer ceiling stains, check the attic with a flashlight during peak AC hours before you assume the roof is failing.
One diagnostic trick we use: place a sheet of plastic over the suspected area in the attic, secured with tape but allowing airflow underneath. If water collects on top of the plastic during rain, it’s coming from above (roof). If it collects underneath, it’s coming from below (condensation on ductwork). Simple, zero cost, definitive answer.
When Temporary Patching Helps – and When It Hurts
Not every leak demands immediate full repair. But temporary patches are a tool with a sharp edge – use them wrong, and you hide damage that’s accelerating.
Temporary patching buys useful time when:
- The leak is small, the weather forecast is dry for 7+ days, and you need to schedule proper repair with a roofer who works to The Relay Standard – written price first, photo documentation, trackable arrival.
- The source is clearly identified and accessible, and the patch is just keeping water out until permanent materials arrive. CertainTeed or Owens Corning shingles in discontinued colors sometimes need ordering; a tarp with proper fastening is reasonable interim protection.
- You’re documenting the leak for an insurance claim and need to prevent further damage while the adjuster schedules. Photo the patch, photo what’s underneath, keep receipts.
Temporary patching accelerates damage when:
- The patch traps moisture against sheathing. Plastic sheeting laid directly on shingles with no airflow underneath creates a greenhouse effect. We’ve opened “patched” areas in Los Angeles where plywood was punky after three weeks of trapped humidity.
- The leak source is misidentified. Patching the wrong spot channels water to a new path, often into wall cavities where it won’t show until mold appears or drywall crumbles.
- The patch is left in place past the first rain. Tarps flap, fasteners loosen, and wind-driven rain enters at the edges. A “temporary” tarp becomes a water funnel.
Our rule at Crestview Roofing: if we’re applying a temporary patch, we photo what’s underneath, schedule the permanent repair within 72 hours when possible, and never leave a patch in place through a forecasted storm without inspection.
The Before-and-After Photo Protocol Every Homeowner Should Use
This is part of The Relay Visibility Guarantee, and it’s something any homeowner can replicate to protect themselves – whether you hire us or not.
- Photo the interior stain. Wide shot showing location in room, close-up showing stain dimensions and any active dripping. Include a date stamp or photo with that day’s newspaper.
- Photo the attic evidence. Symptom point, water path traced with chalk or tape, and suspected source area. Use your flash; dark attic photos are useless.
- Photo the roof surface. From the ground with zoom if possible, or from a safely positioned ladder. Do not walk the roof if you’re not comfortable and equipped. The photo just needs to show the general area.
- Photo the repair proposal. Any written estimate, with scope and price visible. This is your contract reference.
- Request and photo the during-repair evidence. Any reputable roofer should show you what they found. We send before-and-after photos by text as standard practice – it’s part of how we work. If your roofer won’t, that’s information too.
- Photo the completed repair from multiple angles. Shingle alignment, flashing integration, sealant application. Check these against manufacturer specs – GAF and CertainTeed both publish installation guides online.
- Photo the invoice and warranty document. Our 365-Day Done Right Promise is written and included; whatever guarantee you receive should be in writing, dated, and specific about what “failure” means and how to claim.
In Los Angeles, where contractor fraud and unlicensed operators are persistent problems, this photo protocol is your best protection. The Contractors State License Board maintains a license check tool – verify anyone who sets foot on your roof.
What Roof Repair Costs in Los Angeles
We give written prices before any work starts – always, on every job, no exceptions. Here’s what most standard repairs run in the Los Angeles market so you know what to expect before you ever call.
| Repair Type | Typical Range | What Affects Price |
|---|---|---|
| Plumbing stack boot replacement | $180 – $340 | Roof pitch, accessibility, single vs. multiple boots |
| Flashing repair (small section) | $350 – $650 | Material type (aluminum vs. copper), wall stucco repair needed |
| Shingle replacement (localized, 1-3 shingles) | $200 – $400 | Shingle brand match availability, layer count |
| Valley repair/reseal | $450 – $850 | Length of valley, debris removal, underlying sheathing condition |
| Chimney saddle/cricket rebuild | $800 – $1,400 | Size, flashing integration, masonry condition |
| Skylight reflash/reseal | $400 – $750 | Skylight age, manufacturer, interior finish repair needed |
| Partial fascia/soffit repair from gutter backup | $500 – $1,200 | Extent of rot, gutter removal/reinstall, paint match |
These ranges reflect Los Angeles labor costs and typical material prices for quality components from GAF, CertainTeed, Owens Corning, and comparable manufacturers. Prices below these ranges often indicate cut corners: unlicensed labor, no permit, no warranty, or reclaimed materials. Prices far above may reflect unnecessary scope – a full re-roof pitched for a localized flashing issue.
Our pricing is fixed once written. The number on the page is the number on the invoice. No change orders unless you request additional work, documented in a new written scope.
Common Mistakes to Avoid
- Repairing the ceiling before the roof. We see this constantly in Los Angeles flip properties and impatient homeowners. The stain gets painted, the leak continues, and six months later there’s mold in the insulation and compromised drywall. Fix the source, verify it’s fixed through the next rain, then repair interior damage.
- Using roof cement as a permanent solution. Roofing cement – Henry’s, Blackjack, similar products – is for temporary emergency sealing only. It cracks in our sun within 18 months, and when it fails it traps water underneath. Permanent repairs use proper flashing, replacement shingles, and manufacturer-approved sealants.
- Ignoring permit requirements for structural repairs. Los Angeles requires permits for sheathing replacement exceeding 100 square feet, any structural modification, and all work in designated hillside zones. Unpermitted work voids some insurance coverage and complicates resale. A legitimate roofer pulls permits; it’s included in our standard process.
- Matching new shingles to faded existing ones. Even quality shingles from Owens Corning or Atlas fade significantly in Los Angeles UV. A repair with “identical” color new shingles creates a checkerboard effect. We source from manufacturer weathered blend collections or recommend a partial re-roof of the slope when aesthetics matter.
- Assuming a “roof tune-up” fixes everything. The $199 special: caulk everything, replace three shingles, call it done. It’s profitable for the operator and useless for you if the actual problem is valley corrosion or hidden flashing failure. Get a scope in writing, with specific locations and materials.
- Neglecting gutter maintenance after roof repair. Gutters caused or contributed to the leak in the first place? They’re still full of debris when the roofer leaves. Clean them, or the next overflow undoes the repair.
- Not verifying the warranty transferability. Manufacturer warranties on materials often require installation by a certified contractor to be valid. Our work with GAF and CertainTeed carries full manufacturer backing – ask any roofer you consider whether theirs does, and get it in writing.
When to Call a Professional
Some situations aren’t DIY-appropriate, and not because we’re selling something. Steep roofs, tile roofs, and any work within six feet of a power line are genuinely dangerous – falls from residential roofs cause serious injury regularly in Los Angeles County.
Call a professional when: the leak source isn’t identifiable after methodical tracing; the repair requires walking a roof steeper than 6:12 pitch; there’s visible sagging in sheathing or rafters; you suspect multiple failure points; your roof is tile, slate, or metal and requires specialized techniques; or the interior damage exceeds what you’re equipped to dry and repair properly.
Crestview Roofing offers free estimates in Los Angeles – call (325) 246-5075. A live person answers, 24/7. We’ll give you a written price before any work starts, photo documentation of what we find, and a trackable arrival time so you’re not waiting on a four-hour window. Every repair includes our 365-Day Done Right Promise in writing.
Frequently Asked Questions
Most standard repairs run $200 – $650, with simple plumbing boot replacements at the low end and chimney flashing or valley work at the higher end. Call (325) 246-5075 for an exact quote – estimates are free, and we put the price in writing before any work starts.
No. Our written price is fixed. The only way the number changes is if you request additional work, which we document in a new written scope with its own price. No surprises, no “we found more damage” upsells at the door.
Check timing first: roof leaks appear during or within a day of rain; condensation stains grow during hot AC use and shrink in cool weather; plumbing vent leaks are constant or worsen with bathroom use. Confirm in the attic: wet roof sheathing above means roof leak, dry sheathing with wet ductwork means condensation, concentrated wetness at a pipe boot means plumbing vent.
Yes, when required. Los Angeles requires permits for sheathing replacement over 100 square feet, structural modifications, and hillside zone work. We handle permit application, inspection scheduling, and sign-off as part of our standard process. You receive copies of all documentation.
Most residential repairs are completed in 2 – 4 hours. We schedule a specific arrival time you can track, not a window. You’ll receive before-and-after photos by text, plus a digital invoice. Large repairs or those requiring material orders may span two days; we communicate timing clearly in writing.
Any covered repair that fails within 365 days is corrected at no charge, including a free second visit – no negotiation, no runaround. It’s included with every repair, in writing, at no extra cost. “Failure” means water intrusion at the repaired location or material defect in our workmanship.
The Bottom Line
Roof leak troubleshooting is about working backward from symptom to source, resisting the urge to fix what’s visible instead of what’s actually broken. Water travels; your job is to trace its path. The five misdiagnosed problems we’ve covered – flashing, valleys, pipe boots, condensation, and wind-driven soffit intrusion – account for most repeat leaks we see in Los Angeles. Document everything with photos, match the repair to the real source, and get any warranty in writing. For more guides & resources, explore our blog. Temporary patches are for buying time to do the job right, not for avoiding it. And when the source isn’t clear or the access isn’t safe, a professional with transparent process – written price, photo proof, guaranteed arrival – is the faster, cheaper path than two wrong repairs.
Ready to stop chasing stains and fix the actual problem? Call Crestview Roofing at (325) 246-5075 to schedule your free estimate. A live person answers, day or night. We’ll trace your leak to its source, put the repair scope and price in writing before any work starts, and back it with our 365-Day Done Right Promise – every repair, every time.
Written by Dylan Pace, Owner at Crestview Roofing, serving Los Angeles since 2000.