
Last updated October 10, 2026
Free roof inspection with deck photos before we talk money - GAF and Owens Corning certified installation
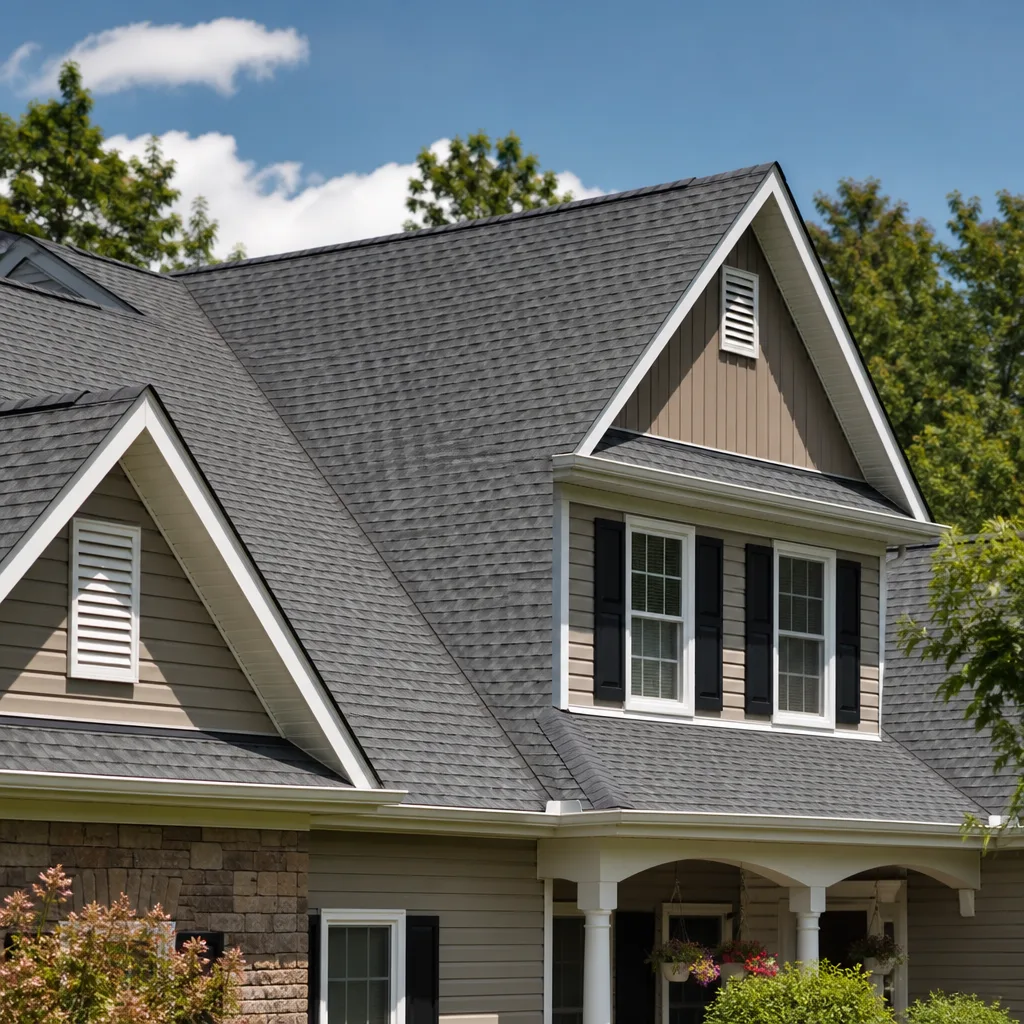
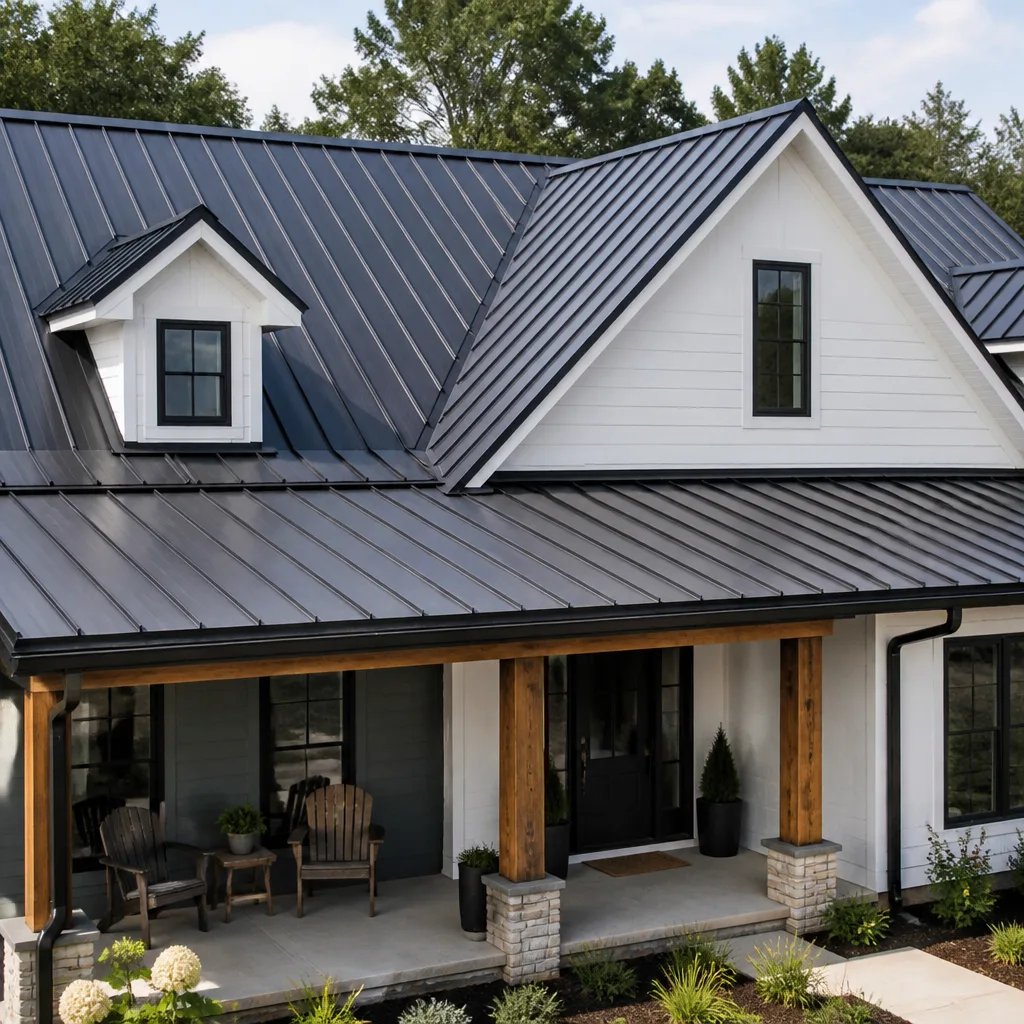
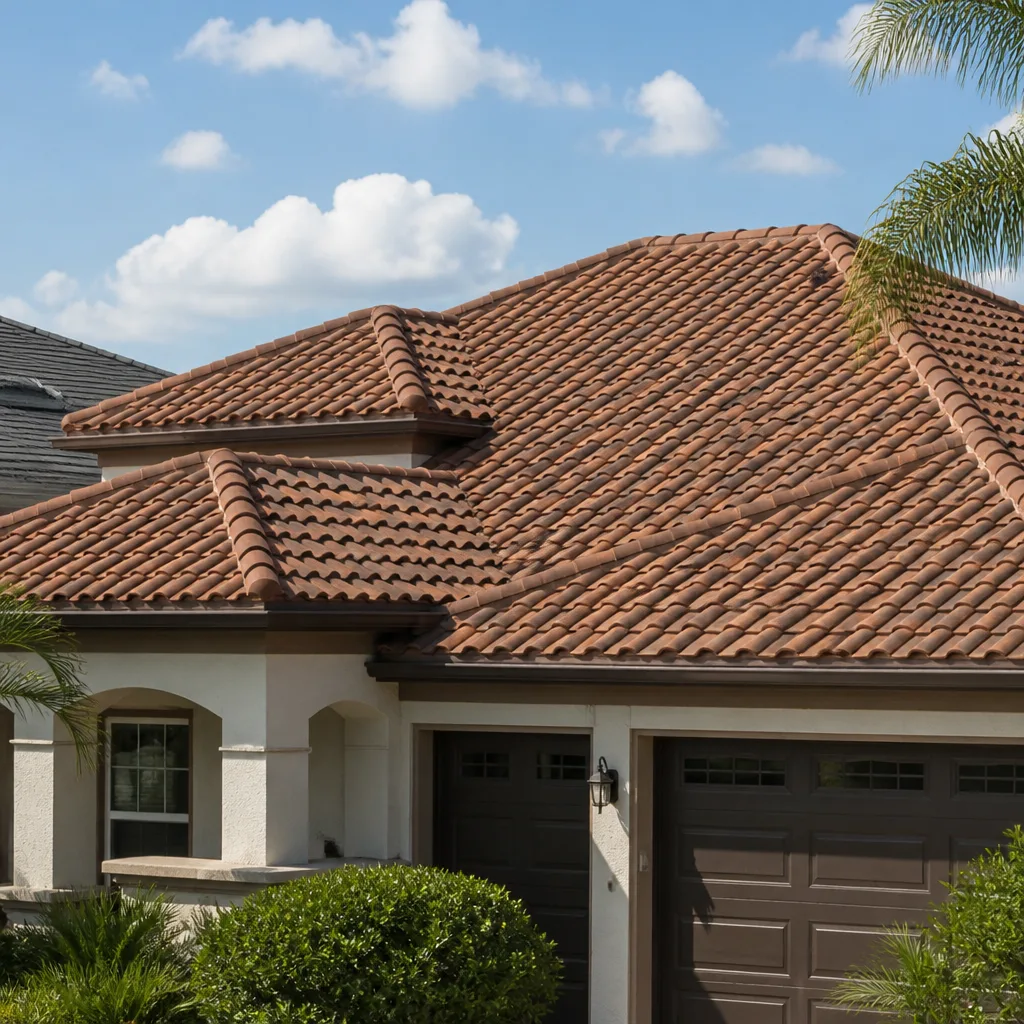
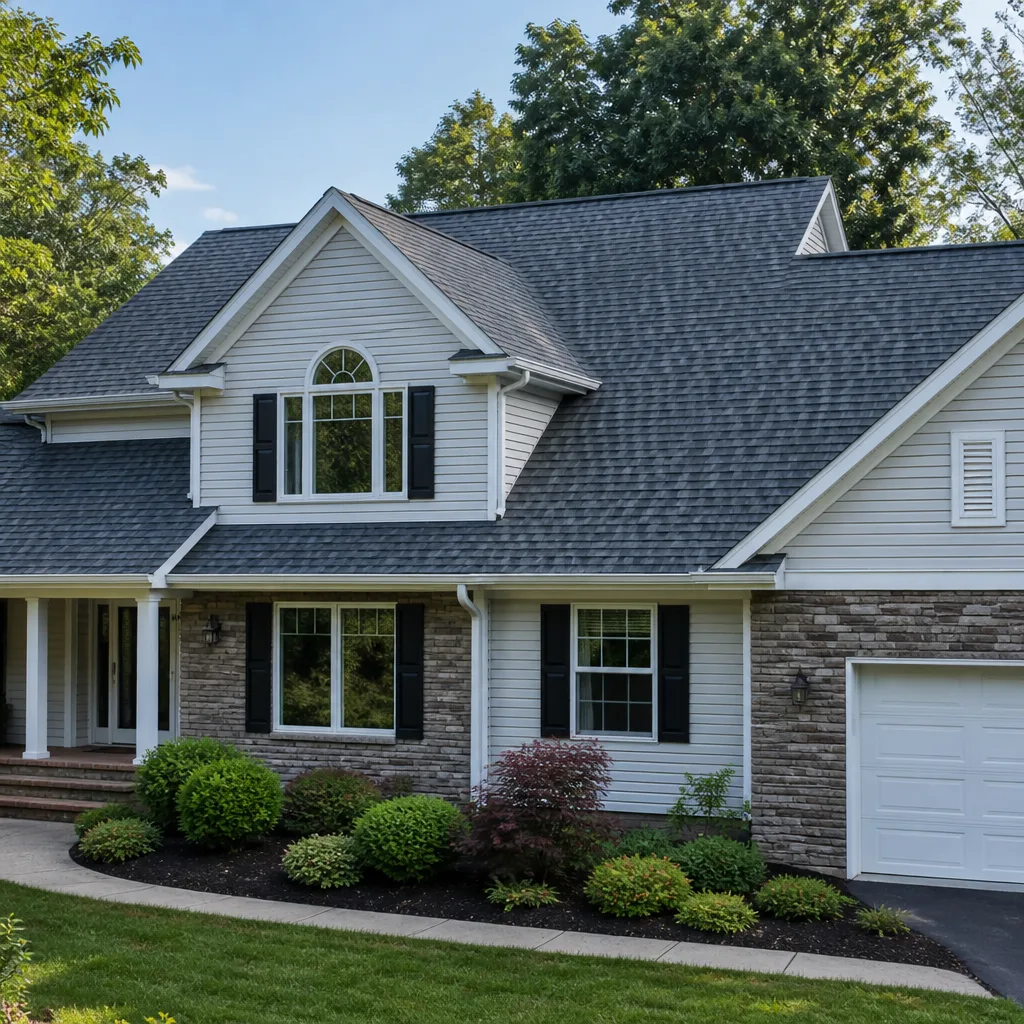
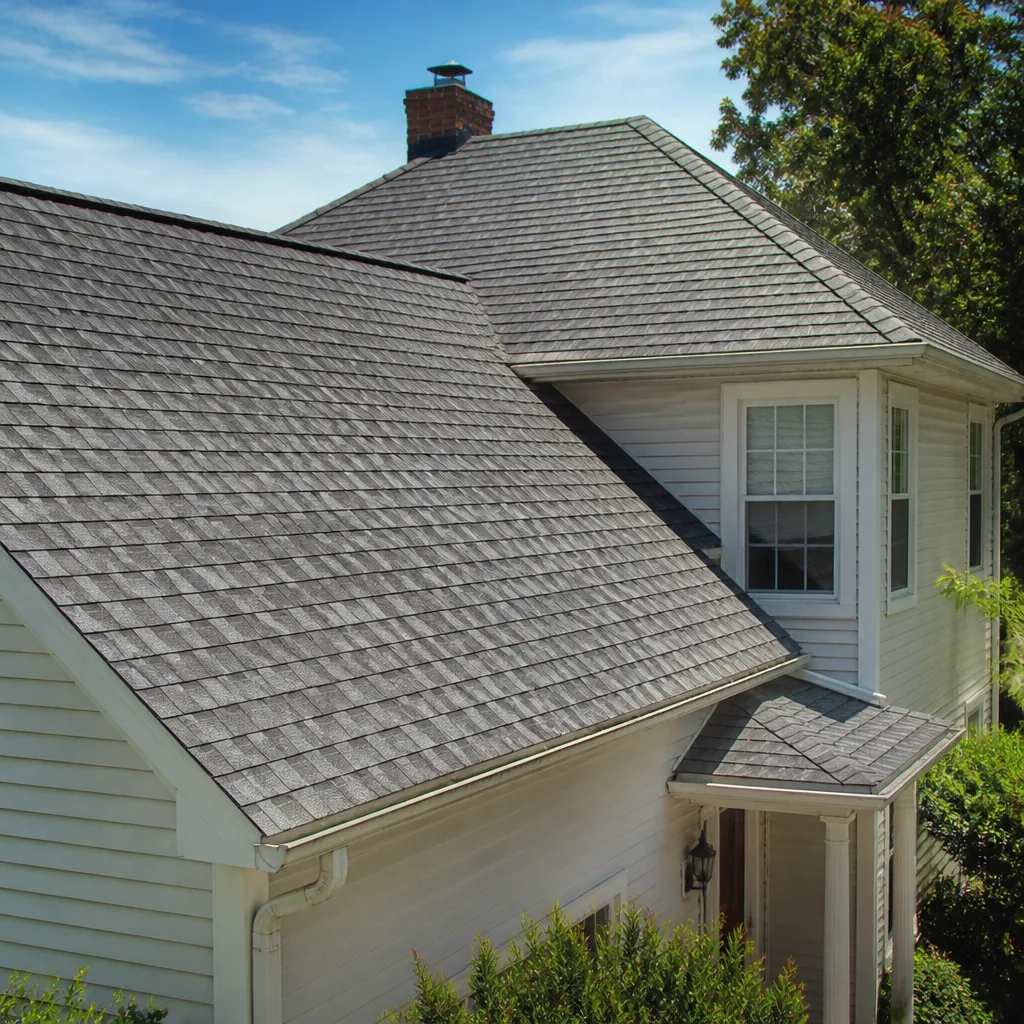
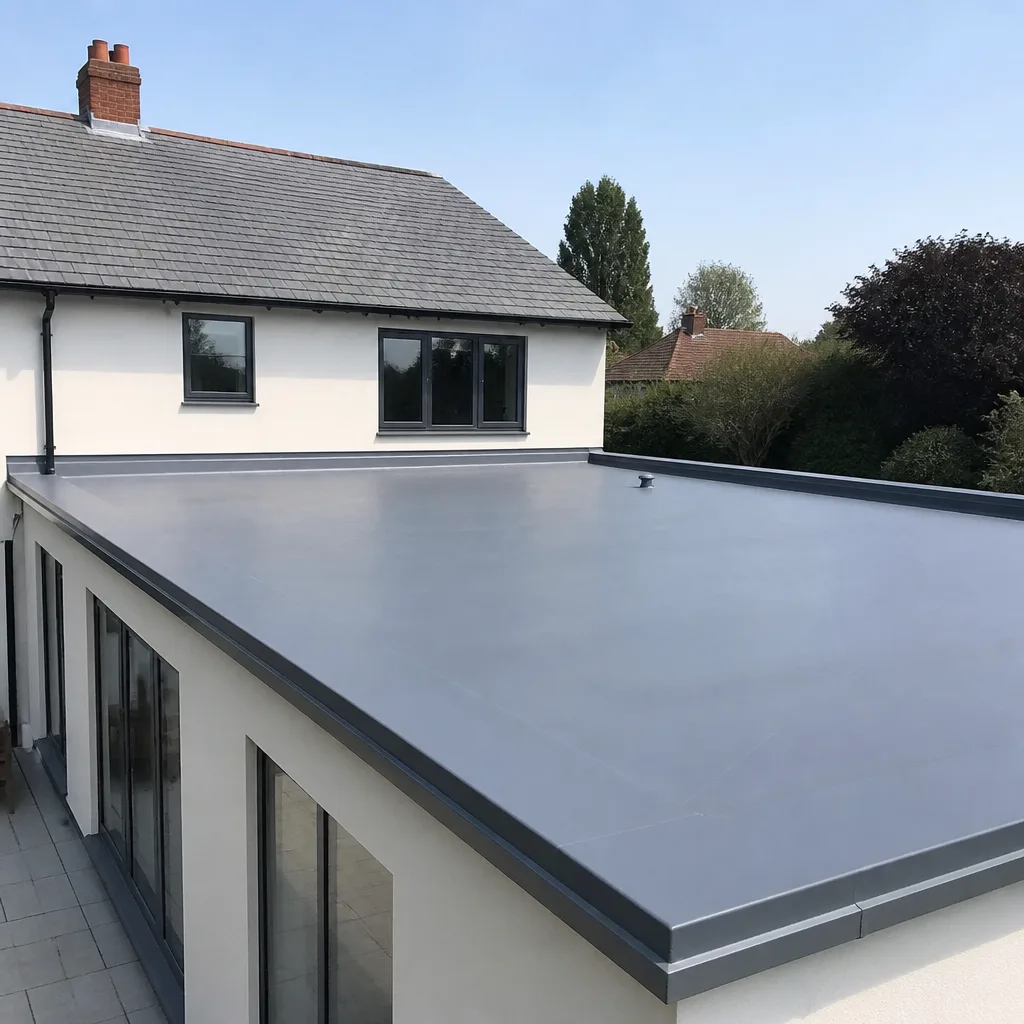
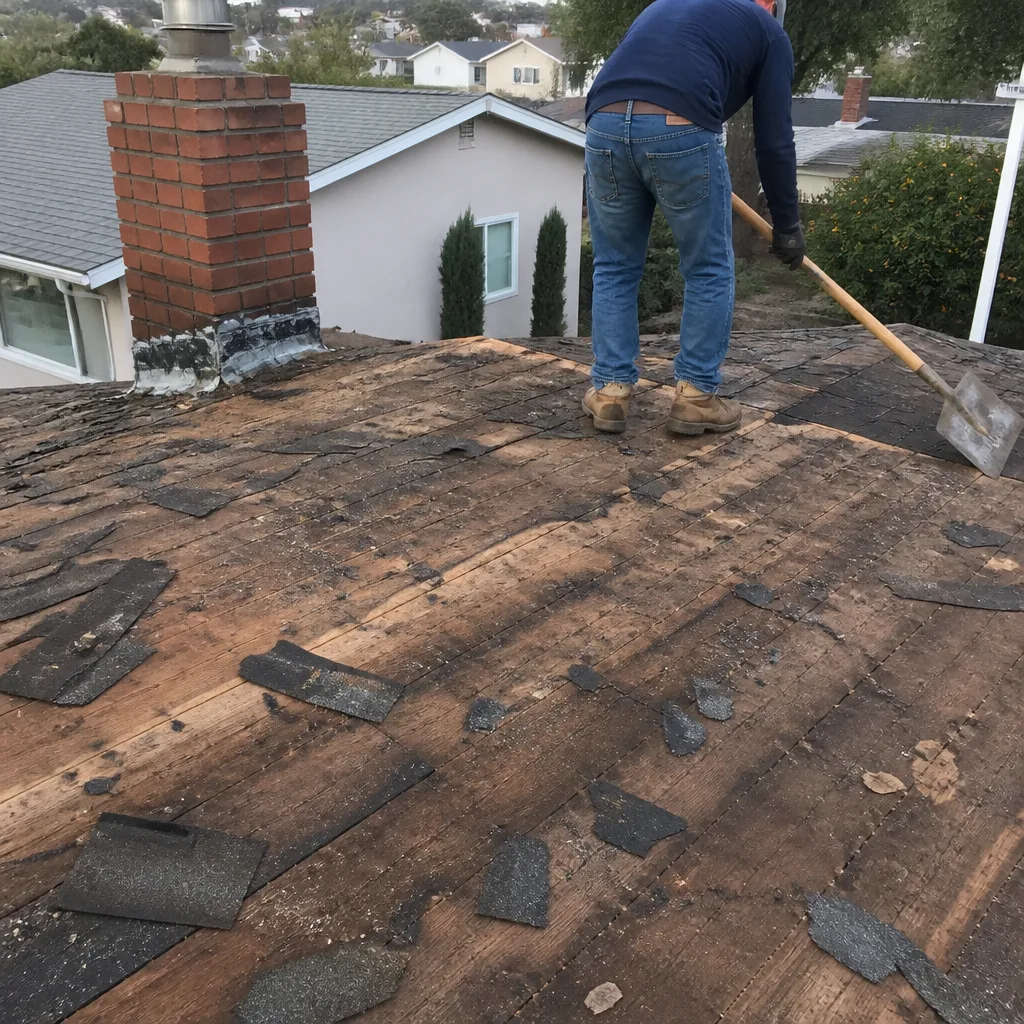 Before
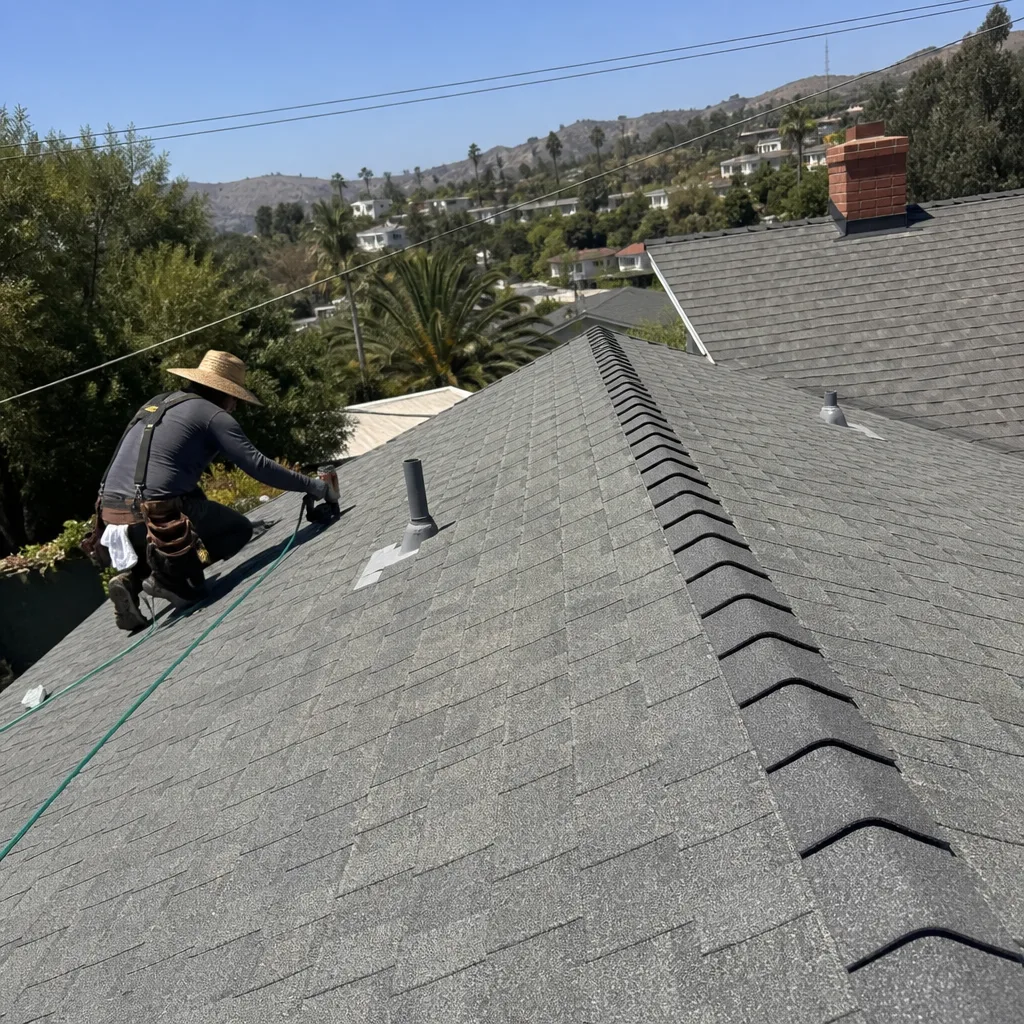 After
After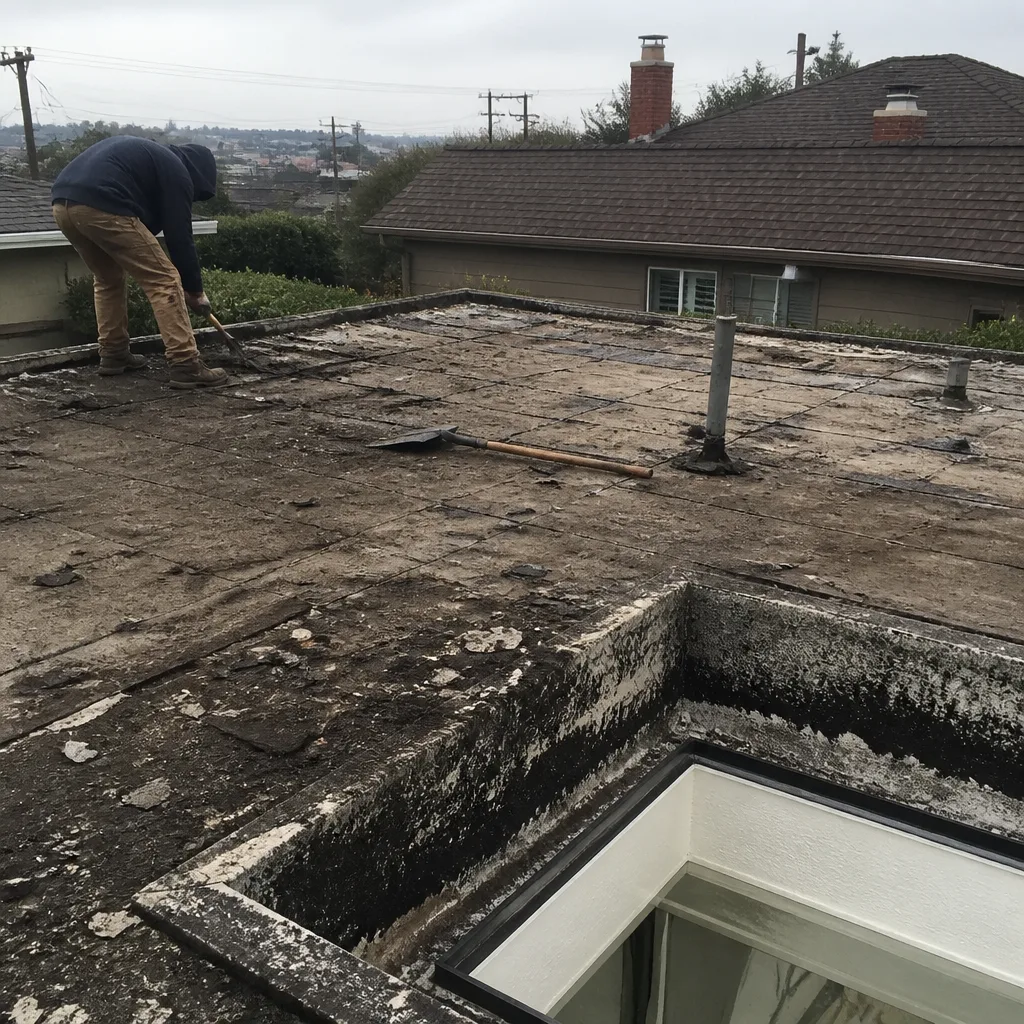 Before
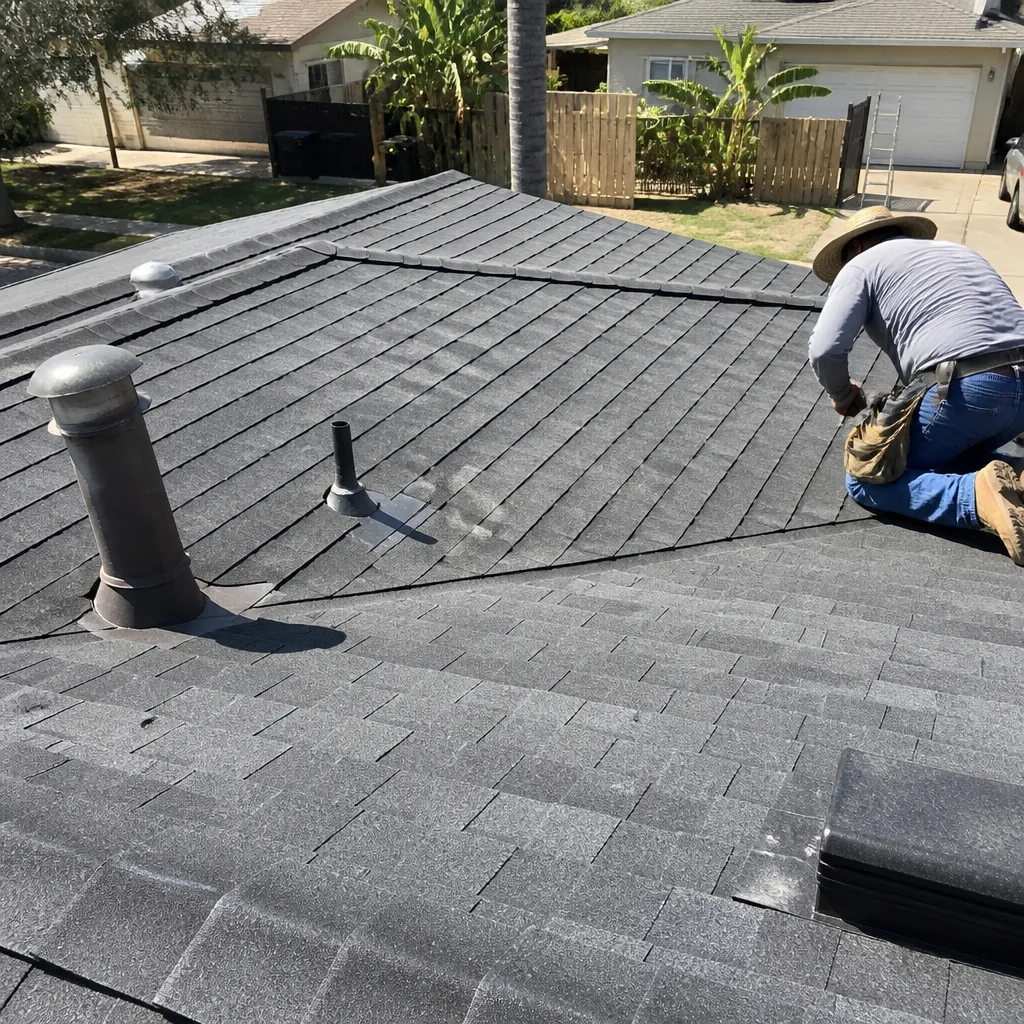 After
After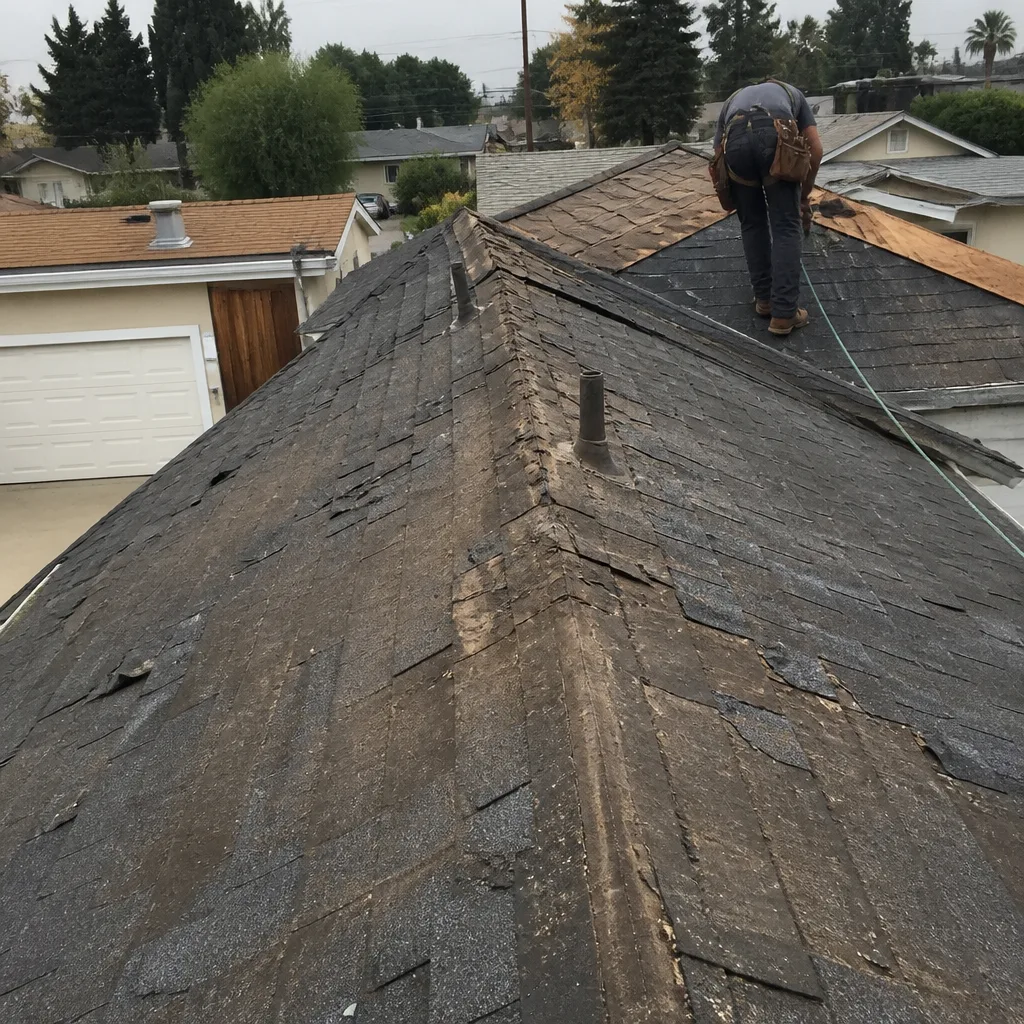 Before
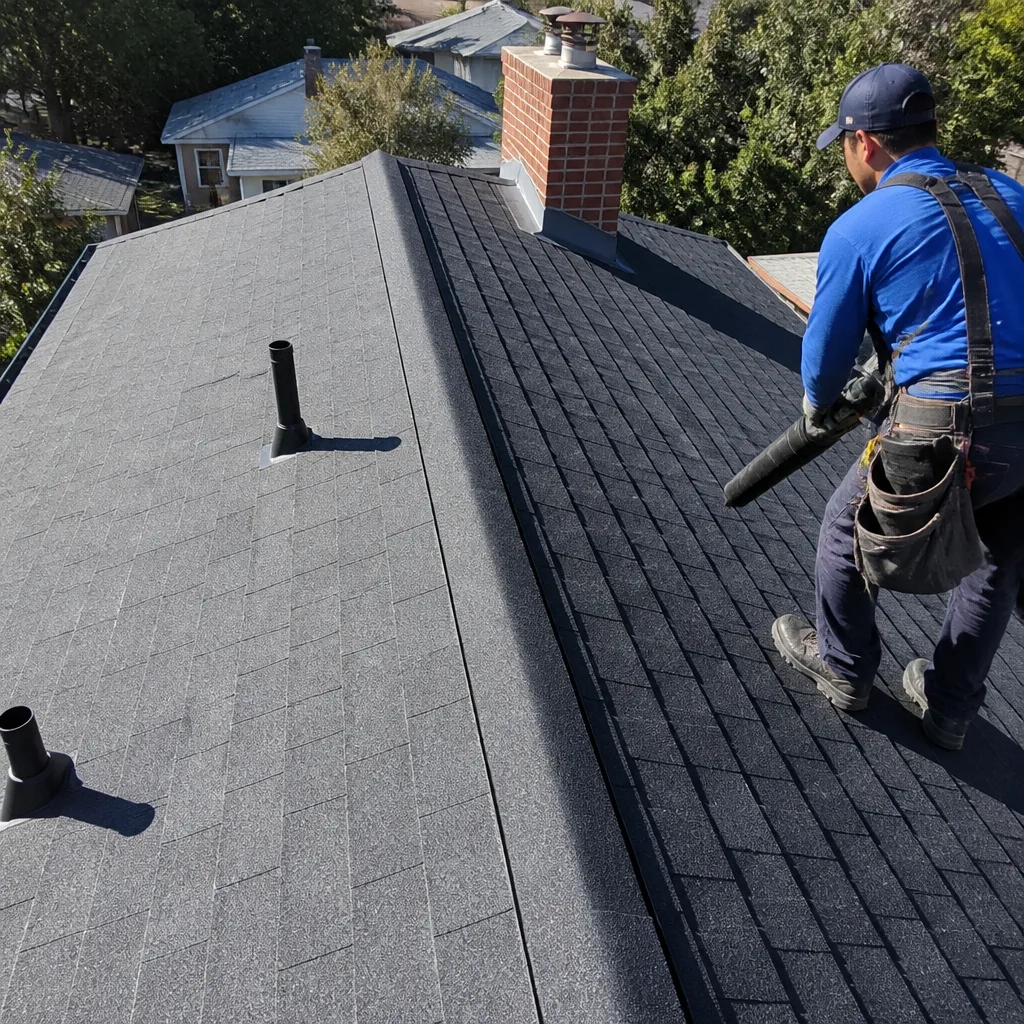 After
AfterRoof Replacement Maintenance Schedule: What to Do and When
The most expensive warranty claim on a new roof typically comes from something that could have been caught at the 90-day mark – a lifted flashing edge, a sealant gap at a pipe boot, a valley that wasn’t fully adhered – when the fix would have cost nothing under workmanship warranty. Most homeowners in Los Angeles assume a new roof means setting it and forgetting it. In our experience, the first two years after replacement are actually the highest-risk window for preventable failures caused by settling, sealant cure, and missed installation defects. This guide maps exactly what to check and when during those critical early years.
Quick Answer
A new roof needs inspection at 30 days, 90 days, 6 months, 1 year, and 2 years after installation. The first 90 days are critical for catching settling issues and sealant gaps before they become leaks. After year two, transition to annual professional inspections and seasonal homeowner checks, or browse more guides & resources for ongoing maintenance tips.
Table of Contents
- Why New Roofs Fail Early: The First Two Years
- 30-Day Checkpoint: The Initial Settle-In
- 90-Day Checkpoint: Catching What the Eye Missed
- 6-Month Gutter Reattachment Check
- 1-Year Inspection: Sealant Cure and Flashing Verification
- 2-Year Follow-Up: The Warranty Documentation Review
- How to Maintain Your Warranty Documentation
- Common Mistakes to Avoid
- When to Call a Professional
- Frequently Asked Questions
Why New Roofs Fail Early: The First Two Years
New roofs fail differently than old ones. An aging roof fails from cumulative wear – granule loss, brittle shingles, rusted fasteners. A new roof fails from installation details that didn’t seat properly, sealants that cured unevenly in Los Angeles heat, or structural movement that pulled fasteners loose before adhesives set.
We’ve seen this pattern across thousands of jobs. The first 30 days show fastener pop and minor shingle displacement from the roof deck adjusting to new weight and wind loads. Days 30 to 90 reveal sealant activation issues, especially on steep pitches where factory-applied adhesive strips didn’t get enough sun exposure to bond. Months 6 to 12 expose flashing details that held through mild weather but gap under thermal cycling. And the second year catches the slow-developing problems: gutter hangers that worked loose from nailing into new fascia, or valley underlayment that shimmied from expansion and contraction.
Los Angeles complicates this timeline. Our Santa Ana wind events can stress a roof before sealants fully cure. Our intense UV exposure accelerates sealant skinning on the surface while the bead underneath stays soft. And our dry seasons followed by concentrated winter rains mean a small gap might not leak for eight months, then fail catastrophically in a February storm.
The maintenance schedule below accounts for these local conditions. Follow it, and you’ll catch problems when they’re still workmanship issues, not insurance claims.
30-Day Checkpoint: The Initial Settle-In
Schedule this inspection for a clear morning, about three to four weeks after installation completion. You’re looking for what changed as the roof adjusted to its first cycles of sun, wind, and the structural load of the new materials.
What to Check From the Ground
- Shingle alignment at ridges and hips. Look for any shingles that appear shifted from their original straight line. Santa Ana winds in the first month can displace shingles before sealant strips activate.
- Visible fastener heads. Any nail or staple head showing through granules indicates a fastening depth issue that will leak within two years.
- Debris in valleys. Leaves and construction dust hold moisture against new sealants and can interfere with curing.
- Drip edge alignment. The metal edge at your eaves should form a clean, continuous line. Gaps or lifts here direct water behind fascia boards.
What to Check From the Attic
Bring a flashlight and look for daylight through the roof deck at penetrations – pipes, vents, chimneys. Any pinhole of light means a gap in underlayment or flashing. Also check for loose insulation or disturbed vapor barriers, which indicate where workers walked heavily and may have compressed decking.
Document everything with dated photos. These establish your baseline condition and support any warranty claim. At Crestview Roofing, we provide before-and-after photo documentation as part of The Relay Visibility Guarantee, but your own 30-day photos add an independent record.
If you find issues, contact your installer immediately. Most workmanship warranties cover correction at no cost during this window. The key is documenting before the condition worsens.
90-Day Checkpoint: Catching What the Eye Missed
This is the most important inspection most homeowners skip. By 90 days, thermal cycling has done its initial work. Sealants have had time to cure or fail. And you’re still within the period where installation issues are clearly workmanship defects, not ambiguous “wear and tear.”
Critical 90-Day Inspection Items
- Flashing sealant at all penetrations. Pipe boots, vent stacks, chimney saddles – examine the caulk or sealant bead for cracks, separation, or spots where it pulled away from metal. In Los Angeles, our temperature swings between 50°F winter nights and 85°F+ days cause more sealant movement than homeowners expect.
- Valley centerlines. Closed-cut valleys should show a straight, clean cut. Open valleys should have no debris accumulation in the metal channel. Any waviness or lifting indicates adhesive failure or improper fastening.
- Ridge cap shingle overhang. Caps should extend equally down both sides of the ridge. Uneven exposure suggests shingle movement from wind or inadequate nail placement.
- Starter course visibility at eaves. The bottom edge of your first shingle course should cover the starter strip completely. Visible starter strip means wind-driven rain can penetrate.
Understanding Sealant Cure: Normal vs. Problem
Here’s what competitors rarely explain. Factory-applied sealant strips on shingles go through three phases: initial tack, full cure, and long-term hardening. In Los Angeles, initial tack happens within days. Full cure takes 6 to 12 weeks depending on sun exposure and temperature. Surface cracking during this window is often normal – the sealant skin contracts as solvents evaporate.
But certain patterns signal real problems:
| Normal Cure Sign | Problem Sign |
|---|---|
| Fine surface cracking, sealant still flexible when pressed | Deep cracks extending through full bead depth |
| Light color change from original tan or gray | Chalky, crumbling texture |
| Sealant adheres firmly when lightly probed at edge | Sealant peels away from metal or shingle with minimal pressure |
| Consistent bead width around entire penetration | Gaps, voids, or spots where bead is missing entirely |
If you’re uncertain, photograph the area and email it to your installer. Any reputable Los Angeles roofer will review 90-day photos without charging a trip fee – it’s cheaper than a warranty leak repair.
6-Month Gutter Reattachment Check
This checkpoint addresses a problem specific to roof replacements: gutter disturbance during tear-off and installation.
When crews remove old shingles, they work at the roof edge where gutter hangers attach. Ladders lean against gutters. Debris falls into them. Workers step on them for access. Even careful crews can’t avoid some movement. And new fascia boards, often replaced during re-roofing, may not have received properly spaced hanger screws.
By six months, the first heavy rain of Los Angeles winter has tested these connections. Here’s what to verify:
- Pull gently on the gutter at each downspout. Movement indicates loose hangers or failed spikes.
- Check for standing water. New gutters should drain completely. Pools indicate improper slope, often from hangers that shifted during roofing work.
- Inspect seams and end caps. Thermal movement from six months of sun exposure will reveal weak sealant joints.
- Verify downspout connections. Elbows and extensions should be firmly seated; loose connections detach in our first strong winter storm.
Gutter failure doesn’t just mean water on your foundation. Overflowing gutters back water up under eave edges, attacking the new roof’s most vulnerable point. We’ve repaired dozens of Los Angeles homes where gutter separation at six months led to fascia rot at eighteen months – all preventable with this simple check.
If gutters were replaced as part of your roofing project, verify that hanger spacing meets local code: typically every 24 inches in standard conditions, every 18 inches in areas with Santa Ana wind exposure or heavy rainfall concentration.
1-Year Inspection: Sealant Cure and Flashing Verification
At one year, your roof has experienced a full Los Angeles weather cycle: summer UV peak, Santa Ana wind season, winter rain concentration, and spring temperature swings. This is when latent installation issues finally reveal themselves.
What a Full 1-Year Inspection Covers
Start with everything from the 90-day checklist, but now evaluate with the knowledge of what survived a full year.
Flashing sealant re-inspection. By 12 months, properly cured sealants should be firm but slightly pliable. Over-cured sealants become brittle and crack in year two. Under-cured sealants remain tacky and attract debris. Both conditions need correction. Focus especially on north-facing slopes, which receive less UV and cure slower in Los Angeles conditions.
Shingle sealant strip verification. Lift a shingle tab gently at an inconspicuous eave edge. Properly bonded shingles resist lifting and show sealant transfer to the underside of the tab. Tabs that lift easily with no adhesion signal incomplete activation – common on steep north faces or heavily tree-shaded areas.
Fastener withdrawal check. Examine ridge caps and field shingles for raised areas indicating nail pop. One year of thermal movement will push poorly seated fasteners outward. Each pop creates a leak path and granule loss from foot traffic during repair.
Valley and penetration water staining. Check attic spaces below all valleys, chimneys, and vent stacks. One year provides enough rain exposure to reveal minor leaks that don’t yet show on ceilings.
This inspection is where many homeowners discover their installer is no longer responsive. The crew has moved on, the company has merged, or the warranty “doesn’t cover that.” At Crestview Roofing, our Roof Replacement in Los Angeles includes the 365-Day Done Right Promise – any covered repair that fails within a full year is corrected at no charge, including a free second visit if needed.
2-Year Follow-Up: The Warranty Documentation Review
Year two is transition time. Your roof’s installation-phase issues should be resolved. What remains is establishing your long-term maintenance rhythm and securing your warranty position.
The 2-Year Technical Inspection
By 24 months, factory sealants have fully cured, structural settling has stabilized, and any installation defects have either appeared or never will. This inspection focuses on:
- Granule retention. Some granule loss is normal in years one and two as loose surface material washes away. Excessive loss exposing asphalt mat indicates manufacturing defect or installation foot traffic damage. Document with photos for potential manufacturer claim.
- Flashing metal fatigue. Expansion and contraction from two years of Los Angeles thermal cycling will reveal any metal that’s too thin or improperly secured. Look for oil-canning (wavy appearance) or fastener tear-out.
- Chimney and vent counter-flashing. These seal points experience the most movement. Two years of data shows whether original installation accommodated expected structural shift.
The Documentation Audit
More critically, year two is when you audit your warranty paperwork. Manufacturer warranties from CertainTeed, Owens Corning, IKO, or Atlas require specific registration steps, often within 30 to 60 days of installation. Many homeowners never complete this, leaving only the basic material warranty instead of enhanced system coverage-see our Roof Replacement Troubleshooting: Common Problems and How to Fix Them for related issues.
Gather these documents in one place:
- Original installation contract with scope of work
- Manufacturer warranty registration confirmation
- Workmanship warranty from installer
- All inspection photos from 30-day, 90-day, 6-month, and 1-year checks
- Any repair invoices or correspondence
Verify that your installer registered your warranty with the manufacturer. If not, contact the manufacturer directly – some allow late registration with installation documentation. Missing this step can reduce a 50-year material warranty to 10 years.
How to Maintain Your Warranty Documentation
Warranties are contracts with conditions. Understanding what voids them accidentally saves thousands in denied claims.
What Voids Manufacturer Warranties
- Unapproved repairs. Using non-manufacturer accessories, mixing shingle brands, or applying aftermarket coatings can void material coverage. Always use specified ridge caps, starters, and underlayment from the same brand family.
- Improper ventilation changes. Adding powered attic vents, blocking soffit intakes, or installing insulation against roof deck without proper air gap can overheat shingles and void thermal-exclusion clauses.
- Pressure washing. This strips granules and voids virtually all manufacturer coverage. Use gentle washing only, or hire services that use manufacturer-approved methods.
- Failure to register. As noted, this is the most common self-inflicted wound. Set a calendar reminder for 30 days post-installation.
What Voids Workmanship Warranties
Workmanship coverage is more variable. Common exclusions include:
- Damage from “acts of God” – earthquakes, fallen trees, wind exceeding rated speeds
- Consequential damage from homeowner alterations (satellite dish installation, solar panel mounting by others)
- Failure to maintain (gutter overflow causing fascia rot, tree abrasion)
- Transfer restrictions – some warranties expire on home sale unless formally transferred within 30 days
At Crestview Roofing, our 365-Day Done Right Promise transfers automatically with home sale during the coverage period – one less thing to negotiate in escrow. We also provide digital copies of all warranty documents through The Relay Standard, so nothing gets lost in a file drawer.
Common Mistakes to Avoid
- Skipping the 90-day inspection because “it looks fine from the street.” Most early failures start at penetrations you can’t see from ground level. Use binoculars or hire a brief professional look.
- Walking on the roof yourself at 30 days. New sealants are tacky; foot traffic can break bonds before they cure. Wait 90 days minimum, or hire professionals with proper fall protection.
- Assuming gutter issues are “just gutters.” In Los Angeles, gutter overflow from loose hangers destroys fascia, soffit, and eventually roof edge framing. Address at six months, not two years.
- Using generic caulk for flashing touch-ups. Roof sealants are formulated for specific temperature ranges and expansion rates. Hardware store silicone often fails within one season. Use manufacturer-specified products only.
- Neglecting manufacturer registration for “system warranties.” Basic material coverage is 10 years. System warranties covering labor, tear-off, and disposal require registration and often specific accessory use. Verify what you actually have.
- Waiting for visible interior damage before acting. By the time drywall stains appear, you’ve had months of hidden deck damage. Inspect proactively, not reactively.
- Hiring unlicensed contractors for “minor” warranty repairs. This voids remaining workmanship coverage from your original installer. Always contact the installing company first, or verify any third party is approved by your warranty terms.
When to Call a Professional
Some checkpoints belong to homeowners with good binoculars and a ladder. Others require trained eyes and proper fall protection. Call a professional when you spot: daylight through the roof deck, water staining on rafters or insulation, more than three nail pops in a 10-foot area, sealant that crumbles when lightly touched, gutter separation that exposes fascia, or any shingle lifting after the 90-day mark.
Specifically request a written report with photos. Any Los Angeles roofer worth hiring will provide this without charge for the inspection, or include it in a modest trip fee that applies to any repair. Ask them to verify: fastener placement per manufacturer spec, sealant activation on shaded slopes, and flashing integration at all wall and chimney intersections.
Crestview Roofing offers free estimates in Los Angeles – call (325) 246-5075. Our technicians arrive in uniform with live-trackable arrival times, provide written prices before any work starts, and document everything with before-and-after photos. The 365-Day Done Right Promise covers every repair for a full year, including a free second visit if the repair fails.
Frequently Asked Questions
Most reputable Los Angeles roofers charge $150 – $300 for a standalone inspection with written report, though many apply this to subsequent repairs. Crestview Roofing provides free estimates that include condition assessment. Call (325) 246-5075 to schedule – estimates are free and include a written price before any work begins.
Routine homeowner maintenance – gutter cleaning, debris removal, visual inspection – never voids warranties. What voids coverage is unqualified repairs, pressure washing, or using non-approved materials. When in doubt, photograph the issue and call your installer before touching it.
Wait minimum 90 days for sealants to cure, and longer on north-facing or heavily shaded slopes. When you do walk on it, use soft-soled shoes, step on the lower portion of shingle tabs (not the exposed portion), and avoid valleys and ridges. For safety and warranty protection, we recommend hiring professionals for any work requiring roof access.
Remove debris quarterly, especially after Santa Ana wind events that drop branches and leaves into valleys. Use a leaf blower or gentle sweeping – never pressure wash. For algae or mildew in shaded Los Angeles canyons, use manufacturer-approved cleaning solutions only. Atlas and IKO both publish specific cleaning guidelines for their products.
Improperly activated sealant strips on steep or shaded slopes, combined with Santa Ana wind events before full adhesion. Our dry climate means sealants cure slowly on north faces, and our sudden wind bursts can lift tabs before they’re bonded. The 90-day inspection catches this before it becomes a leak.
Request your registration confirmation number directly. Check with the manufacturer using your address and installation date. Owens Corning and CertainTeed both offer online warranty lookup tools. If your roofer can’t produce confirmation, register yourself immediately with your contract and material delivery receipts.
The Bottom Line
A Roof Replacement demands a different maintenance rhythm than an aging one. The critical window is the first two years: 30 days for settling, 90 days for sealant cure verification, six months for gutter integrity, one year for full weather-cycle validation, and two years for warranty documentation security. Skip these checkpoints, and you transform minor installation adjustments into major leak repairs. Follow them, and you protect both your roof and your warranty position. In Los Angeles climate conditions, proactive inspection isn’t optional maintenance – it’s cost prevention.
Ready to protect your investment? Call (325) 246-5075 to schedule your free estimate with Crestview Roofing. You’ll get a written price before any work starts, live-trackable technician arrival, and before-and-after photo documentation on every job.
Written by Dylan Pace, Owner at Crestview Roofing, serving Los Angeles since 2000.