
Last updated October 10, 2026
Free roof inspection with deck photos before we talk money - GAF and Owens Corning certified installation
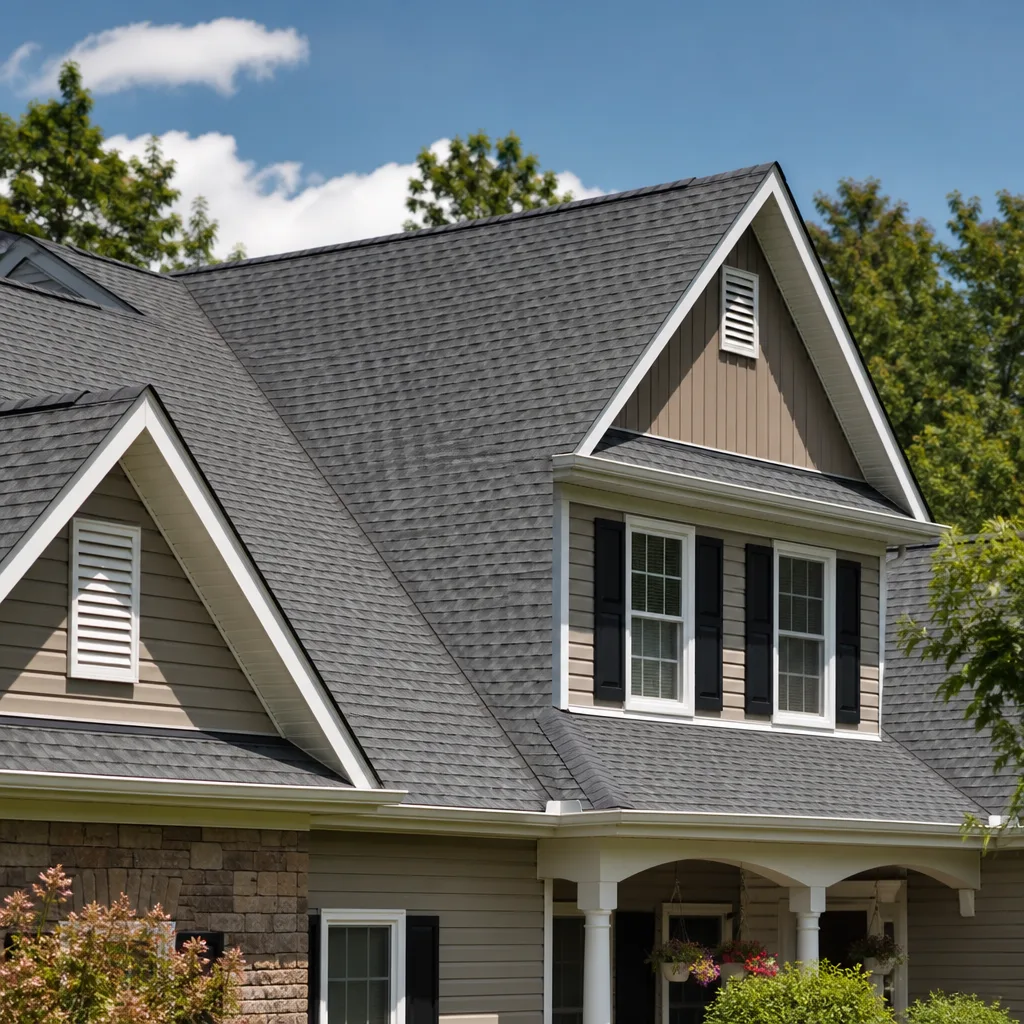
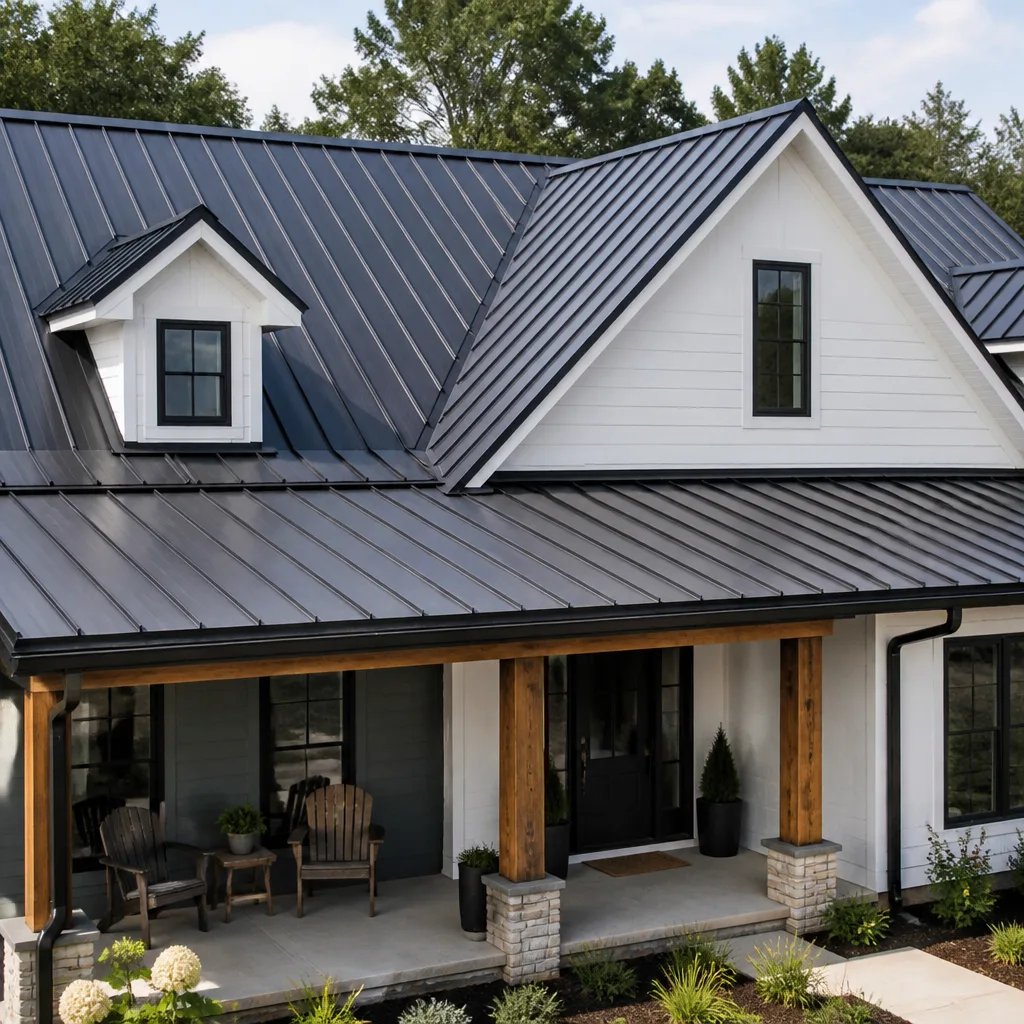
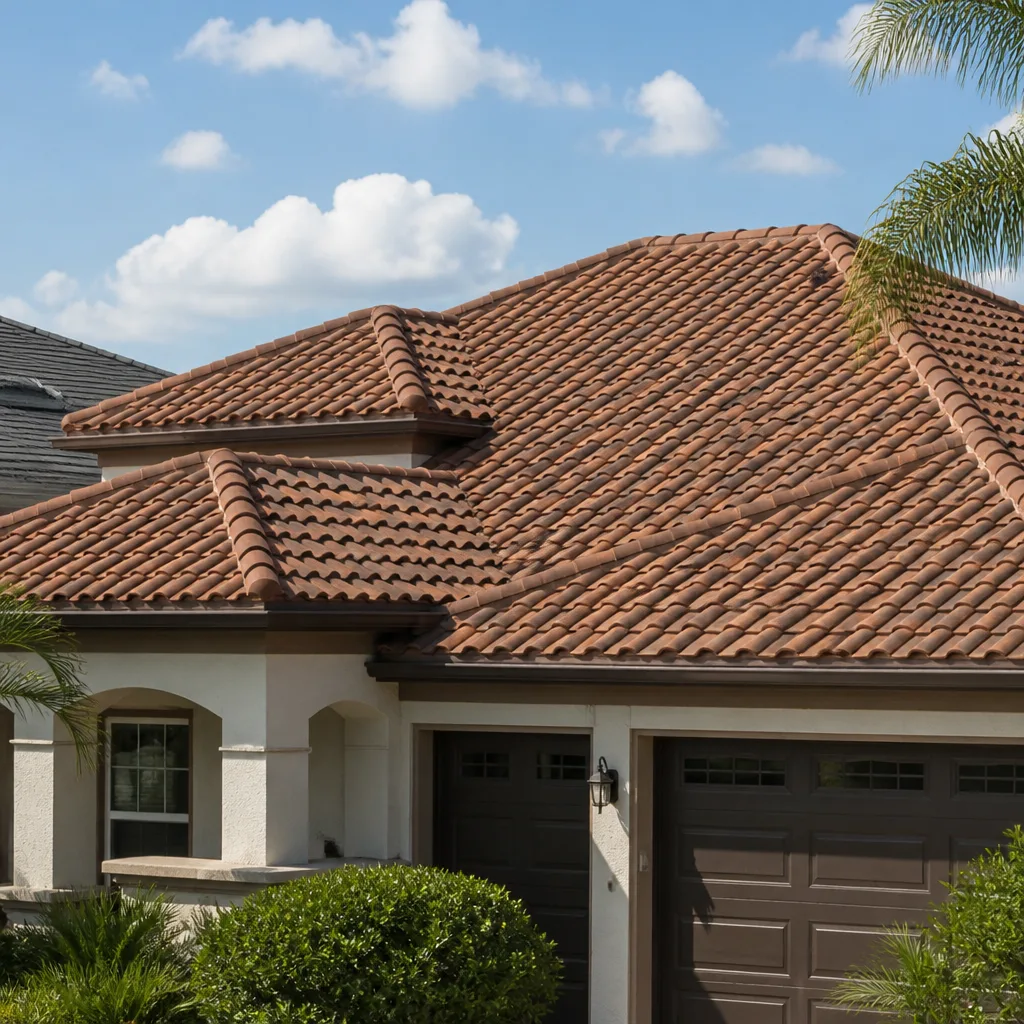
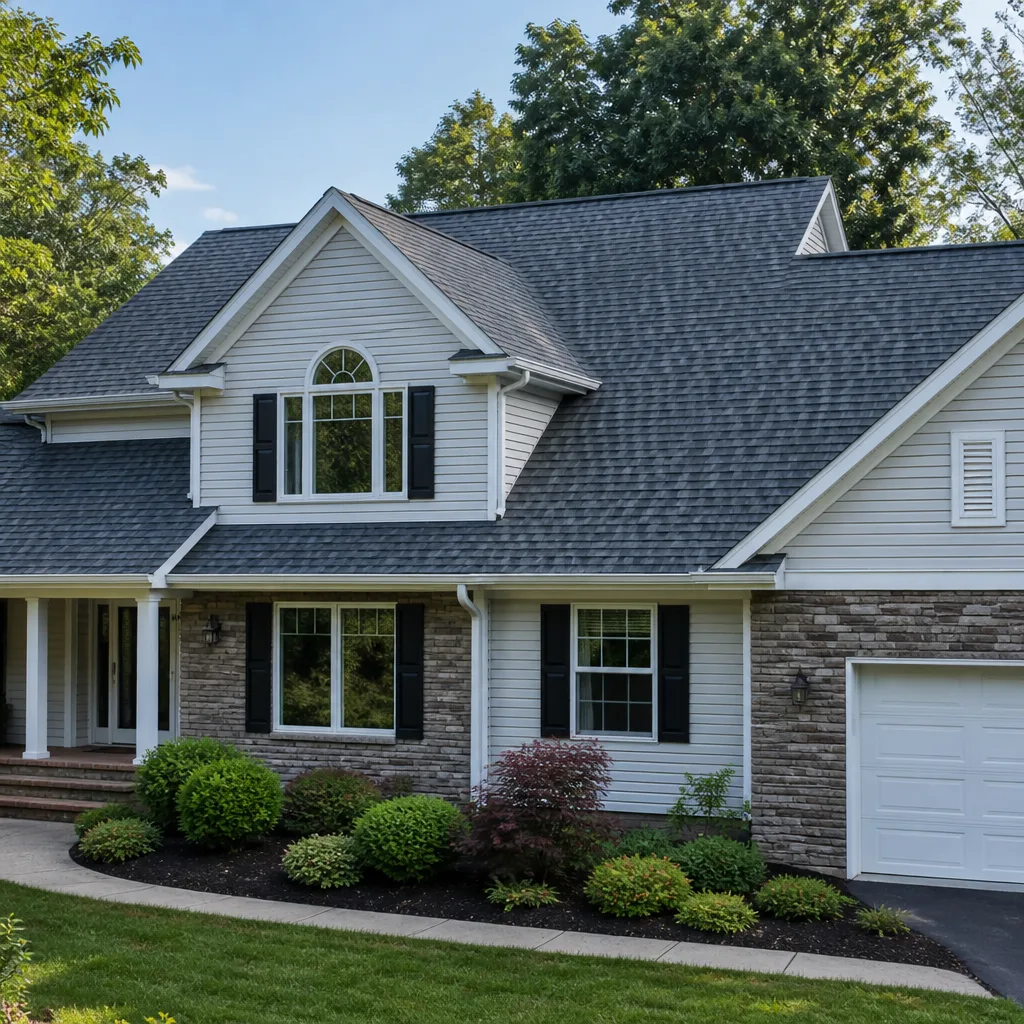
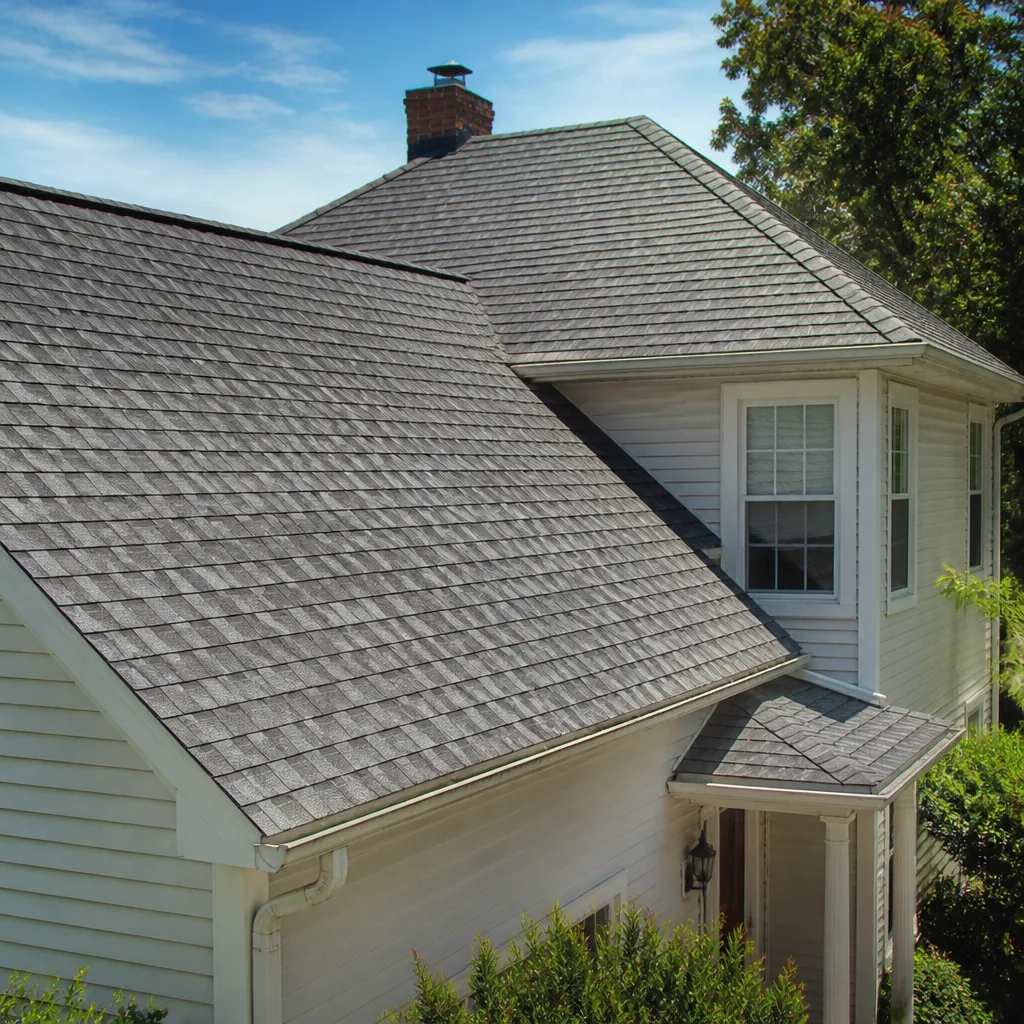
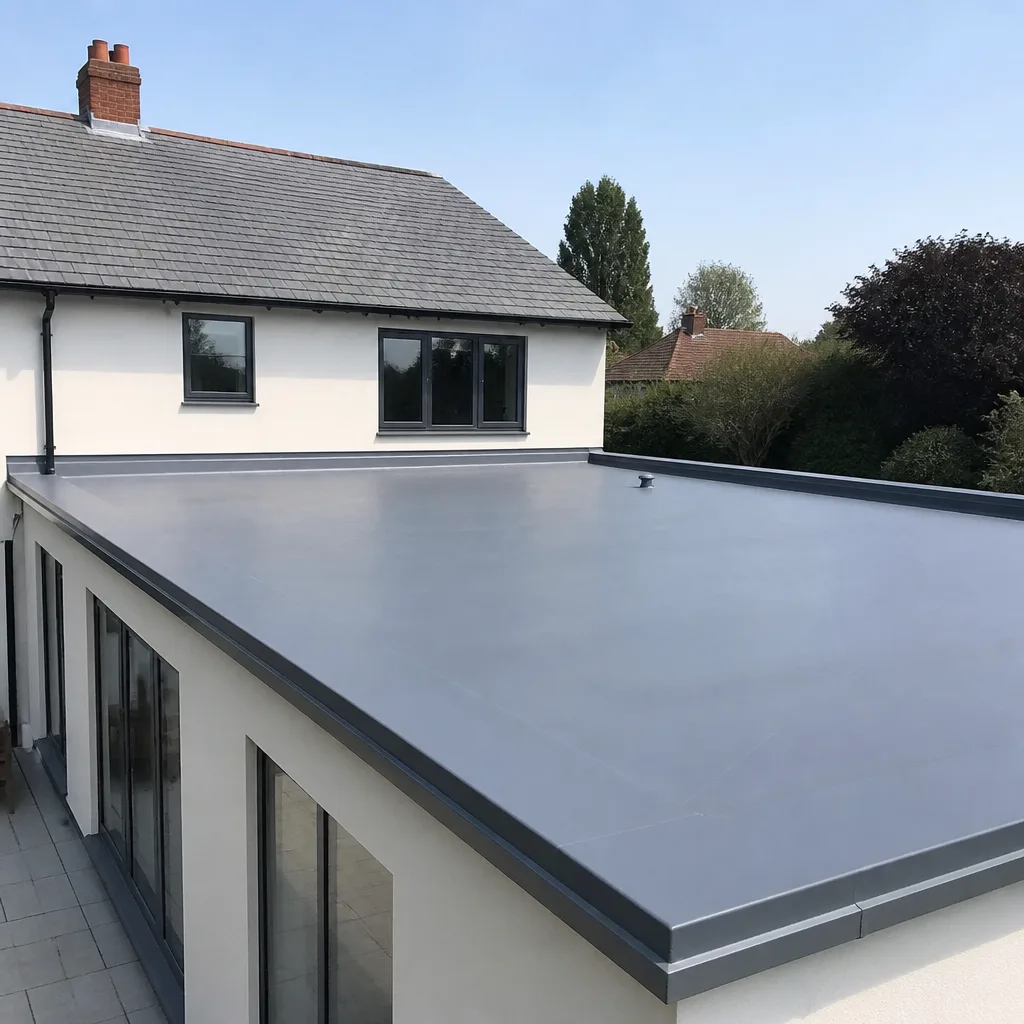
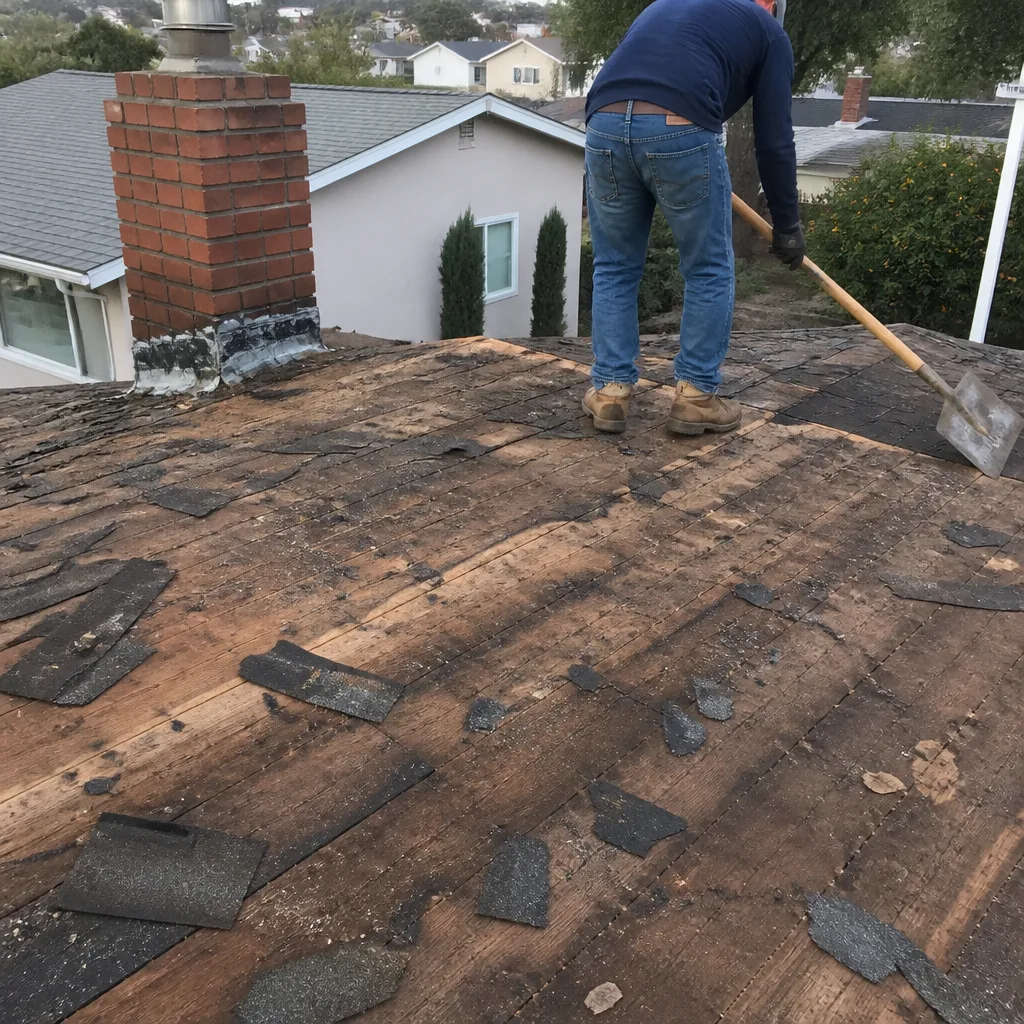 Before
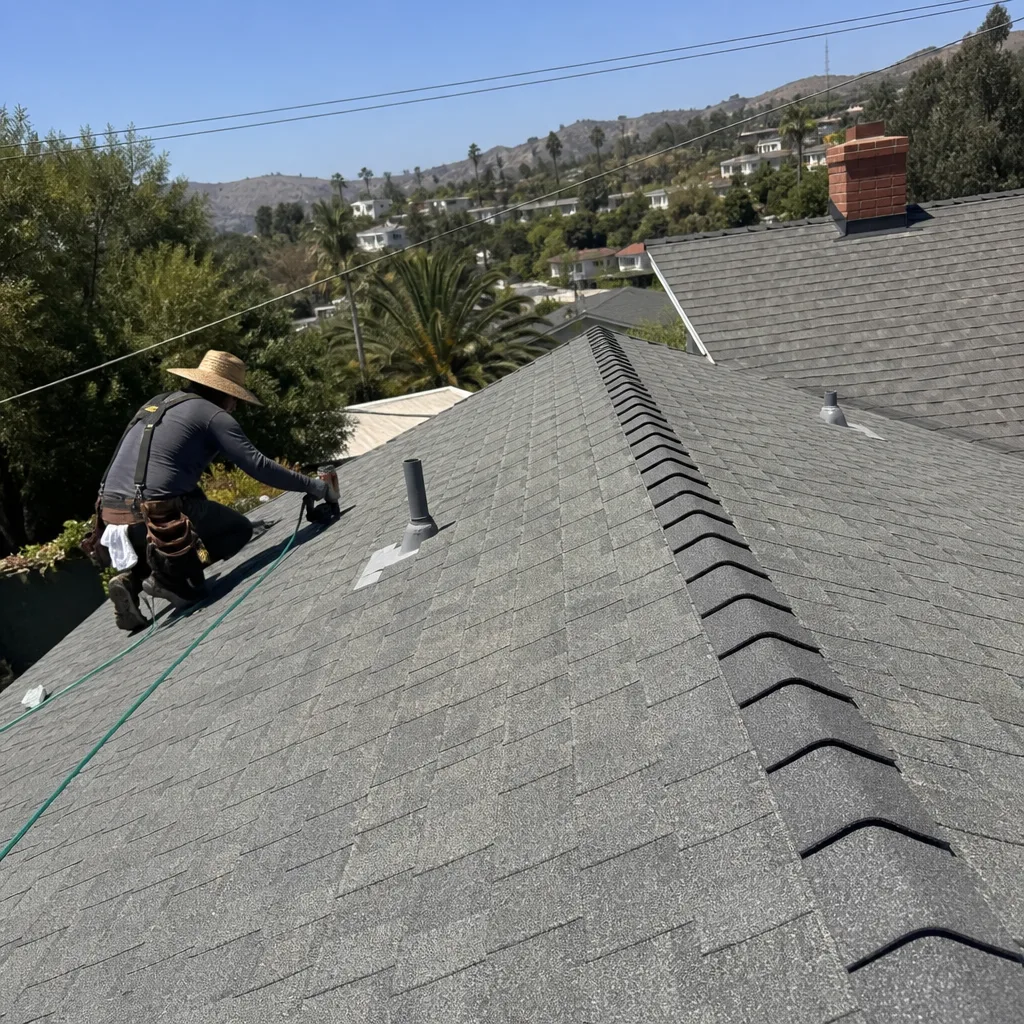 After
After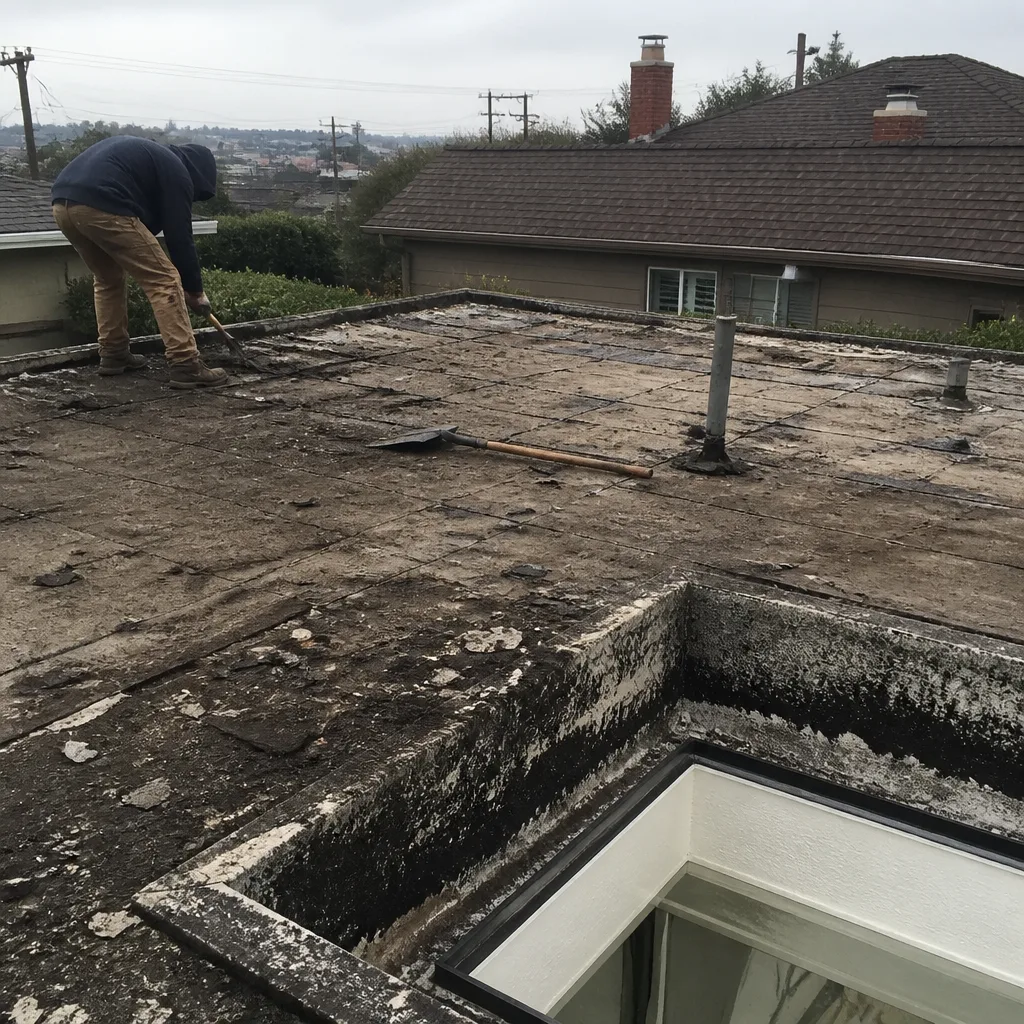 Before
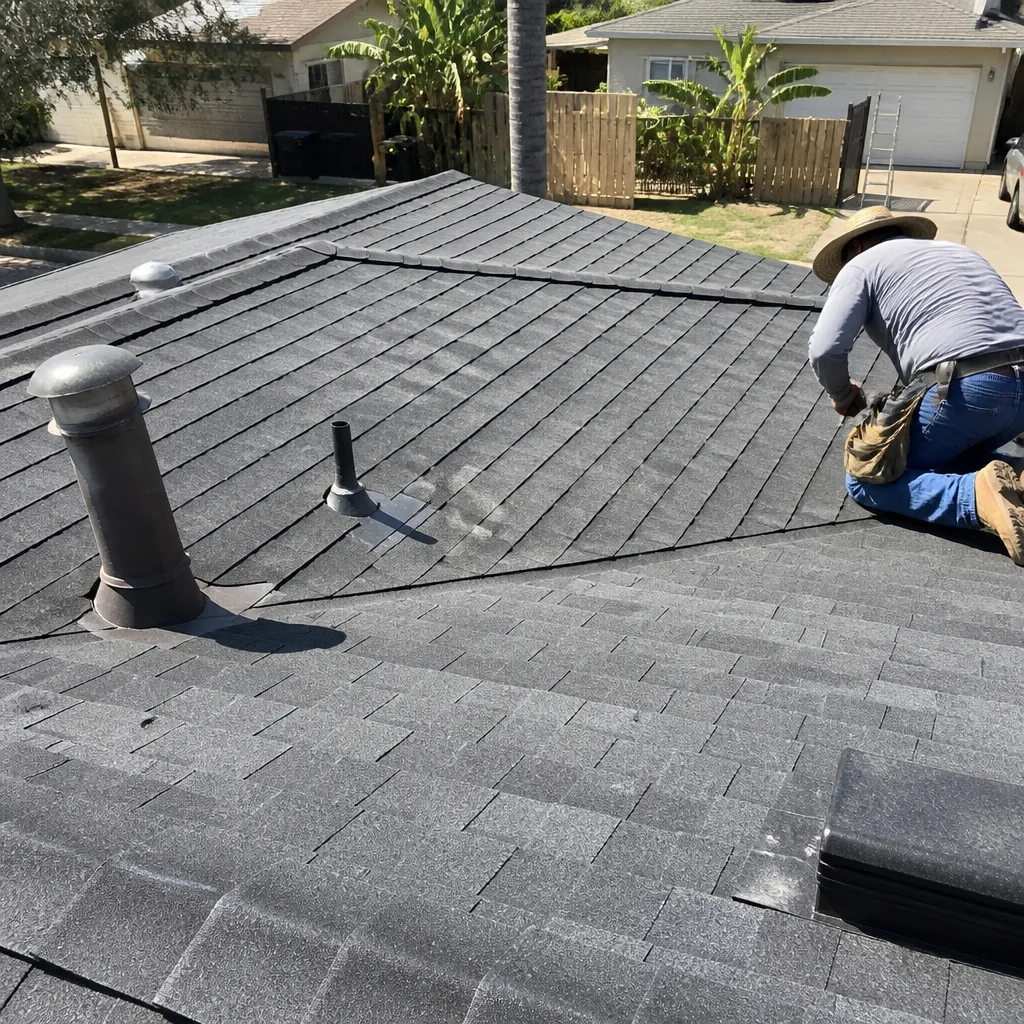 After
After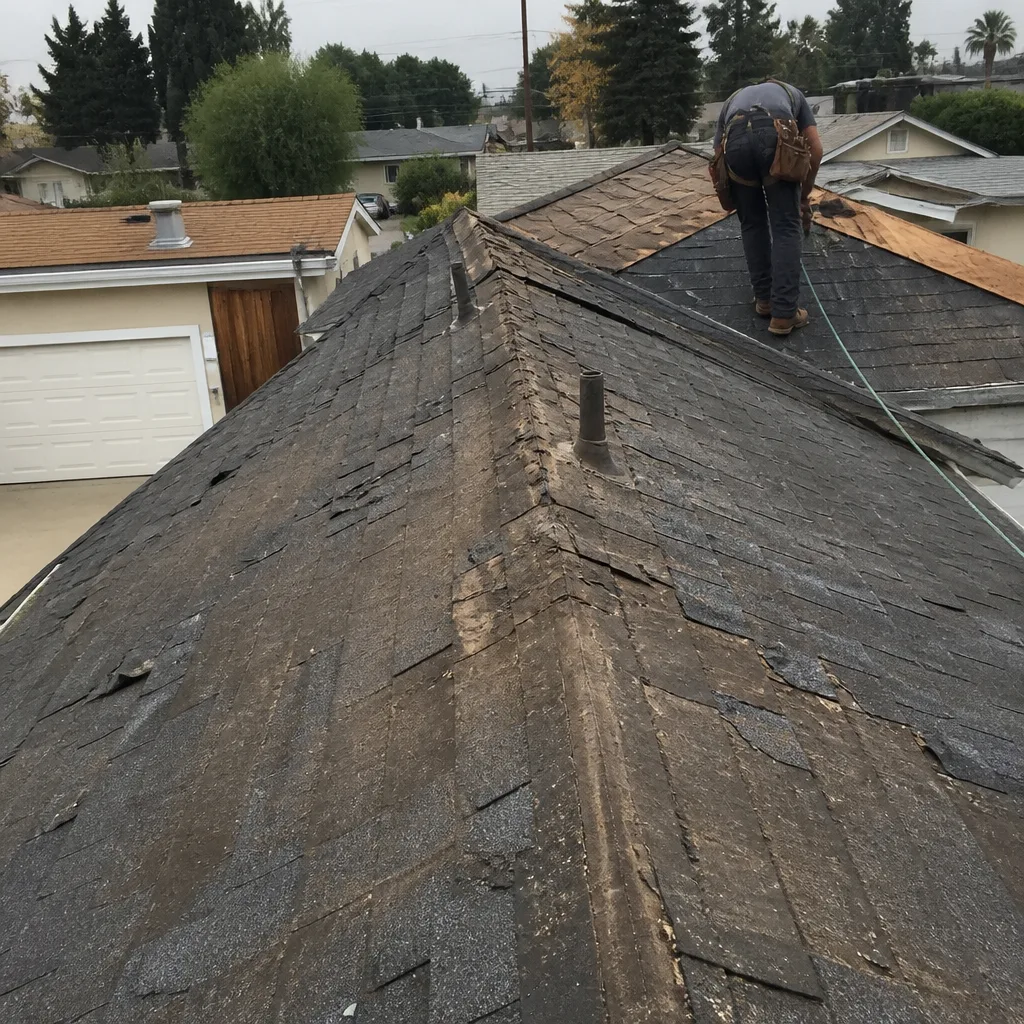 Before
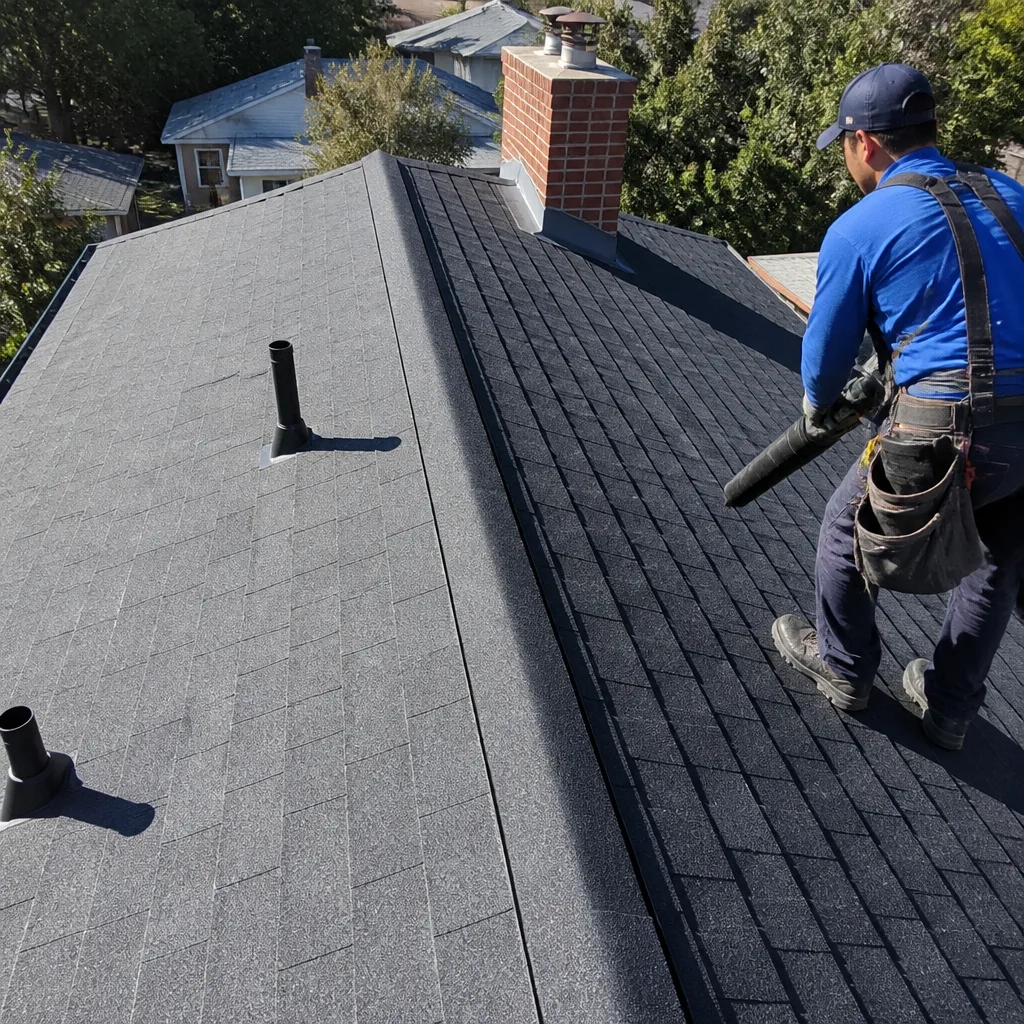 After
AfterRoof Installation Warning Signs Every Homeowner Should Know
Most homeowners in Los Angeles inspect their roof after the crew leaves. That’s backwards. The expensive mistakes happen while shingles are going down, not three years later when water stains your ceiling. In our 24 years of work across Southern California, we’ve corrected more installation errors than storm damage. The crews who cut corners rarely look sloppy from the street. They look fast. This guide shows you exactly what to watch for while Roof Installation services are underway, what questions you can ask without being intrusive, and how to protect your investment before the last nail is driven.
Quick Answer
The five critical warning signs during a roof installation are: starter strips installed incorrectly or omitted entirely, broken shingle staggering patterns that create vertical seams, exposed nail heads that will rust and leak, underlayment left dry-laid overnight without fastening, and valley flashing that skips the required width or material spec. Spotting these on day one costs nothing to fix. Finding them after the crew leaves costs $3,000 – $8,000 in Los Angeles to tear off and redo. For prevention tips, see our Roof Repair Maintenance Checklist for Los Angeles Homeowners.
Table of Contents
- Starter Strips and Staggering: The Foundation Everything Else Sits On
- Nail Exposure and Pattern Breaks: What Rust Looks Like Before It Starts
- Underlayment Left Overnight: When “Good Enough” Becomes a Leak
- Valley Flashing Shortcuts: The Fastest Way to Ruin a Roof in Los Angeles
- Decking Inspection: Your Right to See What’s Underneath
- Material Verification: Confirming Your Contract Spec Sheet
- Crew Conversations vs. Project Manager Conversations
- Photo Documentation: What to Request and When
Starter Strips and Staggering: The Foundation Everything Else Sits On
The starter strip is the first row of material at your roof’s edge, installed before field shingles. It seals the perimeter against wind uplift and creates the adhesive bond that keeps shingles flat in Santa Ana wind events. When crews skip it or install it backward, the entire roof’s wind resistance drops by half. You can spot this from the ground with binoculars.
Here’s what proper starter strip installation looks like:
- The strip runs along all eaves and rakes, not just the front of the house
- The adhesive edge faces the field of the roof, toward the peak, not toward the gutter
- It overhangs the drip edge by 1/4 to 3/4 inch, creating a clean finished line
- No field shingles are used as substitutes, even if they “look similar”
Staggering refers to the horizontal offset between shingle joints in successive rows. Proper staggering, typically 6 inches minimum offset, prevents vertical channels where water can run straight down into laps. Broken staggering creates what roofers call “water channels” or “ladders,” and they’re visible from the street once you know to look.
In Los Angeles, where winter rains arrive in concentrated bursts and summer sun bakes shingles to 160°F, both wind uplift and thermal cycling stress these details. A starter strip installed backward in Pasadena will fail differently than one in Venice, but fail it will. The coastal marine layer accelerates corrosion on exposed fasteners; the inland heat degrades adhesive bonds faster than manufacturer specs assume.
What to say if you see a problem: “I noticed the starter strip adhesive edge is facing the gutter. Our contract specifies manufacturer installation instructions. Can we confirm that’s correct before continuing?” This frames the issue as contractual, not accusatory.
Nail Exposure and Pattern Breaks: What Rust Looks Like Before It Starts
Every shingle manufacturer specifies a “nail zone,” a reinforced strip where fasteners must penetrate. Nails outside this zone, or driven at angles that tear the shingle, create immediate and future failures. The problem is visibility: a properly nailed shingle shows nothing; an improperly nailed one often looks fine from the ground until the head rusts through or the shingle slips.
Watch for these specific nail errors during installation:
- High nailing: Fasteners placed above the reinforced nail zone, often to speed installation. These shingles have no mechanical lock and will slide or tear in wind.
- Exposed nail heads: Any head visible from the ground, anywhere on the roof surface. All fasteners should be covered by the next shingle course or by cap shingles at ridges.
- Angled or “fishmouth” nails: Driven at an angle that cuts the shingle rather than piercing it cleanly. These tear through over time.
- Over-driven nails: Heads sunk deep enough to fracture the shingle mat. The surface looks dimpled or torn.
- Under-driven nails: Heads sitting proud of the surface, catching debris and creating a wear point.
The nailing pattern matters too. Standard architectural shingles require four to six nails per shingle depending on wind zone. Los Angeles County spans multiple wind zones, and the 2023 California Building Code references ASCE 7-16 for specific requirements. A crew working fast might default to four nails everywhere; a hillside home in the Hollywood Hills or Pacific Palisades may legally require six.
Pattern breaks in shingle layout are equally critical. A “stagger break” where joints align vertically for more than two courses creates a direct water path. From the ground, look for any column of shingle ends that lines up for six feet or more. Proper installation creates a brickwork pattern with no vertical alignment.
At Crestview Roofing, our crews photograph every nail pattern on steep-slope sections and every stagger transition at valleys. These photos go to the homeowner automatically, before we request final payment. It’s part of The Relay Visibility Guarantee that governs every job we do.
Underlayment Left Overnight: When “Good Enough” Becomes a Leak
Underlayment is the water-resistant barrier between your decking and shingles. In Los Angeles, where rain can arrive with 24 hours’ notice in winter months, how underlayment is handled between installation days matters enormously.
The critical error is “dry-laying” underlayment, rolling it out without fastening or sealing the laps, then leaving it exposed overnight. Wind lifts unsecured underlayment, rain gets underneath, and the crew returns to install shingles over wet decking. Trapped moisture breeds mold, rots plywood, and voids manufacturer warranties.
Proper underlayment handling requires:
- Fastening at edges and overlaps per manufacturer spec, typically every 6 to 12 inches
- Sealing all horizontal and vertical laps with manufacturer-approved tape or adhesive
- Covering exposed underlayment with shingles the same day, or tarping securely if weather interrupts
- Never installing shingles over underlayment that has been wetted and dried without inspection
Los Angeles presents a specific challenge here: morning marine layer moisture. Even without rain, fog and dew can saturate unfastened underlayment by 9 AM in coastal neighborhoods like Mar Vista or San Pedro. A crew that dry-lays on Monday and returns Tuesday afternoon has created a problem even in “dry” weather.
If you arrive home to find underlayment flapping or unsealed, photograph it and contact your project manager immediately. Do not attempt to secure it yourself. Walking on unsecured underlayment tears it and creates trip hazards on sloped surfaces.
Valley Flashing Shortcuts: The Fastest Way to Ruin a Roof in Los Angeles
Valleys channel the most water volume per square foot of any roof area. They’re also where two roof planes intersect, creating complex geometry that slows installation. This combination makes valleys the most common location for shortcuts that function fine for months, then fail catastrophically.
The two dominant valley methods in Los Angeles are open metal valleys and closed-cut valleys. Both are code-compliant when installed correctly. Both fail when crews skip steps.
Visible shortcuts include:
- Flashing width violations: California code requires minimum 24-inch wide valley flashing, centering the valley line. Substituting 18-inch or 20-inch material saves cost but leaves the critical channel unprotected.
- Single-layer underlayment in valleys: Proper valleys require double-layer underlayment or a self-adhering membrane (ice and water shield) extending 36 inches on each side. Single-layer installation in Los Angeles winter rains is inadequate.
- Closed valleys without proper cutting: In closed-cut valleys, the overlapping shingle must be cut cleanly along the valley centerline, not torn or overcut. Jagged edges create water paths behind shingles.
- Fasteners too close to valley center: Nails within 6 inches of the valley line penetrate the most critical water channel. They’re also the first to corrode.
Los Angeles adds a specific factor: debris accumulation. Valley oak and eucalyptus leaves, common in neighborhoods from Los Feliz to Hancock Park, dam in improperly flashed valleys and accelerate corrosion. A valley that “worked” in dry years fails in the first heavy El Niño season.
Material substitution is another valley risk. Your contract may specify copper or pre-finished aluminum valley flashing. Some crews install galvanized steel and paint it, or use thinner gauge material. The difference in longevity is 15 years versus 40. You can verify gauge with a magnet (galvanized steel is magnetic; aluminum and copper are not) and by requesting the material stamp or packaging.
Roof installation in Los Angeles requires valley details that handle both intense sun and occasional deluge. We specify self-adhering membrane in all valleys, extending 36 inches per side, with metal flashing that matches the contract spec exactly. No substitutions, no “equivalent” products.
Decking Inspection: Your Right to See What’s Underneath
Before underlayment covers your roof deck, you have a brief window to inspect the substrate everything depends on. Most homeowners never see this surface. They should.
Decking inspection matters because:
- Rotten or delaminated plywood won’t hold nails, and shingles will lift regardless of installation quality
- Truss movement or sagging visible from the attic may show as deck deflection from above
- Previous leak damage, often hidden by old underlayment, reveals the true condition of your roof system
- Code violations from prior work, like improper venting or structural modifications, become visible only with decking exposed
Los Angeles presents specific decking concerns. Pre-1980s homes, common in Silver Lake, Echo Park, and much of the San Fernando Valley, often have 1x skip sheathing rather than plywood. Skip sheathing requires specific underlayment and shingle fastening patterns. Crews accustomed to modern plywood may install incorrectly without recognizing the substrate difference.
Termite damage is another regional factor. Drywood termites leave decking that looks intact but crumbles under fastener pressure. Subterranean termites, more common in damp coastal areas, create galleries that weaken structural connections. A visual deck inspection from above, combined with probing suspicious areas, catches what attic inspection misses.
You have the right to request decking photos before underlayment installation. The request should be specific: “Please photograph the full deck surface, including all valleys, penetrations, and any replaced sections, before underlayment goes down.” A professional contractor accommodates this without resistance. Resistance itself is a warning sign.
At Crestview Roofing, deck photos are automatic. Our project managers upload them to your customer portal before the crew continues. You don’t ask; we provide. It’s The Relay Standard in practice.
Material Verification: Confirming Your Contract Spec Sheet
Shingle substitution is the most common hidden cost reduction in roofing. Your contract specifies Owens Corning Duration, Atlas StormMaster Slate, or IKO Cambridge. The delivery truck brings a different product, sometimes from the same manufacturer, sometimes not. The difference in material cost can be 30%, and the difference in warranty coverage can be total.
Here’s how to verify what arrives:
- Request the delivery manifest before unloading. This lists manufacturer, product line, color, and quantity.
- Photograph bundle labels while pallets are still wrapped. Labels show SKU, manufacture date, and plant of origin. Shingles stored longer than manufacturer guidelines degrade.
- Cross-check against your contract’s spec sheet, line by line. Note any “or equivalent” language that permits substitution without notification.
- Verify accessory materials: underlayment brand and type, flashing alloy, ventilation products, and fasteners. These are often where substitution happens.
- Confirm color and lot number consistency. Multiple lots create visible variation even in “same” colors.
Los Angeles distribution creates specific verification opportunities. Major suppliers have coastal and inland warehouses, and product stored in Riverside summer heat differs from product kept in Port of Long Beach climate-controlled storage. Manufacture date matters: asphalt shingles have optimal installation windows, and old stock becomes brittle.
Brand verification is straightforward with manufacturer apps. Owens Corning, Atlas, and IKO all offer product authentication tools. Tamko provides lot tracking. Use them. A 30-second scan confirms you’re receiving what you paid for.
If material arrives that doesn’t match your contract, stop work before installation begins. Installed product becomes much harder to dispute. Document everything photographically and contact your project manager in writing, not verbally.
Crew Conversations vs. Project Manager Conversations
Homeowners understandably want to talk to the people on their roof. There’s a right way to do this that protects both you and the crew.
Appropriate crew conversation:
- General progress questions: “What section are you working on today?”
- Safety confirmations: “Are you set for water and restroom access?”
- Scheduling: “What time do you expect to finish this phase?”
- Appreciation: Simple thanks for careful work
Conversation that should go through the project manager:
- Any instruction that changes scope, material, or method
- Complaints about noise, scheduling, or property impact
- Requests for additional work not in the contract
- Quality concerns or suspected errors
- Payment questions or change orders
The reason is liability and clarity. Crews work from written instructions. Verbal changes create disputes about what was authorized. Project managers document decisions, update contracts, and ensure changes are priced and approved before execution.
In Los Angeles, where many crews are Spanish-speaking and homeowners may not be, language barriers compound this risk. A well-intentioned gesture, pointing at something and nodding, can be interpreted as approval. Project managers provide professional translation and documentation.
Crestview Roofing crews wear uniforms with name badges and QR codes linking to their background check verification. You know who’s arriving before they pull in. The project manager’s direct line is provided at contract signing, and calls are answered by a live person, 24/7. No voicemail loops, no waiting until Monday.
Photo Documentation: What to Request and When
Photo documentation is your strongest protection against “he said, she said” disputes. It’s also your best tool for understanding what was done and why. The key is knowing what to request and when the requests are most effective.
Critical photo milestones:
- Tear-off complete, deck exposed: Full deck condition, any replaced sections, valley and penetration areas
- Underlayment installed: Lap details, fastening pattern, membrane placement at critical areas
- Flashing installation: Step flashing at walls, chimney and vent details, valley metal
- Field shingle progress: Starter strip detail, stagger pattern, nail zone compliance on representative sections
- Ridge and hip caps: Final course details, ventilation element installation
- Completed project: Full roof overview, specific detail shots of any areas that required custom work
Request format matters. Email creates a timestamped record. Text is acceptable if your contractor uses business messaging platforms. Verbal requests evaporate.
Sample request: “Per our contract, please provide dated photos of: (1) exposed deck before underlayment, (2) underlayment fastening detail, (3) valley flashing installation, (4) completed roof from multiple angles. Please confirm receipt of this request and expected delivery timeline.”
At Crestview Roofing, this request is unnecessary. Roof repair in Los Angeles and full replacements both include automatic photo documentation at every milestone. Before-and-after photos upload to your customer portal. Digital invoices arrive by text. You track crew arrival live, like a rideshare app, through The Relay Standard. We built this system because we got tired of an industry where homeowners had to beg for visibility into work they were paying for.
Common Mistakes to Avoid
- Waiting until the crew leaves to inspect. By then, problems are buried under shingles and cost thousands to expose. Walk the perimeter daily during installation, with binoculars, and note anything that looks different from manufacturer installation diagrams.
- Accepting “that’s standard practice” as an answer. “Standard practice” varies wildly between crews. Your contract references manufacturer installation instructions and building code. Those are your standards, not industry habit.
- Verbal agreements for changes. Los Angeles permit requirements, HOA rules, and warranty terms all depend on documented scope. Verbal changes create unpermitted work, voided warranties, and neighbor disputes.
- Ignoring material delivery day. Substitution most often happens at delivery, not during installation. Be present or have a representative photograph labels and quantities.
- Walking on the roof yourself. Steep slopes, loose underlayment, and unfamiliar footing create genuine fall hazards. Visual inspection from the ground, ladder, or drone is sufficient. Leave roof access to insured professionals with proper fall protection.
- Paying final balance before documentation review. Hold final payment until you’ve received and reviewed all promised photos, permit sign-offs, and warranty registrations. This is standard contract language and protects both parties.
- Assuming all crews in Los Angeles understand local conditions. A crew from Phoenix doesn’t know Santa Ana wind patterns. A crew from Seattle doesn’t understand thermal cycling in Pasadena August heat. Ask where your crew’s last ten jobs were.
When to Call a Professional
Some warning signs require immediate professional intervention: visible sagging during tear-off, structural member damage, active water intrusion during installation, or any electrical hazard from exposed service mast or photovoltaic equipment. Don’t wait, don’t self-assess, and don’t let the crew “work around it.”
For quality concerns that aren’t immediate safety issues, document photographically and contact your project manager before the next day’s work begins. Most installation errors are correctable within 24 hours at minimal cost. After shingles are installed and sealed, correction requires full removal. Following a Roof Repair Maintenance Schedule: What to Do and When helps catch issues early.
If you’re observing another contractor’s work and something looks wrong, most reputable companies will answer questions from prospective future customers. Roof replacement in Los Angeles is a significant investment, and informed homeowners make better decisions.
Crestview Roofing offers free estimates in Los Angeles. Call (325) 246-5075 to schedule yours, or to ask questions about work currently underway on your home. Explore our more guides & resources for additional homeowner support. We’ll tell you what we’re seeing, even if we didn’t install it.
Frequently Asked Questions
Correcting installation errors after completion typically runs $3,000 – $8,000 for partial tear-off and redo, or $15,000 – $35,000 for full replacement if widespread shortcuts are discovered. The exact cost depends on roof size, accessibility, and how many layers must be removed. Catching problems during installation avoids this entirely. Call (325) 246-5075 for a free assessment of any concerns.
Yes, you can request work stoppage for suspected code violations, safety hazards, or material substitution. The most effective approach is documenting the specific concern photographically and contacting your project manager in writing, referencing your contract specifications. Most legitimate contractors will pause to investigate rather than risk permit failure or warranty void. Avoid direct confrontation with crew members; channel concerns through the designated project contact.
Yes, the Los Angeles Department of Building and Safety requires permits for full roof replacement, structural decking repair, and any modification to roof drainage or ventilation. Permits must be posted visibly, and inspections are required at specific milestones. Work without permits can trigger stop-work orders, fines, and insurance coverage disputes. Verify your contractor has pulled proper permits before tear-off begins.
Compare delivery labels against your contract’s specification sheet, checking manufacturer name, product line, color name, and SKU number. Photograph bundle labels before pallets are opened. Use manufacturer verification apps when available. For Owens Corning, Atlas, IKO, or Tamko products, lot numbers should be consistent across all bundles. Mixed lots or missing labels are red flags requiring immediate clarification.
Refusal to document work is itself a warning sign. State your request in writing, referencing any contract language about documentation or visibility. If refused, consider third-party inspection before final payment. Reputable contractors have nothing to hide; documentation protects them as much as you. At Crestview Roofing, photos are automatic and digital invoices arrive by text through The Relay Standard.
Manufacturer material warranties cover defects in the shingle itself, not installation errors. Workmanship warranties from your contractor cover installation quality, but duration and terms vary dramatically. A one-year workmanship warranty is common; our 365-Day Done Right Promise covers every repair for a full year with a free second visit if the repair fails. Always get workmanship warranty terms in writing before work begins.
The Bottom Line
Roof installation warning signs are most valuable when spotted early. Starter strips, staggering patterns, nail placement, underlayment handling, and valley flashing are all visible from the ground if you know what to watch for. Material verification at delivery, decking photos before coverage, and clear communication channels with your project manager create accountability that prevents problems rather than documenting them after the fact.
The homeowners who fare best are those who treat installation week as active participation, not passive waiting. You don’t need to understand roofing to recognize that something looks different from the manufacturer’s diagram, or that materials don’t match your contract spec. You need to look, ask specific questions, and get answers in writing.
Crestview Roofing built The Relay Visibility Guarantee on this principle: written price before work starts, live trackable arrival times, before-and-after photo documentation, and digital invoicing by text. Every job. No exceptions. Founded in 2000 and part of the Relay Home Co. family, we serve Los Angeles with manufacturer-backed materials from GAF, CertainTeed, Owens Corning, IKO, Atlas, Tamko, and Boral. Our 365-Day Done Right Promise covers every repair, in writing, included with every job.
Call (325) 246-5075 to schedule your free estimate, or to discuss concerns about work currently underway on your home.
Written by Dylan Pace, Owner at Crestview Roofing, serving Los Angeles since 2000.