
Last updated October 10, 2026
Free roof inspection with deck photos before we talk money - GAF and Owens Corning certified installation
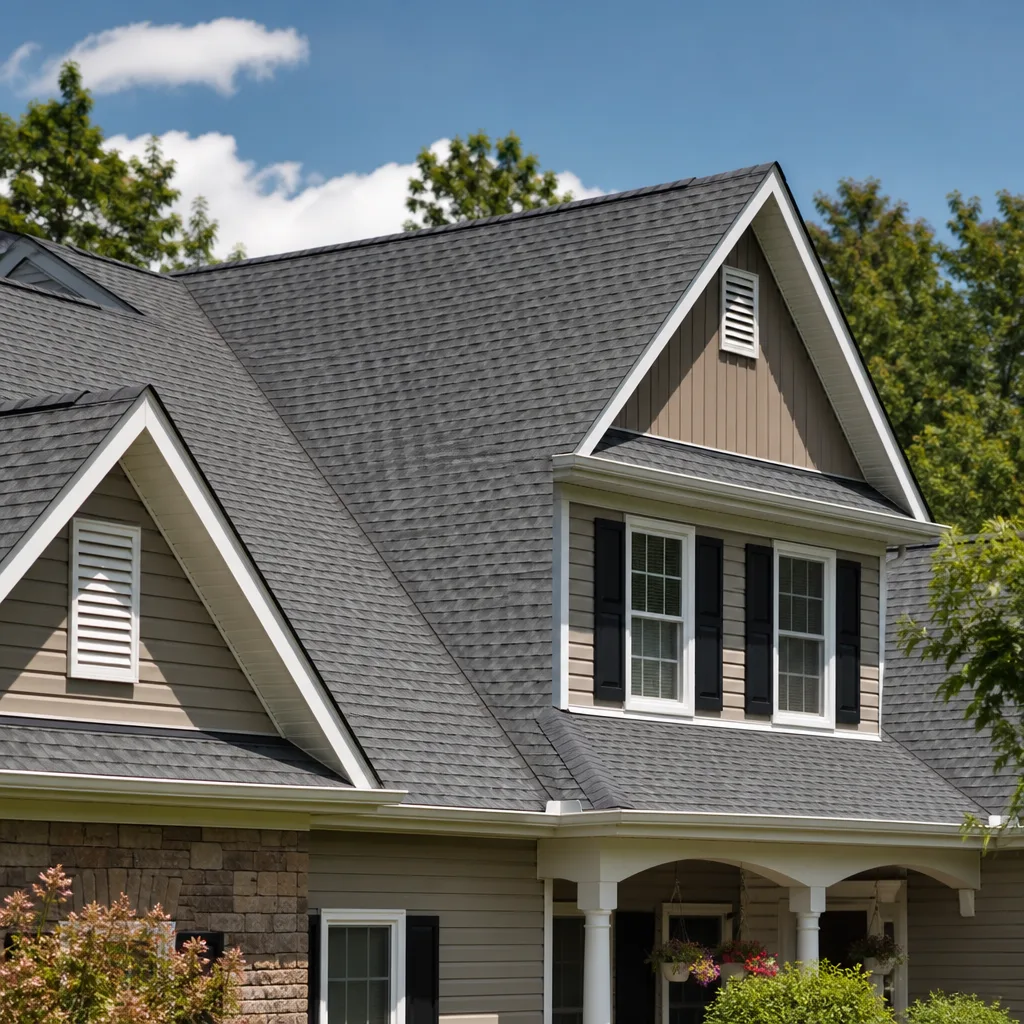
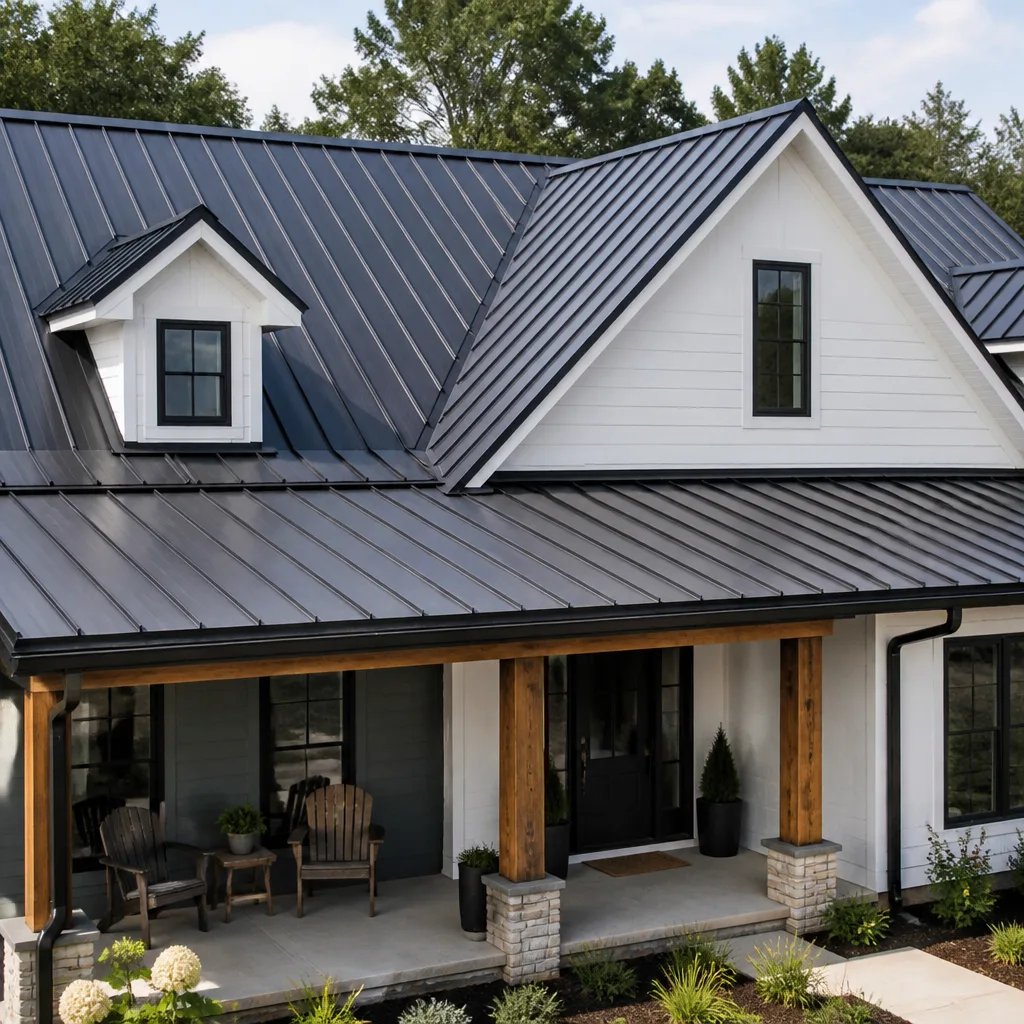
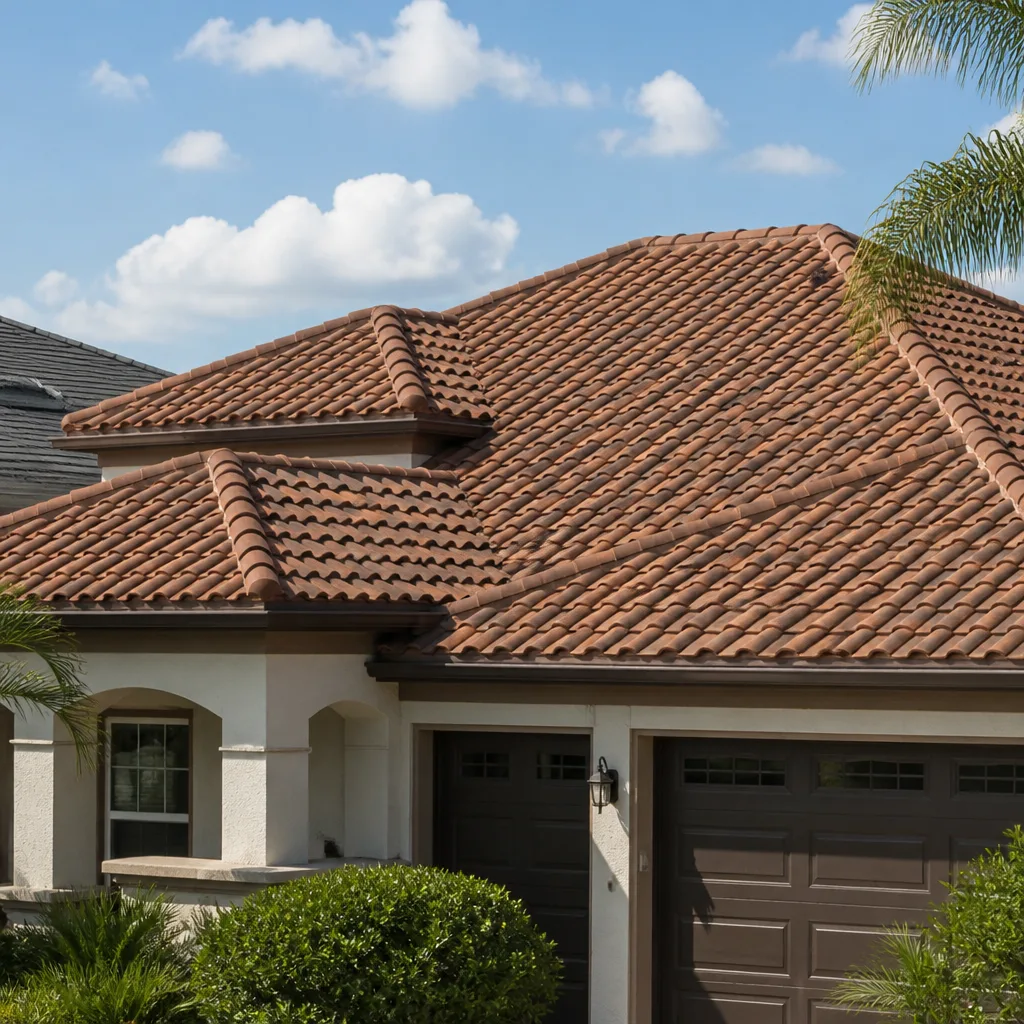
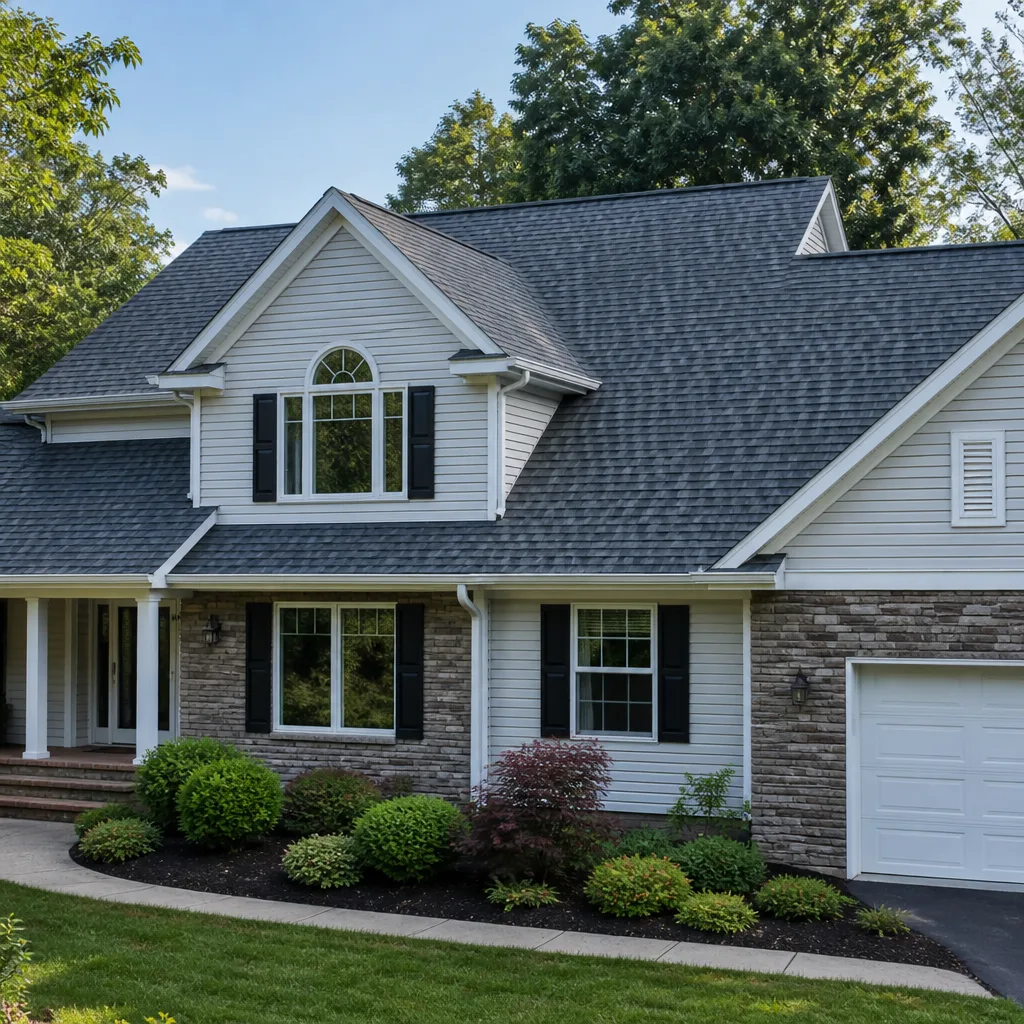
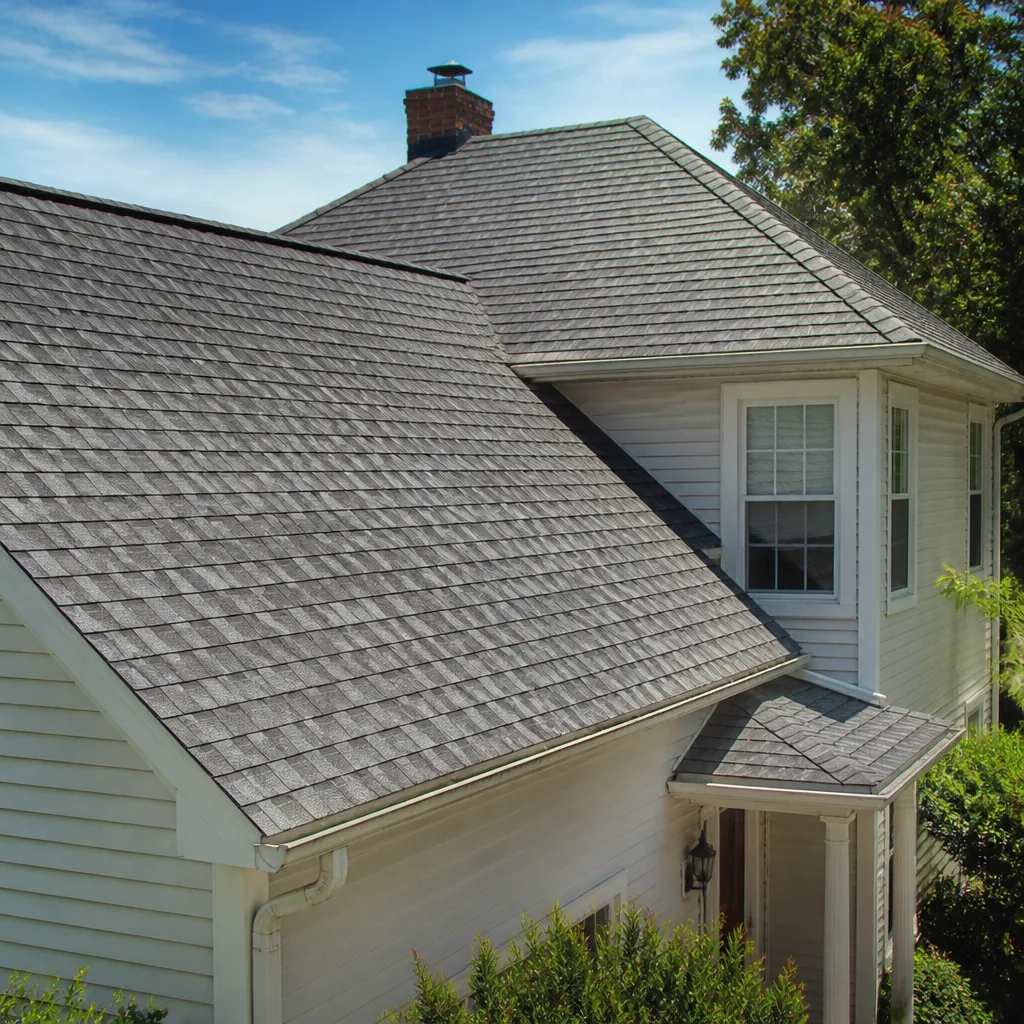
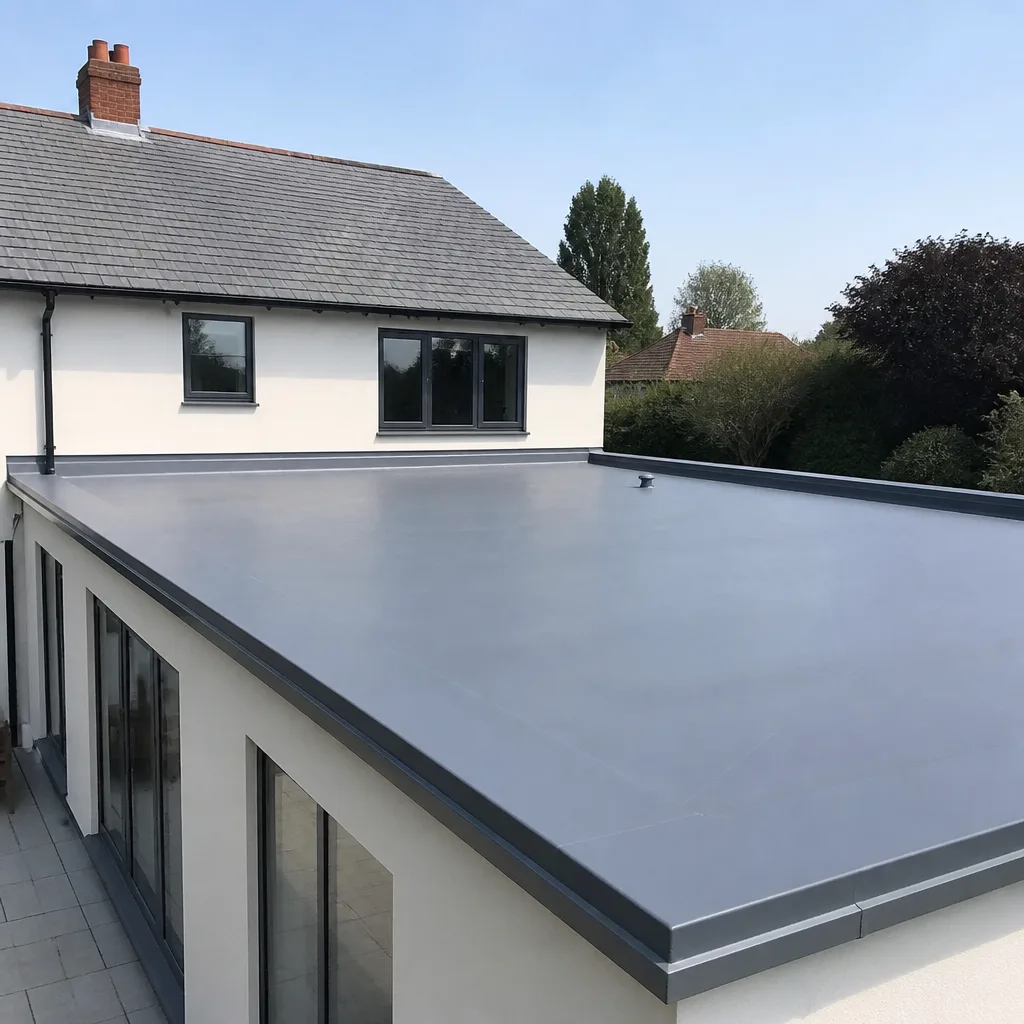
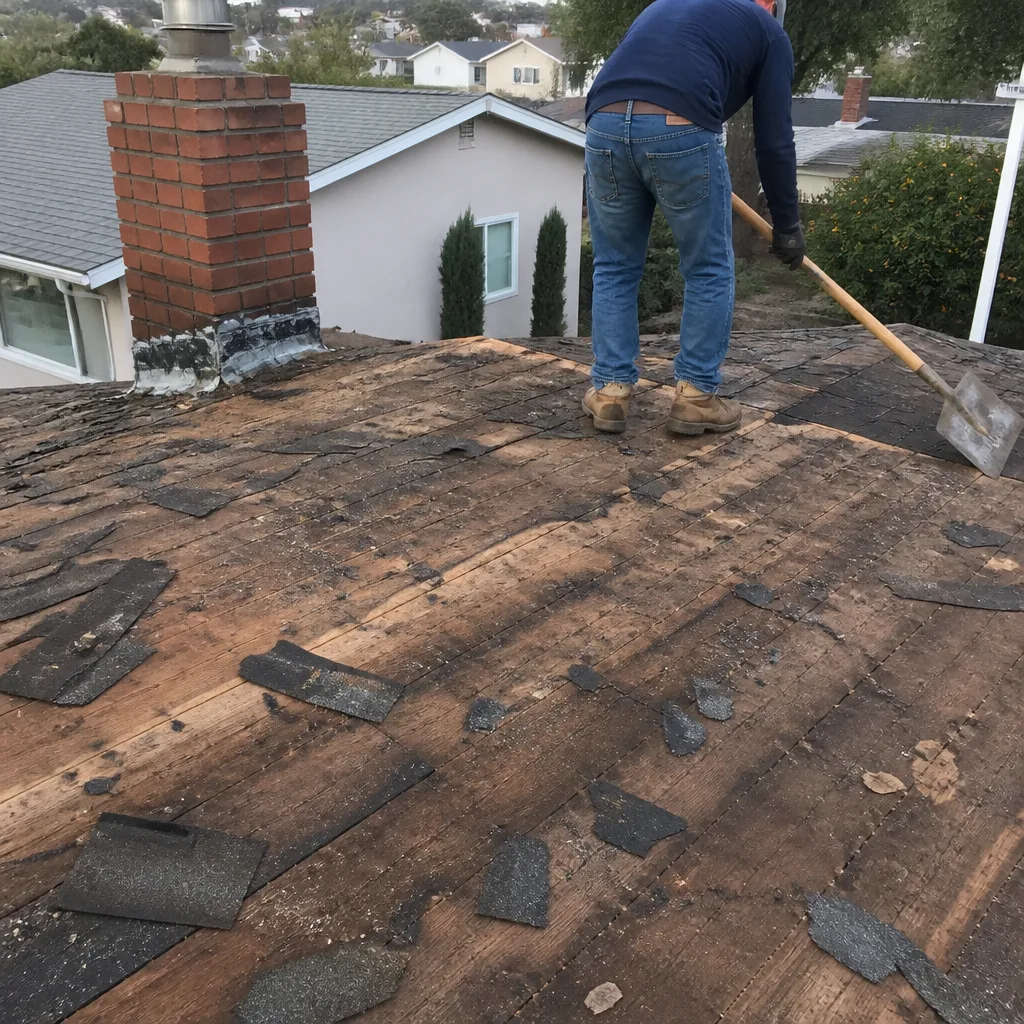 Before
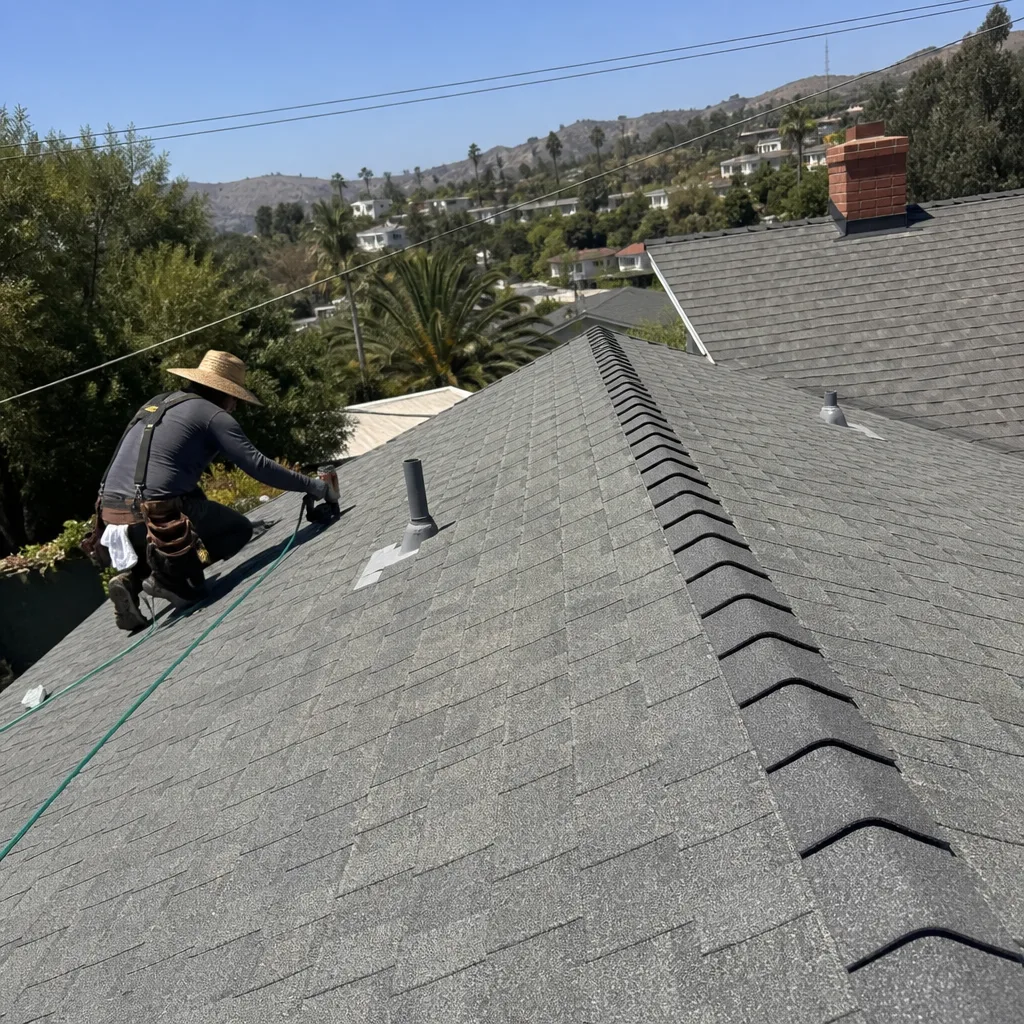 After
After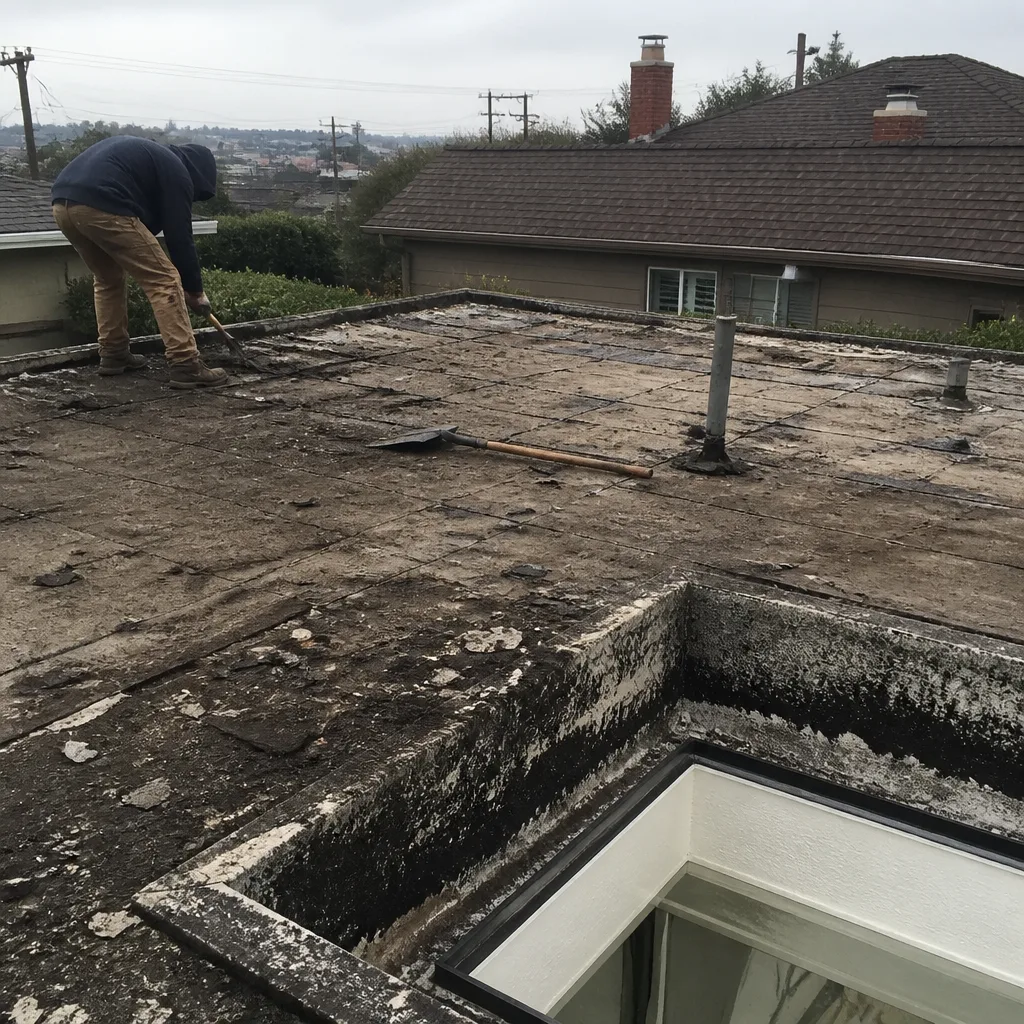 Before
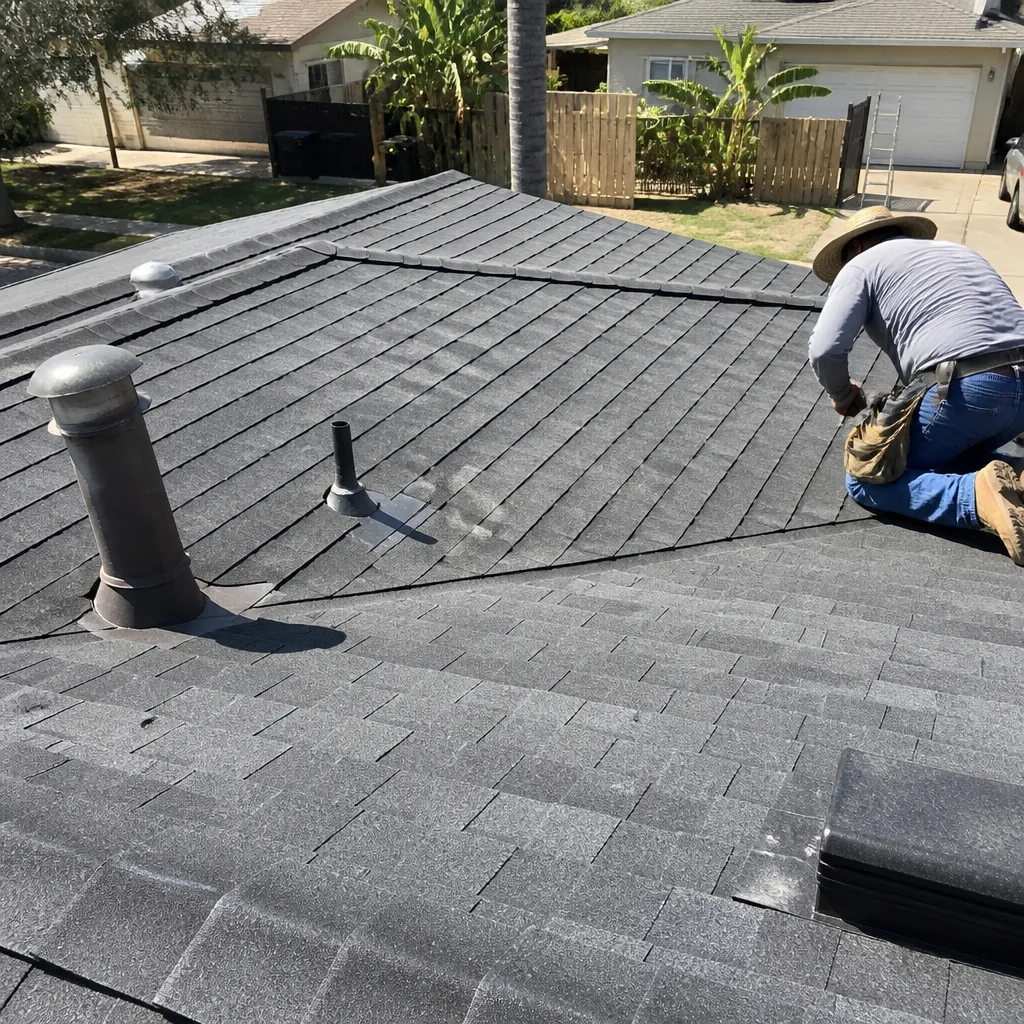 After
After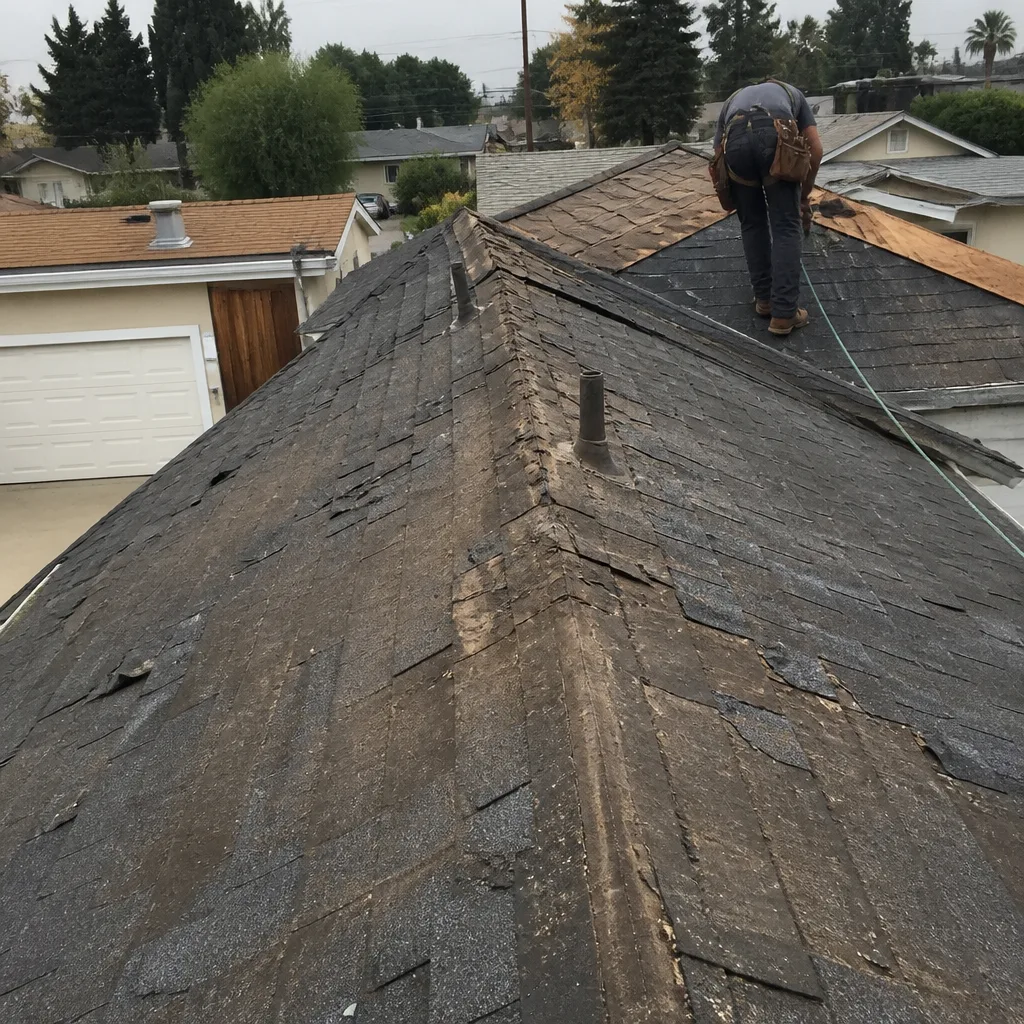 Before
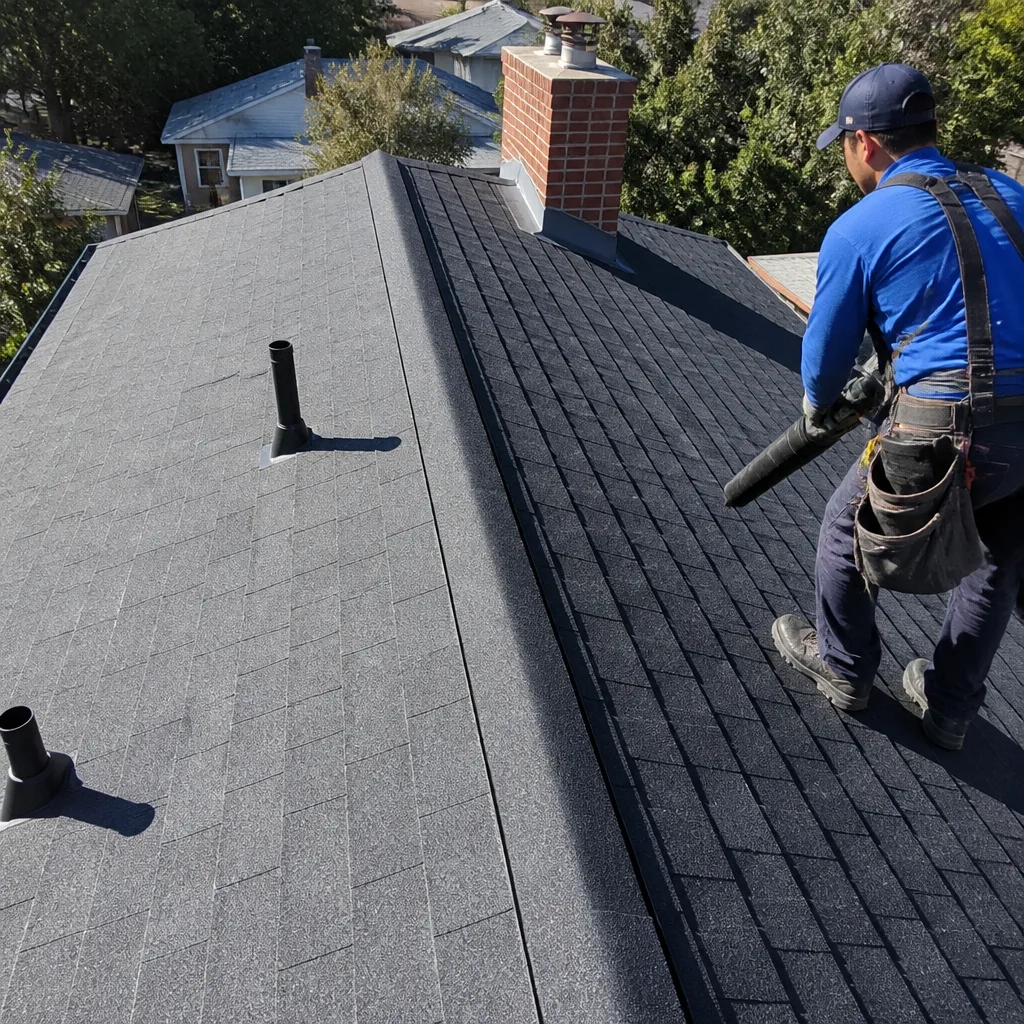 After
AfterRoof Replacement Troubleshooting: Common Problems and How to Fix Them
A contractor can pass a city inspection and still have installed your roof wrong. Inspectors in Los Angeles check for code minimums, not manufacturer installation specs, and those two standards aren’t the same thing. We’ve seen roofs that sailed through final inspection fail within 18 months because the crew skipped the manufacturer’s nailing pattern, used the wrong underlayment overlap, or forgot to seal the valleys. This guide gives you a post-installation checklist to catch those shortcuts before the warranty becomes your only recourse.
Quick Answer
Most Roof Replacement problems trace back to three installation errors: improper underlayment laps that let water run between layers, missing ice-and-water shield at valleys and penetrations, and inadequate attic ventilation that traps heat and moisture. Homeowners can spot these defects with a visual inspection from the ground, a quick attic check, and a copy of the manufacturer’s installation guide for their specific shingle brand.
Table of Contents
- The Day-After Walkthrough: Six Things to Verify Before the Crew Leaves
- How to Read Your Manufacturer’s Installation Guide
- What to Look for in Your Attic 30 Days After Replacement
- The Most Common Post-Installation Failures We See in Los Angeles
- How to Document and Escalate a Post-Installation Dispute
- Workmanship Warranty vs. Material Warranty: Which One Applies
- What It Costs to Fix Roof Replacement Mistakes in Los Angeles
The Day-After Walkthrough: Six Things to Verify Before the Crew Leaves
The best time to catch a problem is when the scaffolding is still up and the crew foreman is still accountable. Here’s what to check before you sign the final completion certificate.
- Ridge vent continuity. Run your eye along the peak of the roof. The ridge vent should be one continuous strip, not pieced together with gaps. Gaps break the airflow path and create dead zones where heat builds. In Los Angeles, where summer attic temperatures can hit 140°F, a broken ridge vent line means your shingles are baking from underneath.
- Flashing attachment at every penetration. Check where pipes, vents, and chimneys break through the roof plane. The flashing – the metal strips that seal these joints – should lie flat against the roof surface with no lifted edges or gaps wider than a business card. Step flashing at walls should be visible in overlapping pieces, not buried under shingles.
- Valley construction. Los Angeles sees intense rainfall in concentrated winter storms. Open valleys should have a clean metal center strip. Closed-cut valleys should show a straight cut line with shingles overlapping correctly. Woven valleys are rare here and generally not recommended for our rainfall pattern.
- Drip edge placement. The metal drip edge should run along all eaves and rakes, with the underlayment lapping over the eave drip edge and under the rake drip edge. Reversed drip edge is one of the most common errors we find on repair calls.
- Shingle overhang at the eaves. Shingles should extend ¼ to ¾ inch past the drip edge. Too short, and water runs behind the gutter. Too long, and shingles curl and crack in the sun.
- Nail line visibility. From the ground with binoculars, you shouldn’t see nails sitting on top of shingles. Every nail should be hidden by the overlapping shingle above it. Exposed nails rust and create leak points within 2-3 years.
Take photos of anything that looks off. Date-stamped photos taken before final payment carry weight in any later dispute.
How to Read Your Manufacturer’s Installation Guide
Every major brand publishes detailed installation instructions. GAF, CertainTeed, and Owens Corning all make theirs available as free PDFs on their websites. You don’t need to be a roofer to read the critical sections. Here’s how to find the three spec points most often skipped.
First: the nailing pattern. Open the guide and search for “nail placement” or “fastener schedule.” You’ll find a diagram showing exactly where nails must land on each shingle – typically a marked zone about 1 inch above the adhesive strip. Counting nails on a few exposed shingles from the ground is easy. Most brands require four to six nails per shingle in Los Angeles wind zones. Three nails is a shortcut that voids the wind warranty.
Second: underlayment overlap. The guide specifies how much each horizontal course must overlap the one below it – usually 2 inches on horizontal runs, 6 inches at end laps. More importantly, it specifies the overlap at valleys. Many crews run underlayment straight across valleys instead of wrapping it up the opposite slope, which creates a channel for water if the valley metal fails.
Third: starter strip orientation. Starter strips run along the eaves and rakes beneath the first course of shingles. The guide shows whether the adhesive sealant face goes up or down, and whether the strip overhangs the drip edge. Reversed starter strips are invisible once the roof is complete but destroy the wind resistance at the roof’s most vulnerable edge.
Print the relevant pages and walk your roof with them. Any reputable contractor will welcome this level of homeowner engagement. At Crestview Roofing home, we leave a copy of the manufacturer’s guide with every completed job specifically for this purpose.
What to Look for in Your Attic 30 Days After Replacement
The attic tells a story the roof surface cannot. Thirty days after replacement – long enough for temperature cycles to stress any defects, short enough to catch problems before damage spreads – make this inspection.
Condensation patterns. Look for moisture on the underside of the roof deck, especially in morning hours. Uniform light condensation that dries by afternoon is normal. Beaded water, dripping, or wet insulation indicates trapped moisture from inadequate ventilation. In coastal Los Angeles neighborhoods like Venice or San Pedro, where marine layer moisture is already high, poor ventilation accelerates mold growth within 60 days.
Rafter contact points. The roof deck should sit flat on every rafter with no gaps or compression marks. Soft spots between rafters suggest the decking was installed with insufficient fastening or wrong thickness. Step on the decking carefully – any springiness or give means the plywood or OSB is undersized or improperly fastened.
Ventilation airflow signs. On a warm day, hold a tissue near ridge vents and soffit vents. You should feel steady airflow at both points. No airflow at the ridge means the vent is blocked by underlayment, a common error when crews rush the ridge cap installation. No airflow at soffits means intake vents are painted over, insulated over, or never cut.
Light penetration. Turn off all attic lights and look for daylight at chimneys, vent pipes, and valleys. Any visible light means a gap that water will find. Note the location and photograph it.
Document everything with dated photos. If you find issues, contact your contractor immediately. The 30-day window is when most legitimate contractors will return without argument, before weather exposure complicates the cause.
The Most Common Post-Installation Failures We See in Los Angeles
After 25 years in this market, we’ve repaired enough botched replacements to recognize patterns, as detailed in our guide to Roof Replacement Warning Signs Every Homeowner Should Know. These are the failures that show up 6-18 months after install, when the original contractor has moved on or disappeared.
Skipped ice-and-water shield at valleys and penetrations. Los Angeles building code doesn’t require ice-and-water shield – we don’t get ice dams. But manufacturer specifications for premium shingles often do require it in valleys and around penetrations as a secondary waterproofing layer. Crews skip it to save $200-400 per job. The roof passes inspection. Then the first heavy winter storm overwhelms the valley metal, and water runs straight into the attic.
Improper valley metal width. Code minimum in Los Angeles is typically 24-inch wide valley metal. Manufacturer specs for many GAF and CertainTeed systems call for 36-inch width in valleys that handle large roof areas. The narrower metal creates a bottleneck during intense rainfall, forcing water up and under the shingles at the valley edges.
Mixing old and new ventilation. A new roof with inadequate ventilation will fail faster than an old roof with adequate ventilation. We see this constantly: beautiful new shingles over an attic that still has 1970s gable vents and no soffit intake. The shingles cook from below. Thermal shock from day-night temperature swings in the San Fernando Valley causes premature cracking.
Nail gun pressure errors. Pneumatic nail guns set too high drive nails through shingles. Set too low, nails sit proud and catch wind. Both void the wind warranty. The correct pressure varies by shingle thickness and ambient temperature – it requires adjustment throughout the day, which rushed crews skip.
Incompatible materials. Some Los Angeles contractors use generic underlayment with premium shingles to cut costs. Owens Corning Duration shingles, for example, carry a full warranty only when installed with Owens Corning specified accessories. Mixing brands without checking compatibility voids the material warranty even if the installation looks perfect.
How to Document and Escalate a Post-Installation Dispute
If your inspection reveals problems, the paper trail you build determines whether you get resolution or runaround. Here’s the sequence we recommend.
- Photograph everything before contacting the contractor. Date-stamped photos, video with narration, and written notes with specific locations. “Leak in bedroom” is weak. “Water stain 18 inches from northeast corner of master bedroom ceiling, directly below valley between garage and main roof, first observed March 3 after 1.2 inches of rainfall” is strong.
- Request return visit in writing. Email or text creates a record. Describe the specific defect, reference the manufacturer specification or code section violated, and request a date for inspection. Save all responses.
- Document the return visit. If the contractor returns, photograph their inspection. Ask them to put their findings in writing. If they refuse, write your own summary immediately after they leave and email it to them: “Per our conversation today, you stated [X] and proposed [Y]. Please confirm or correct.”
- Escalate to the manufacturer’s representative. For material defects or installation that violates manufacturer specs, contact the brand’s local technical rep. GAF, CertainTeed, and Owens Corning all maintain Los Angeles-area representatives who can inspect and document warranty eligibility. Their finding carries weight in any later dispute.
- File with the CSLB if workmanship is the issue. The Contractors State License Board handles complaints against licensed contractors in California. Their online complaint form requires documentation of the defect, your attempt to resolve with the contractor, and the financial impact. CSLB mediation is free and often effective for clear-cut workmanship failures.
- Involve the contractor’s insurer for active leaks causing damage. General liability policies cover property damage from faulty work. You’ll need the contractor’s insurance certificate from your original contract. If they didn’t provide one, that’s another CSLB violation.
Never withhold final payment without legal advice – California contractors can file mechanics liens even for disputed work. Instead, pay under protest in writing, preserving your right to later recovery.
Workmanship Warranty vs. Material Warranty: Which One Applies
This distinction determines who pays for your repair and how fast it happens. Most homeowners don’t understand it until they’re already in crisis.
A material warranty covers defects in the shingles themselves – manufacturing errors, premature granule loss, sealant strip failures. It’s backed by the manufacturer (GAF, CertainTeed, Owens Corning, etc.) and typically runs 25-50 years. Material warranties require correct installation to remain valid. If your contractor violated the installation guide, the manufacturer will deny the claim and refer you back to the contractor.
A workmanship warranty covers installation errors – the defects this guide describes. It’s backed by the contractor who installed the roof. Workmanship warranties range from 1 year to lifetime, but in practice, a workmanship warranty is only as reliable as the contractor offering it. We’ve taken over repairs where the original contractor dissolved their LLC and reopened under a new name, voiding their “lifetime” warranty.
When you discover a problem, determine which warranty likely applies before making calls. Active leak during rainfall with no visible shingle damage? Probably workmanship. Granules washing into gutters with shingles still under warranty age? Probably material. Shingle blow-off in moderate wind? Could be either – defective shingle or under-driven nails.
At Roof Replacement in Los Angeles, we provide both: manufacturer-backed material coverage through our brand partnerships, plus our 365-Day Done Right Promise on every repair. If the repair fails within a year, we return at no charge. No negotiation, no runaround.
What It Costs to Fix Roof Replacement Mistakes in Los Angeles
Repairing another contractor’s errors typically costs more than original installation, because remediation involves removal, replacement, and often damage repair. For detailed pricing context, see our Roofing Cost Breakdown: The Los Angeles Homeowner’s Reference for 2026. Here are the ranges we see in the Los Angeles market.
| Problem | Typical Repair Cost | Notes |
|---|---|---|
| Valley rebuild with ice-and-water shield | $1,800 – $3,400 | Requires removing 4-6 feet of shingles each side |
| Partial re-decking (soft or inadequate plywood) | $45 – $75 per sheet | Plus shingle removal and replacement |
| Ridge vent replacement / correction | $650 – $1,200 | Full ridge cap removal and reinstallation |
| Flashing replacement at chimney | $850 – $2,100 | Varies with chimney size and access |
| Attic ventilation system upgrade | $1,200 – $2,800 | Soffit vents, baffles, ridge vent as needed |
| Full nail-off and re-nail (gun pressure errors) | $2.50 – $4.00 per square foot | Essentially partial re-roof |
These figures assume no interior damage. Add 30-50% if water has entered wall cavities or ceiling drywall. Most homeowner insurance policies exclude damage from faulty workmanship, though they may cover resulting water damage if reported promptly.
The cheapest fix is prevention. A thorough day-after inspection and 30-day attic check catch problems while the original contractor is still responsible and remediation is minimal.
Common Mistakes to Avoid
- Trusting the city inspection as final approval. Los Angeles building inspectors verify code compliance, not manufacturer specifications. A roof can be code-legal and warranty-void at the same time.
- Paying in full before your own inspection. Hold 10-15% until you’ve completed the day-after walkthrough and verified the items in this guide. Any contractor confident in their work will agree.
- Ignoring attic conditions. New shingles over a poorly ventilated attic fail faster than old shingles over good ventilation. The attic is half the roof system.
- Accepting verbal warranties. “Lifetime workmanship warranty” means nothing without written terms, exclusions, and transfer provisions. The 365-Day Done Right Promise we offer is specific: any covered repair that fails within 365 days is corrected at no charge, in writing, included with every job.
- Delaying documentation. Water damage worsens exponentially. Photograph, notify, and escalate within 48 hours of discovery to preserve your position in any dispute.
- Mixing warranty claims. Calling the manufacturer for a workmanship issue wastes weeks. Calling the contractor for a material defect does the same. Know which warranty applies and start with the right party.
When to Call a Professional
Some conditions require immediate professional assessment: active dripping during rainfall, sagging roof deck visible from the attic, or more than five missing or damaged shingles after a wind event. These indicate structural or waterproofing failures that homeowner inspection cannot fully diagnose.
For post-installation concerns that aren’t emergencies – the suspected shortcut, the questionable valley, the attic moisture pattern – a professional inspection provides documentation and clarity. Most reputable Los Angeles roofing contractors offer this service; expect to pay $150-300 for a detailed written report with photos.
Roof Repair in Los Angeles from Crestview Roofing includes a full inspection with every estimate. We document what we find, explain it in plain terms, and provide a written price before any work begins. Call (325) 246-5075 to schedule your free estimate.
Frequently Asked Questions
Do a ground-level inspection the day after installation, before the crew leaves your street. Then inspect your attic 30 days after replacement, when temperature cycles have stressed any installation defects. Both inspections are critical – the surface check catches visible errors, the attic check catches hidden ventilation and moisture issues.
Yes. City inspectors in Los Angeles verify code minimums, not manufacturer installation specifications. A roof can meet code while violating the shingle brand’s requirements for nailing pattern, underlayment type, or ventilation ratios. Those violations void your material warranty even though the roof is legally permitted.
Document the defect with dated photos, then escalate systematically: written demand by certified mail, complaint to the CSLB, contact the manufacturer’s local representative, and finally the contractor’s general liability insurer. Each step creates pressure and preserves your rights. Never delay – California’s statute of limitations on construction defects is complex and shorter than most homeowners assume.
Most remediation projects run $1,800-$4,500 for localized repairs like valley rebuilds or ventilation corrections. Extensive nail-gun errors or full re-decking can reach $8,000-$15,000. These costs fall to the original contractor if you document the defect promptly and they remain in business. Call (325) 246-5075 for an exact quote on your specific situation – estimates are free.
We do. Our Roof Installation in Los Angeles team handles remediation projects regularly, from single-valley corrections to full nail-offs. We apply the same standards: written price before work starts, before-and-after photo documentation, and our 365-Day Done Right Promise even on repair work.
The shingle rating estimates material lifespan under ideal conditions. The warranty is a legal contract with specific terms, exclusions, and maintenance requirements. Most 30-year shingles carry pro-rated warranties after year 10, meaning the manufacturer pays decreasing percentages. And the warranty requires correct installation using specified accessories – shortcuts by the contractor void it entirely. Always read the actual warranty document, not the marketing label.
The Bottom Line
Roof replacement problems are easiest to catch early and expensive to fix late. For more guides & resources on protecting your investment, explore our blog. The day-after walkthrough, manufacturer guide comparison, and 30-day attic inspection give homeowners tools that most never use. City inspections protect minimum standards; your vigilance protects your specific investment. Document everything, know which warranty applies, and escalate methodically when contractors won’t respond. In a market like Los Angeles, where contractor turnover is high and weather exposure is real, these steps separate protected homeowners from those left holding a voided warranty.
Need a second opinion on your recent roof replacement? Call (325) 246-5075 to schedule your free estimate with Crestview Roofing. We’ll inspect, document, and give you a written price before any work begins – no surprises, no runaround, guaranteed.
Written by Dylan Pace, Owner at Crestview Roofing, serving Los Angeles since 2000.