
Last updated October 10, 2026
Free roof inspection with deck photos before we talk money - GAF and Owens Corning certified installation
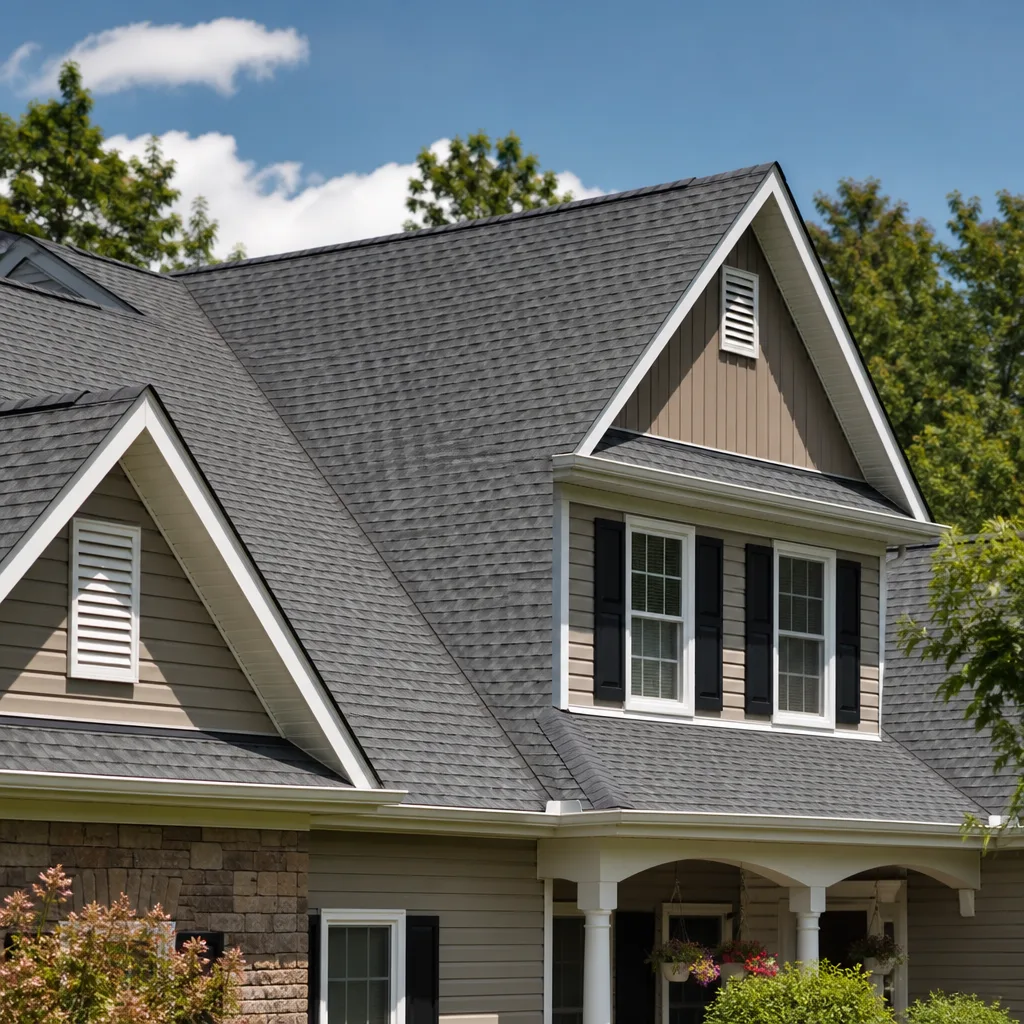
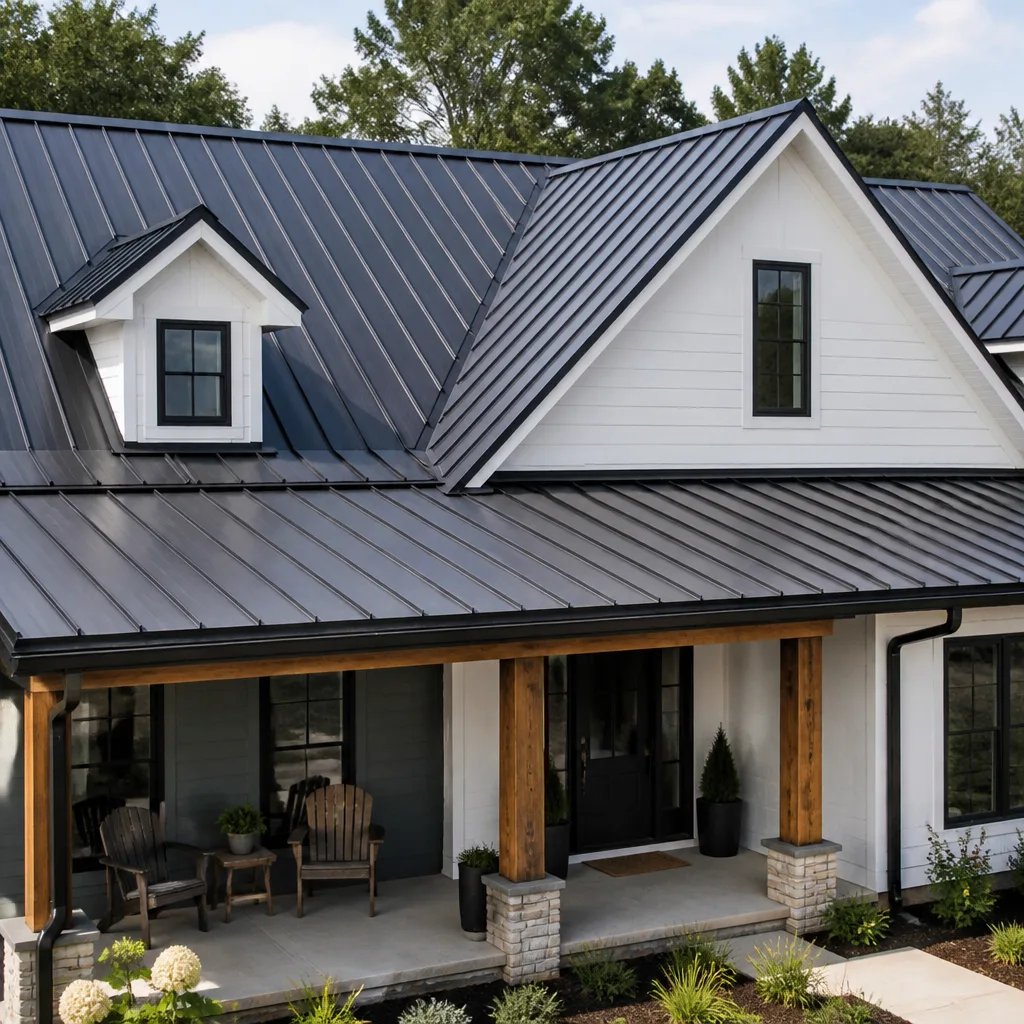
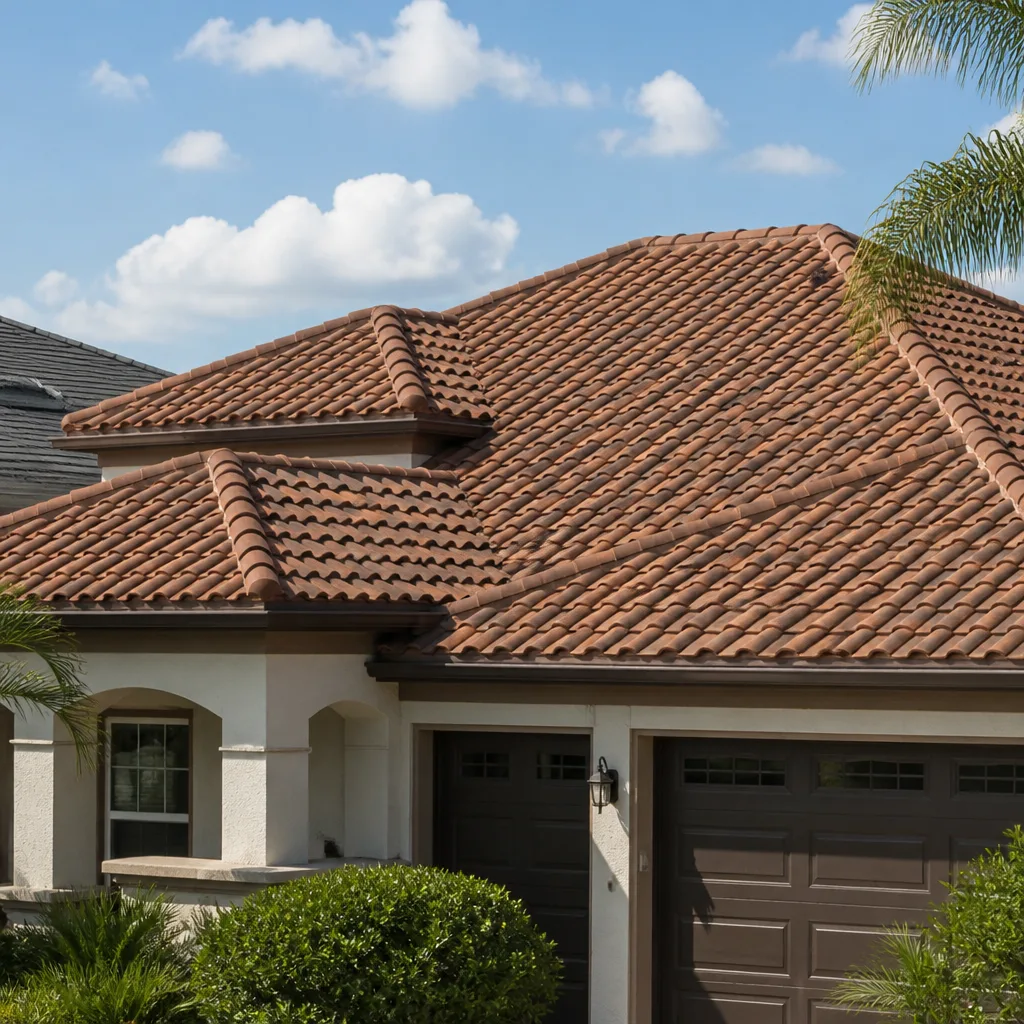
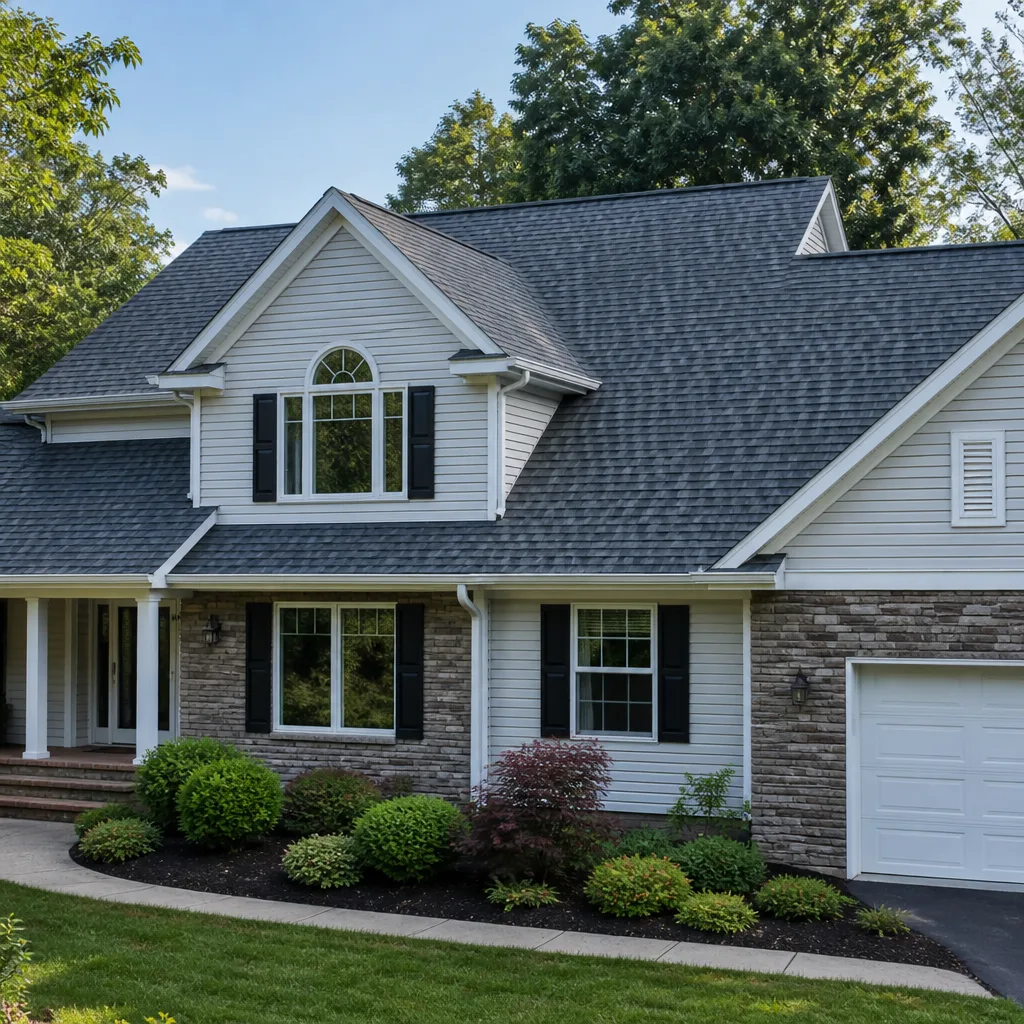
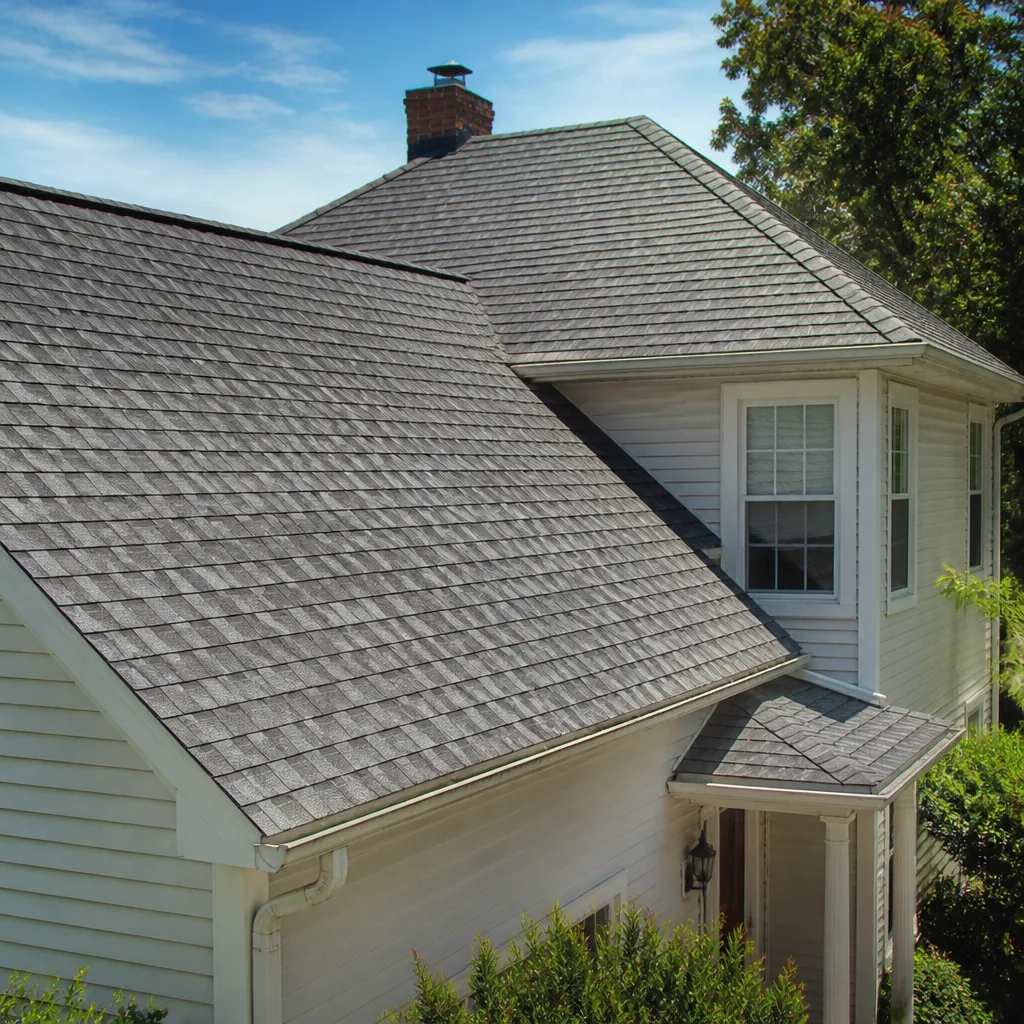
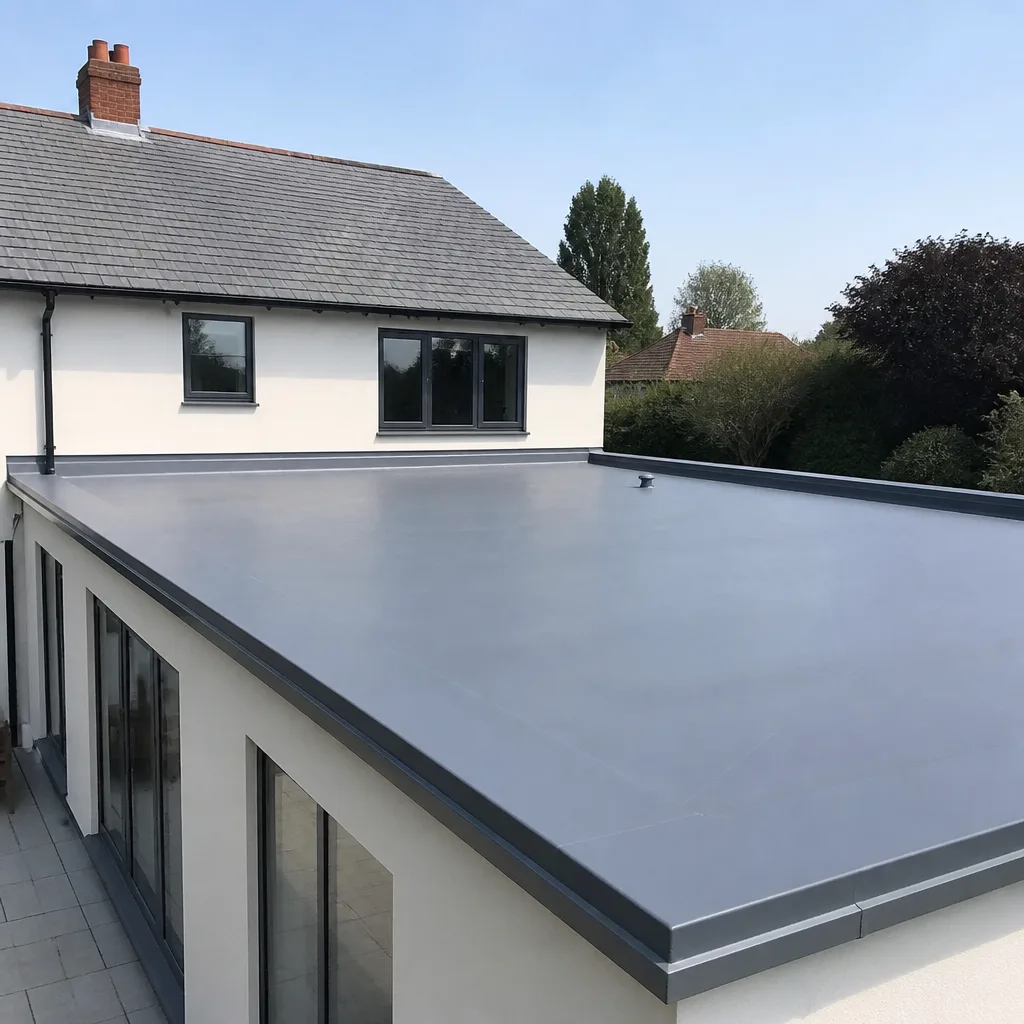
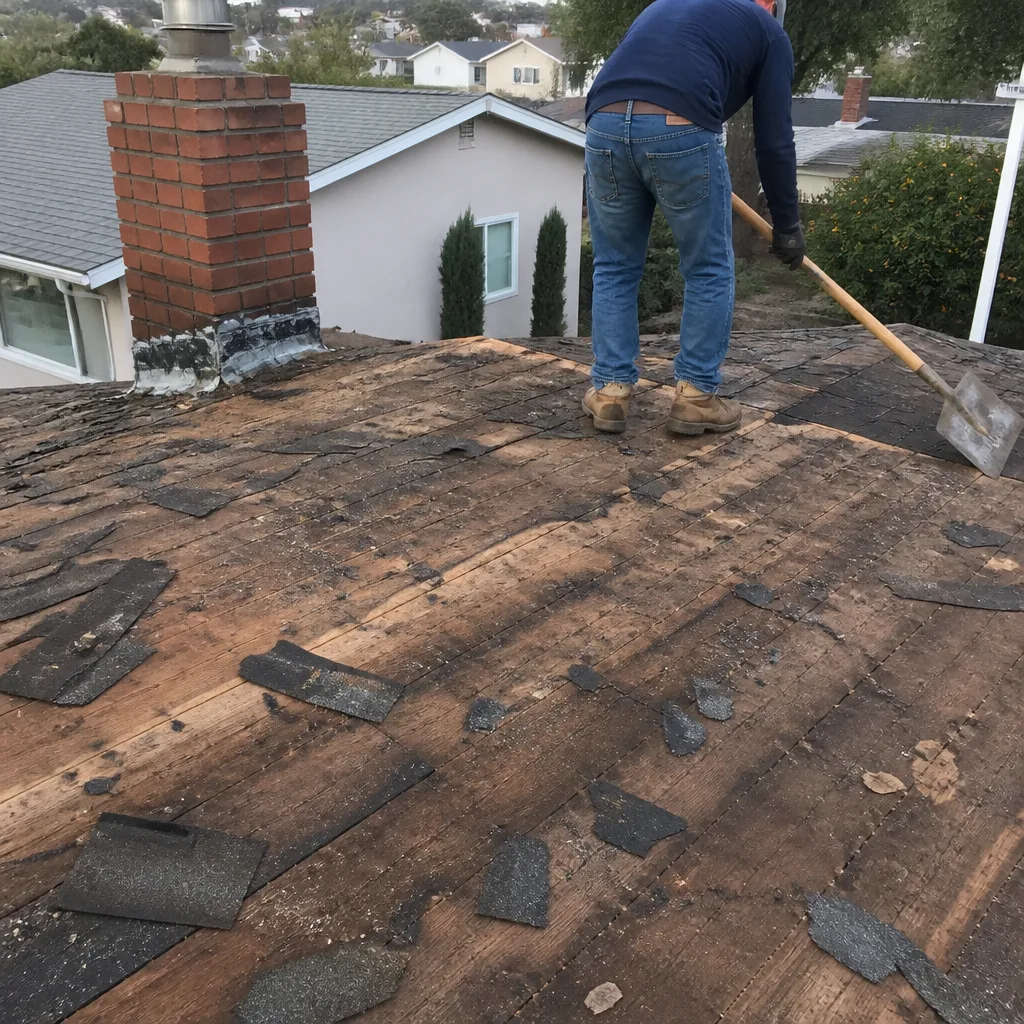 Before
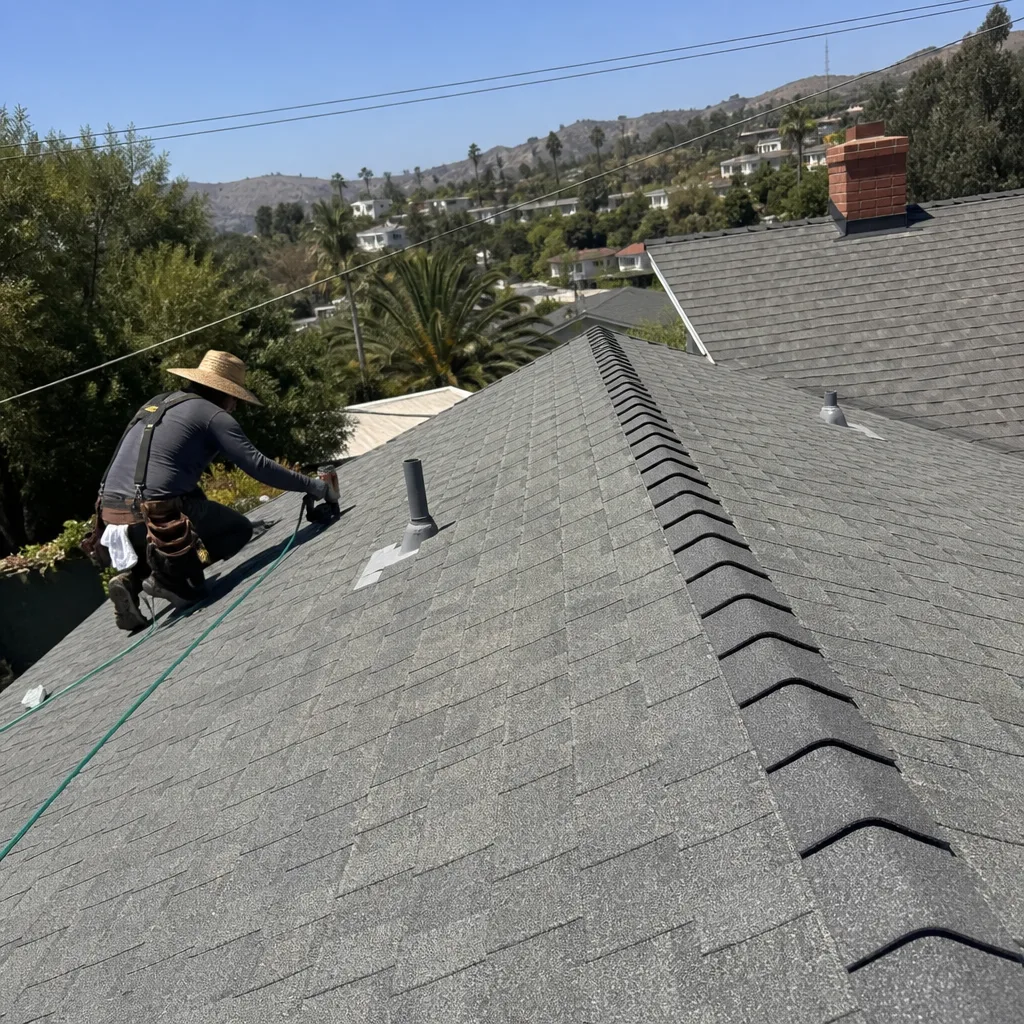 After
After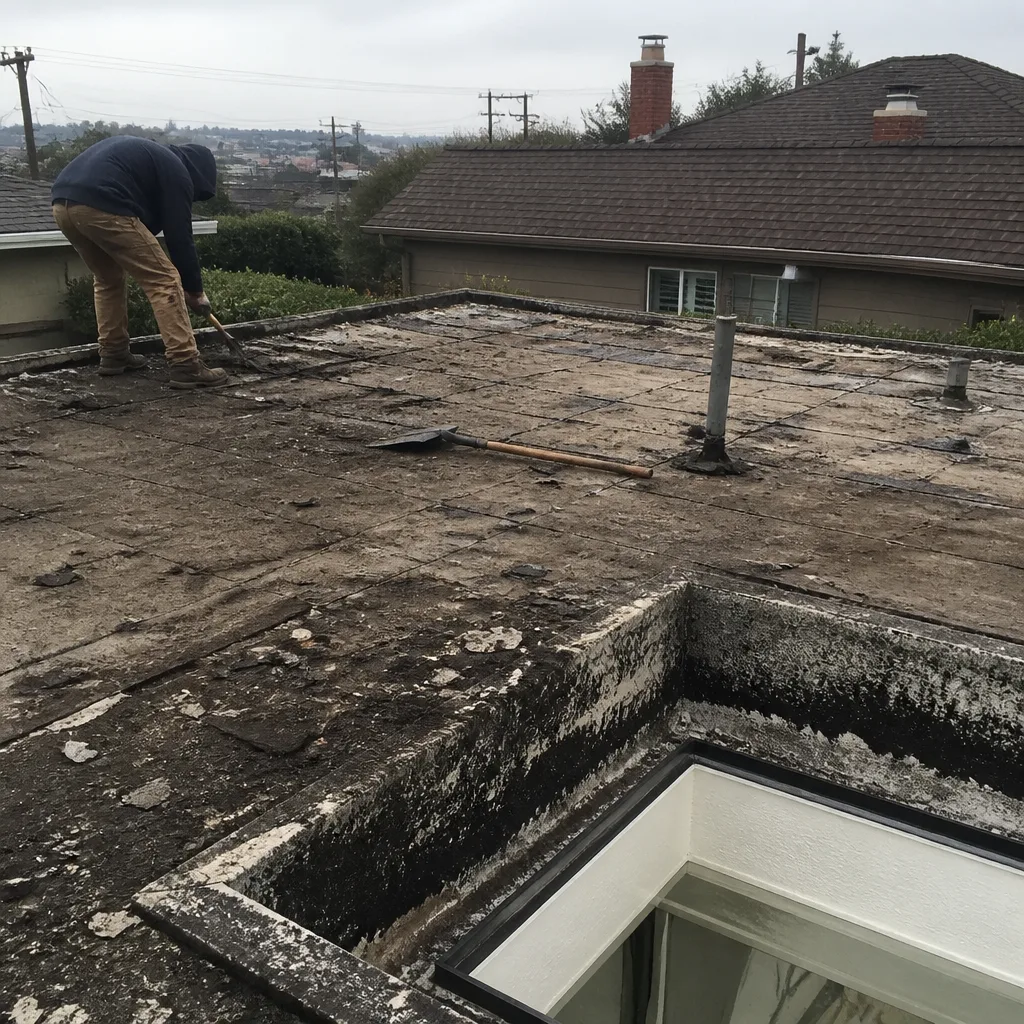 Before
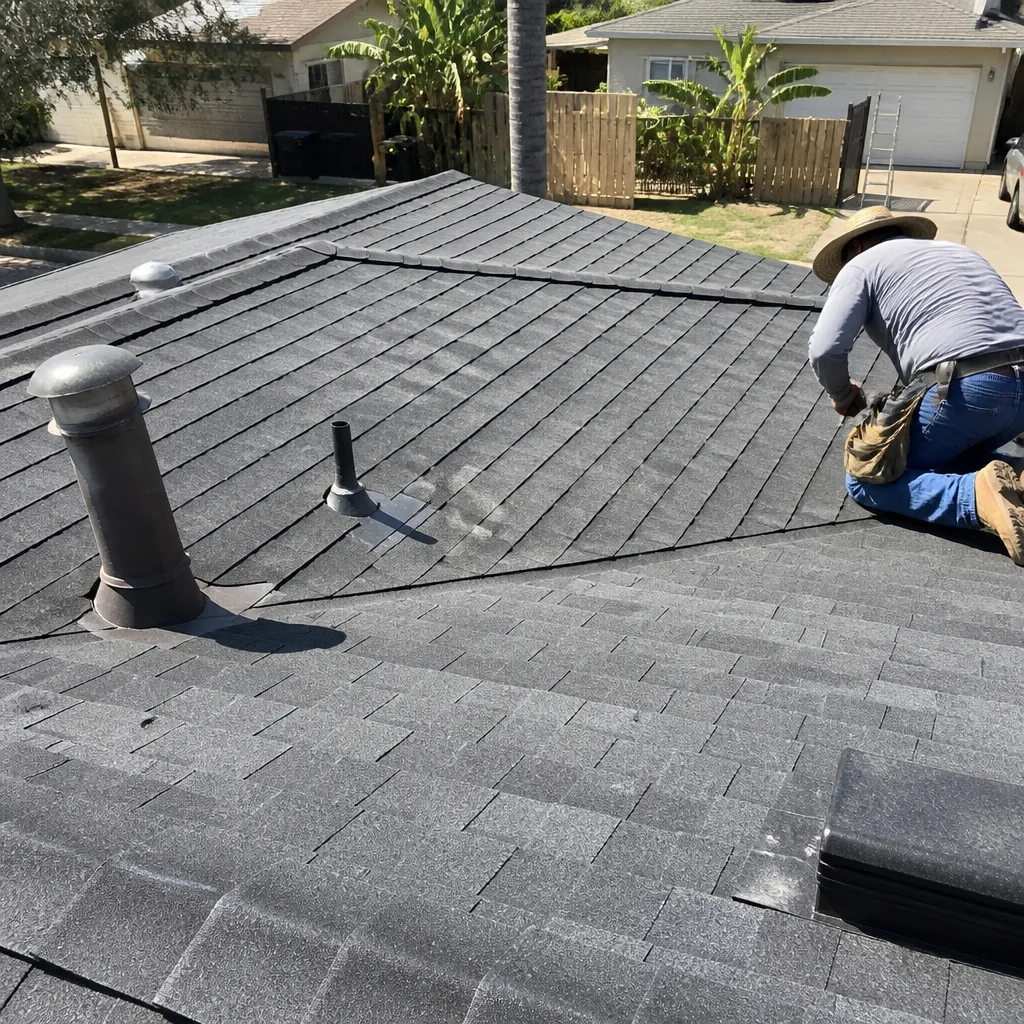 After
After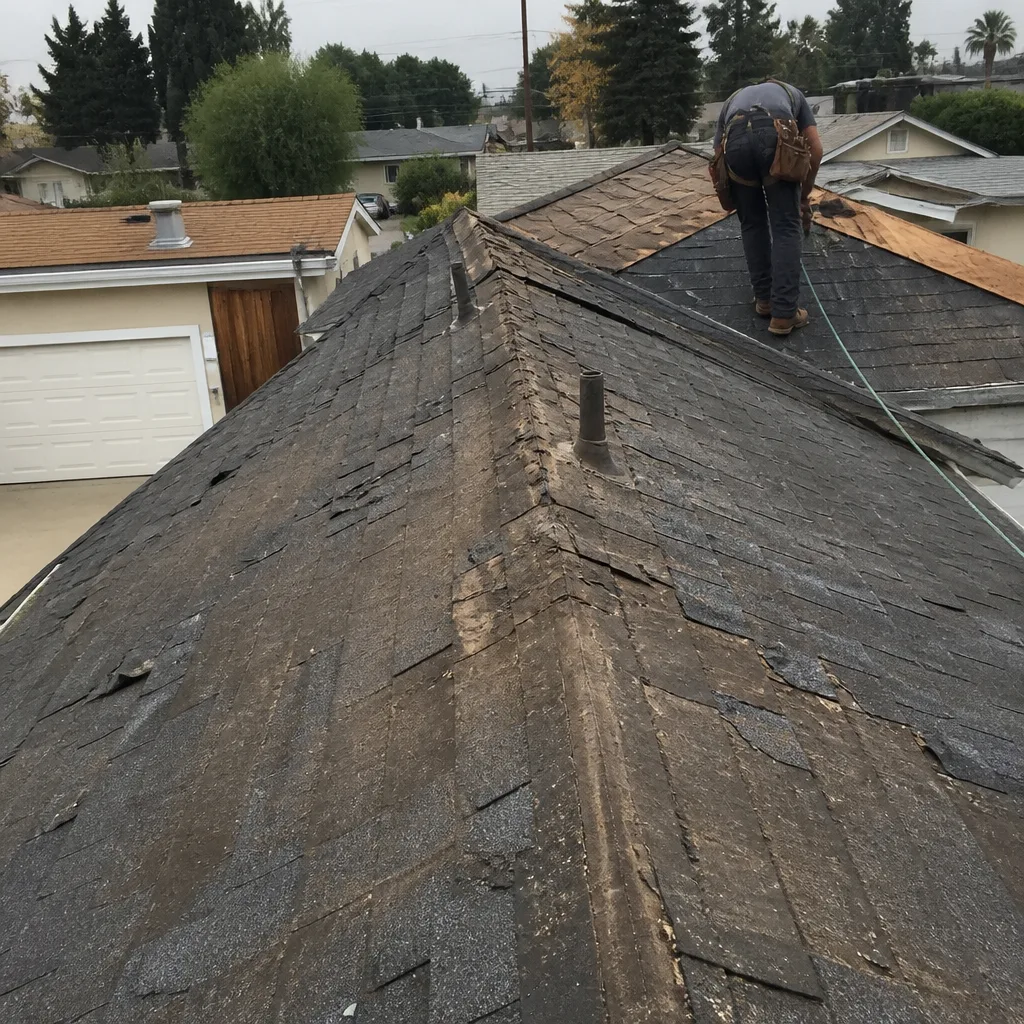 Before
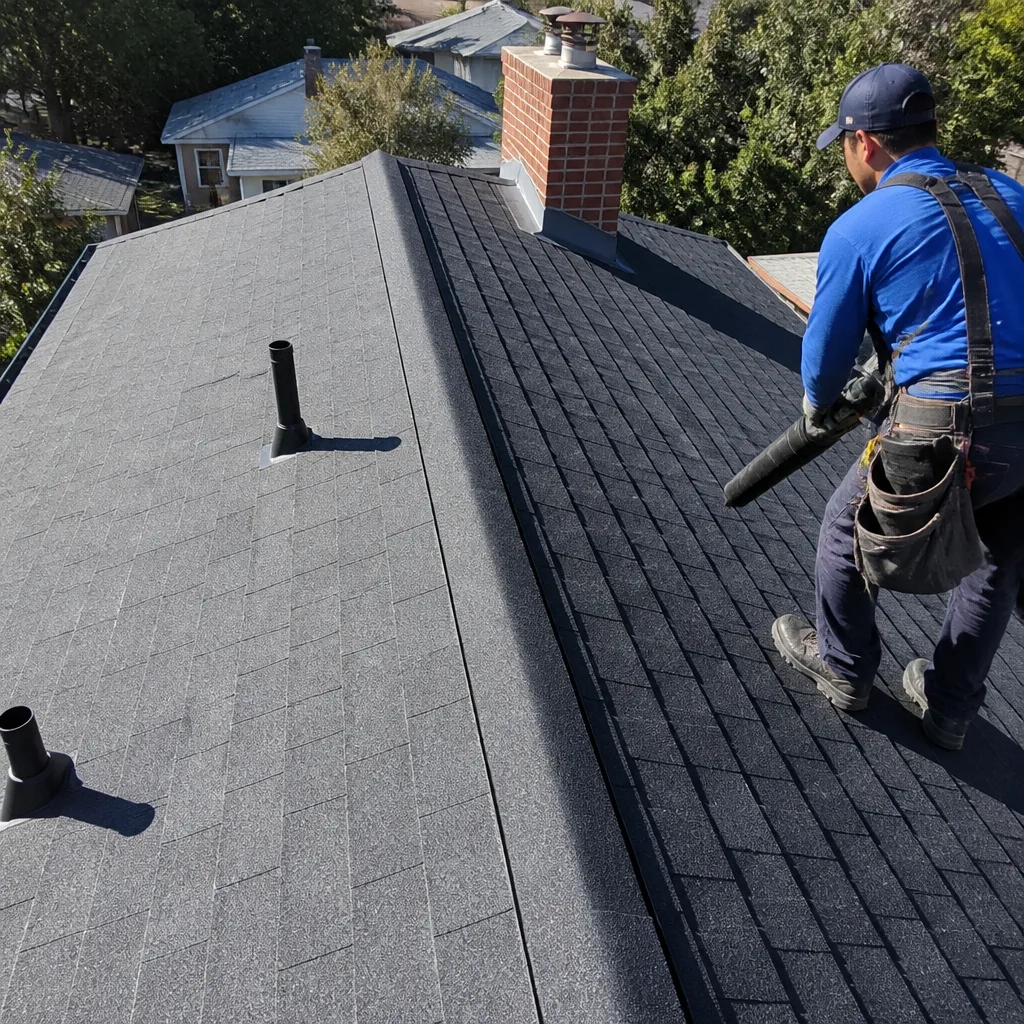 After
AfterRoof Installation Troubleshooting: Common Problems and How to Fix Them
Here’s something most Los Angeles homeowners don’t realize until it’s too late: the majority of post-installation roof defects aren’t caused by bad shingles. They’re caused by what happened underneath them, or how they were fastened, or what the crew skipped when the inspector wasn’t looking. In a market where some contractors run three jobs simultaneously and send their least experienced crew to finish the ridge caps, the bubbles, gaps, and leaks showing up within your first year usually trace back to a specific shortcut. This guide maps each symptom to its cause, shows you how to document it for a warranty claim, and helps you read your contractor’s response so you know whether you’re getting a fix or a runaround. For Roof Installation Warning Signs Every Homeowner Should Know, see our dedicated breakdown.
Quick Answer
Most problems after a new Roof Installation – blistering, nail pops, lifted flashing, ridge gaps, and fascia leaks – stem from one of four installation errors: moisture trapped under underlayment, improper nailing pattern or depth, inadequate sealant at transitions, or skipped ventilation calculations. Identifying which error caused your specific symptom determines whether the fix falls under manufacturer warranty (material defect) or contractor warranty (workmanship defect), and shapes what documentation you’ll need to enforce it.
Table of Contents
- The Five Most Common Post-Installation Defects
- The Four Installation Shortcuts That Cause Them
- Manufacturer Defect vs. Workmanship Defect: How to Tell Before You Call
- The Documentation Process: Making Your Warranty Claim Stick
- Red Flags in Your Contractor’s Callback Response
- When to Hire an Independent Roofing Inspector
- Common Mistakes to Avoid
- When to Call a Professional
- Frequently Asked Questions
The Five Most Common Post-Installation Defects
After installing thousands of roofs across Los Angeles, we’ve learned that homeowners who catch problems early save an average of 60% on remediation costs. Here’s what to look for, what each symptom means, and why it matters in our specific climate.
1. Blistering (Shingle Bubbles)
Blistering looks like small bubbles trapped under the shingle surface, usually appearing within 30 to 90 days of installation. In Los Angeles, where late-summer temperatures on a dark roof can hit 170°F, blisters often pop and leave exposed asphalt.
The diagnostic question: Are the blisters scattered randomly across the roof, or concentrated in strips that follow the underlayment seams?
- Random pattern: Usually a manufacturer defect in the shingle’s asphalt mat. GAF, CertainTeed, and Owens Corning all cover this under standard material warranties.
- Seam-following pattern: Strong indicator that underlayment was installed over a damp deck, or that morning dew was trapped during a same-day shingle-over. This is workmanship, not material.
Los Angeles-specific note: Our marine layer keeps decks damp until 10 or 11 a.m. for much of the year. A crew that starts at 6 a.m. to “beat the heat” can lock moisture into the system if they don’t allow deck drying time.
2. Nail Pops
Nail pops occur when fasteners back out through the shingle surface, creating a raised bump that breaks the sealant strip. They’re both a cosmetic issue and a leak path.
The cause is almost always one of three nailing errors:
- Overdriven nails: The nail head cuts through the shingle instead of sitting flush. Thermal cycling loosens the grip.
- Underdriven nails: The shingle never fully seals to the nail shaft. Wind uplift works it loose.
- Wrong angle: Nails driven at an angle create an oval hole that expands with temperature swings.
California’s Title 24 energy code requires specific fastening patterns for high-wind zones, which includes most of Los Angeles County. A nail pop cluster near the eaves often signals the crew used a standard pattern where a high-wind pattern was required.
3. Lifted Valley Flashing
Valleys – the channels where two roof planes meet – handle the highest water volume per square foot. Lifted flashing here shows as a visible gap where the metal W-channel or California-cut valley meets the shingles.
In Los Angeles, where winter storms can dump two inches in an hour and summer brings zero rainfall for months, valley flashing takes a beating from thermal expansion without the lubrication of regular water flow. Poor initial fastening becomes obvious fast.
Common installation shortcuts:
- Skipping the ice-and-water shield underlayment in the valley (required by code, ignored by speed crews)
- Using too few fasteners on the flashing edges
- Failing to crimp the valley edge into the shingle course, relying only on sealant
4. Ridge Cap Gaps
The ridge cap covers the peak where roof slopes meet. Gaps appear as visible separations between cap shingles, or caps that don’t sit flat against the ridge vent below.
This is the most commonly botched detail in re-roofing because it’s the last thing the crew does, often in fading light. In Los Angeles, where many homes have complex rooflines with multiple ridges and hips, a crew rushing to finish can underdrive nails, skip sealant dots, or use cap shingles cut from the wrong shingle type.
5. Fascia Leaks Behind Gutters
Water staining on the fascia board behind the gutter, or rot appearing within a year of installation, usually means the drip edge was omitted or improperly installed. The drip edge – a metal strip that directs water from the roof into the gutter – is required by IRC R905.2.8.1, but it’s one of the first things skipped when a crew is behind schedule.
Los Angeles homes with original rafter tails and open eaves are especially vulnerable. Without proper drip edge, water runs behind the gutter, saturates the fascia, and wicks into the rafter ends. By the time you see interior damage, the repair involves fascia replacement, not just a metal strip.
The Four Installation Shortcuts That Cause Them
Every defect above traces to one of four root causes. Knowing which one applies to your roof tells you who should pay for the fix and how hard they’ll resist.
Shortcut 1: The Wet Deck Install
Underlayment – the synthetic or felt layer between deck and shingles – must go on dry. When installed over damp plywood or OSB, it traps moisture that migrates upward as vapor, blistering the shingles from below. This is the “ventilation problem” some contractors blame when they’re really covering a morning install over dew or a deck that wasn’t allowed to dry after pressure washing.
In Los Angeles, where coastal fog can keep decks damp until mid-morning and afternoon Santa Ana winds create sudden dry conditions, timing matters. A crew working on your schedule, not the deck’s moisture content, creates this problem.
Shortcut 2: The Fast-and-Loose Nailing Pattern
Manufacturer specs for GAF Timberline HDZ, CertainTeed Landmark, and Owens Corning Duration all require six nails per shingle in high-wind zones, with specific placement in the nail line. A crew using four nails, or nailing above the line, or driving at an angle to avoid a truss, creates failure points that show as nail pops or wind-lifted tabs within the first year.
The Los Angeles Basin and foothills are designated 110 mph wind zones. Your permit inspection may not catch a four-nail pattern if the inspector only spot-checks one shingle.
Shortcut 3: Skipped Sealant and Flashing Details
Every transition – valley, ridge, vent pipe, chimney, wall intersection – requires specific sealant application and flashing integration. A tube of sealant costs $8. A crew that skips two tubes per job saves $16 and creates ten callback opportunities. Valley flashing without ice-and-water shield, ridge vents without end dams, pipe boots without top sealant: these are invisible on day one, obvious by month six.
Shortcut 4: Ventilation Math That Doesn’t Add Up
Attic ventilation requires balanced intake and exhaust calculated to the attic’s square footage. A crew that installs ridge vent without verifying soffit intake, or that blocks existing soffit vents with new insulation, creates heat and moisture buildup that accelerates every other defect. In Los Angeles, where many homes have been retrofitted with central air and the original ventilation was never recalculated, this shortcut compounds existing problems.
Manufacturer Defect vs. Workmanship Defect: How to Tell Before You Call
Your first call determines everything. Call the manufacturer for a workmanship problem and they’ll redirect you to the contractor. Call the contractor for a material defect and they’ll stall until the manufacturer’s rep visits. Here’s how to route correctly.
| Symptom Pattern | Likely Cause | Call First | What They’ll Need |
|---|---|---|---|
| Random blistering across multiple slopes, no moisture history | Material defect in asphalt mat | Manufacturer (GAF, CertainTeed, Owens Corning) | Photos, installation date, shingle lot number from bundle wrapper |
| Blistering follows underlayment seams, appeared within 60 days | Wet deck install | Contractor | Photos with dates, weather records for install day, permit records |
| Nail pops clustered in specific zones (eaves, ridges) | Nailing pattern error | Contractor | Close-up photos, wide shots showing pattern, permit inspection records |
| Lifted flashing with intact sealant, no wind event | Inadequate fastening | Contractor | Photos, code requirements for your zone, permit inspection sign-off |
| Granule loss exposing bare asphalt in first year | Manufacturer defect or storage damage | Manufacturer | Photos, lot number, storage documentation from supplier |
Critical distinction: Manufacturer warranties cover the shingle itself, typically 25 to 50 years for dimensional shingles. Workmanship warranties cover installation errors, and in California, contractors must warranty their work for at least four years (CSLB requirement). However, many contractors offer only a one-year workmanship warranty or none at all. At Crestview Roofing home, our 365-Day Done Right Promise covers every repair for a full year, with a free second visit if the repair fails – in writing, included with every job.
The Documentation Process: Making Your Warranty Claim Stick
Warranty claims succeed or fail on documentation. Here’s the process we’ve seen work, both for claims against manufacturers and for disputes with contractors. For Roof Repair Maintenance Checklist for Los Angeles Homeowners and other prevention tips, review our maintenance resources.
Step 1: Photograph Everything Before Anyone Visits
- Take wide shots from the ground showing the defect’s location on the roof plane
- Take close-ups with a ruler or coin for scale
- Photograph the same area from inside the attic, showing any water intrusion path
- Document interior damage: stains, mold, damaged insulation
- Record the date and time on every photo (enable timestamp in camera settings)
Step 2: Gather Your Paper Trail
- Original contract with scope of work
- Permit application and inspection sign-offs
- Shingle bundle wrappers with lot numbers (if you saved them)
- Weather records for installation date (NOAA or Weather Underground)
- Any email or text communication with the contractor
Step 3: Submit Written Notice, Not Just a Call
California Civil Code Section 900 requires contractors to respond to warranty claims in writing. A phone call starts the clock but doesn’t create a record. Send email with read receipt, or certified mail, stating:
- The specific defect
- The date you discovered it
- The installation date
- Your request for inspection within 10 business days
- Your reservation of rights if they fail to respond
Step 4: Get a Second Opinion Before Accepting Their “Fix”
A contractor who caused the problem has incentive to minimize it. Their “repair” may be cosmetic. Document their proposed fix in writing and compare it to manufacturer installation guidelines before approving work.
Red Flags in Your Contractor’s Callback Response
How a contractor responds to your call tells you whether you’re getting a fix or a fight. These phrases signal delay or denial:
- “That’s normal settling.” Roofs don’t settle. Materials expand and contract, but blisters, gaps, and nail pops are never normal.
- “It’s a ventilation issue, not our work.” Ventilation is part of the installation scope. If they didn’t calculate it, that’s on them.
- “The manufacturer needs to look at it first.” For workmanship defects, this is a stall. The manufacturer won’t cover installation errors.
- “We’ll come by when we’re in the area.” No commitment, no accountability. A professional schedules a specific date and sends confirmation.
- “It probably happened in that wind storm.” Los Angeles wind events are documented. If their installation couldn’t withstand normal seasonal winds, it’s defective.
- “Your warranty was only 90 days.” California requires four years minimum for contractor work. Any shorter period is unenforceable.
The response that indicates a professional: “We’ll send [specific technician name] on [specific date] at [specific time] to photograph and assess. You’ll get a written report within 24 hours.” That’s The Relay Standard we follow at Crestview Roofing – a live trackable arrival time, before-and-after photo documentation, and a digital invoice sent by text.
When to Hire an Independent Roofing Inspector
An independent inspection costs $300 to $600 in Los Angeles, but it can recover thousands in disputed repairs and provides leverage in warranty negotiations.
Hire an inspector when:
- The contractor denies responsibility and you need evidence for small claims court or CSLB complaint
- The defect is extensive enough that repair vs. full replacement is in question
- You’re within the statute of limitations (four years for construction defects in California) but the contractor has gone out of business
- You need a third-party report to trigger a manufacturer warranty when the contractor won’t cooperate
What to expect: A qualified inspector will photograph, measure, and document code compliance against the California Building Code and manufacturer specs. They won’t repair the roof (conflict of interest), but they’ll provide a report that carries weight in dispute resolution.
Recovery potential: We’ve seen homeowners use independent inspection reports to recover $8,000 to $15,000 in Los Angeles small claims court for installation defects, or to negotiate full replacement from contractors facing CSLB license complaints.
Common Mistakes to Avoid
- Waiting for the leak to appear inside. By the time you see ceiling stains, the decking is compromised. Inspect your new roof at 30, 90, and 180 days, or after any wind event over 50 mph.
- Accepting a verbal warranty. “Don’t worry, we’ll take care of you” means nothing. California law requires written contracts for work over $500; your warranty should be in the same document or an attached addendum.
- Letting the same crew “fix” their own error without oversight. If they shortcut once, they’ll shortcut twice. Require permit inspection for any structural or waterproofing repair.
- Ignoring permit status. In Los Angeles, unpermitted work voids most manufacturer warranties and complicates resale disclosure. Verify your permit was finaled before final payment.
- Paying the final invoice before inspection. California allows 10% retention until final inspection. A contractor demanding full payment before you verify the work is a red flag.
- Assuming all shingles from the same brand are equal. GAF Royal Sovereign and GAF Timberline HDZ have different wind ratings, nail lines, and warranty terms. Verify your contract specifies the exact product installed.
- Not documenting the crew. Background-checked, uniformed technicians who you can identify by name create accountability. A crew that arrives in unmarked trucks with no identification can disappear.
When to Call a Professional
Some symptoms require immediate professional assessment: active leaks during rainfall, sagging roof planes, or multiple nail pops across more than 20% of the surface. These indicate systemic installation failure, not isolated errors.
If your contractor is unresponsive, uses delay language, or proposes a fix that doesn’t match the defect’s cause, get a second opinion before agreeing to anything. Roof Repair in Los Angeles from Crestview Roofing includes a written diagnosis, photo documentation, and a fixed price before any work begins. We also offer Roof Replacement in Los Angeles and Roof Installation in Los Angeles governed by The Relay Visibility Guarantee: a written price before work starts, live trackable arrival times, before-and-after photos, and digital invoicing by text. Call (325) 246-5075 for a free estimate.
Frequently Asked Questions
Individual nail pop repairs typically run $75 to $150 per location if accessible, but clustered pops often indicate a systemic nailing pattern failure requiring partial re-roofing at $8 to $12 per square foot. We provide written line-item quotes before any work starts – call (325) 246-5075 for an exact price on your specific roof.
No. Blistering is permanent structural damage to the asphalt mat. Unpopped blisters may remain stable for months, but once they break and expose raw asphalt, granule loss accelerates and leak risk increases. Manufacturer warranty coverage depends on proving the defect existed at installation, which is why lot numbers and early documentation matter.
Check the Los Angeles Department of Building and Safety online permit portal with your address. A permitted job shows application, inspection, and final sign-off records. No record means no permit, which voids most manufacturer warranties and creates disclosure liability when you sell. If your contractor pulled a permit, you should have received a green tag or final inspection card.
California law allows you to withhold reasonable amounts for incomplete or defective work, but you must document the defects and give the contractor written notice and opportunity to cure. Withholding the entire balance without cause can expose you to mechanics lien action. Consult a construction attorney for amounts over $10,000.
A manufacturer warranty covers defects in the roofing material itself – GAF, CertainTeed, and Owens Corning offer 25- to 50-year limited warranties on dimensional shingles. A contractor warranty covers installation errors: nailing, flashing, ventilation, underlayment. The two operate independently. A perfect shingle poorly installed is a contractor problem. A defective shingle perfectly installed is a manufacturer problem. Many disputes arise because each party points to the other.
Four years from substantial completion for patent defects (visible problems), ten years for latent defects (hidden problems that manifest later). However, contractor warranties often expire much sooner if not specified in writing. Manufacturer warranties run from installation date and require registration within a limited window, often 60 days. Document everything immediately; delay weakens every claim.
Yes. A standard home inspector evaluates the roof from the ground or a ladder, not as a roofing specialist. A roofing-specific inspection verifies proper nailing, flashing integration, ventilation balance, and permit compliance. In Los Angeles, where flip renovations are common and permit history is publicly accessible, this $400 to $600 inspection can reveal $15,000 in hidden installation shortcuts.
The Bottom Line
Post-installation roof defects are diagnosable, traceable, and often recoverable if you act before evidence degrades. The five common symptoms – blistering, nail pops, lifted valley flashing, ridge cap gaps, and fascia leaks – map to four installation shortcuts that a qualified inspector can identify. Your first 90 days are critical for documentation, your permit records establish code compliance baseline, and your contractor’s response language reveals whether you’re working with a professional or negotiating with someone hoping you’ll give up. Get the defect identified independently, get the fix specified in writing, and never accept a verbal promise where California law requires a written one. Explore our more guides & resources for ongoing roof protection.
Written by Dylan Pace, Owner at Crestview Roofing, serving Los Angeles since 2000.